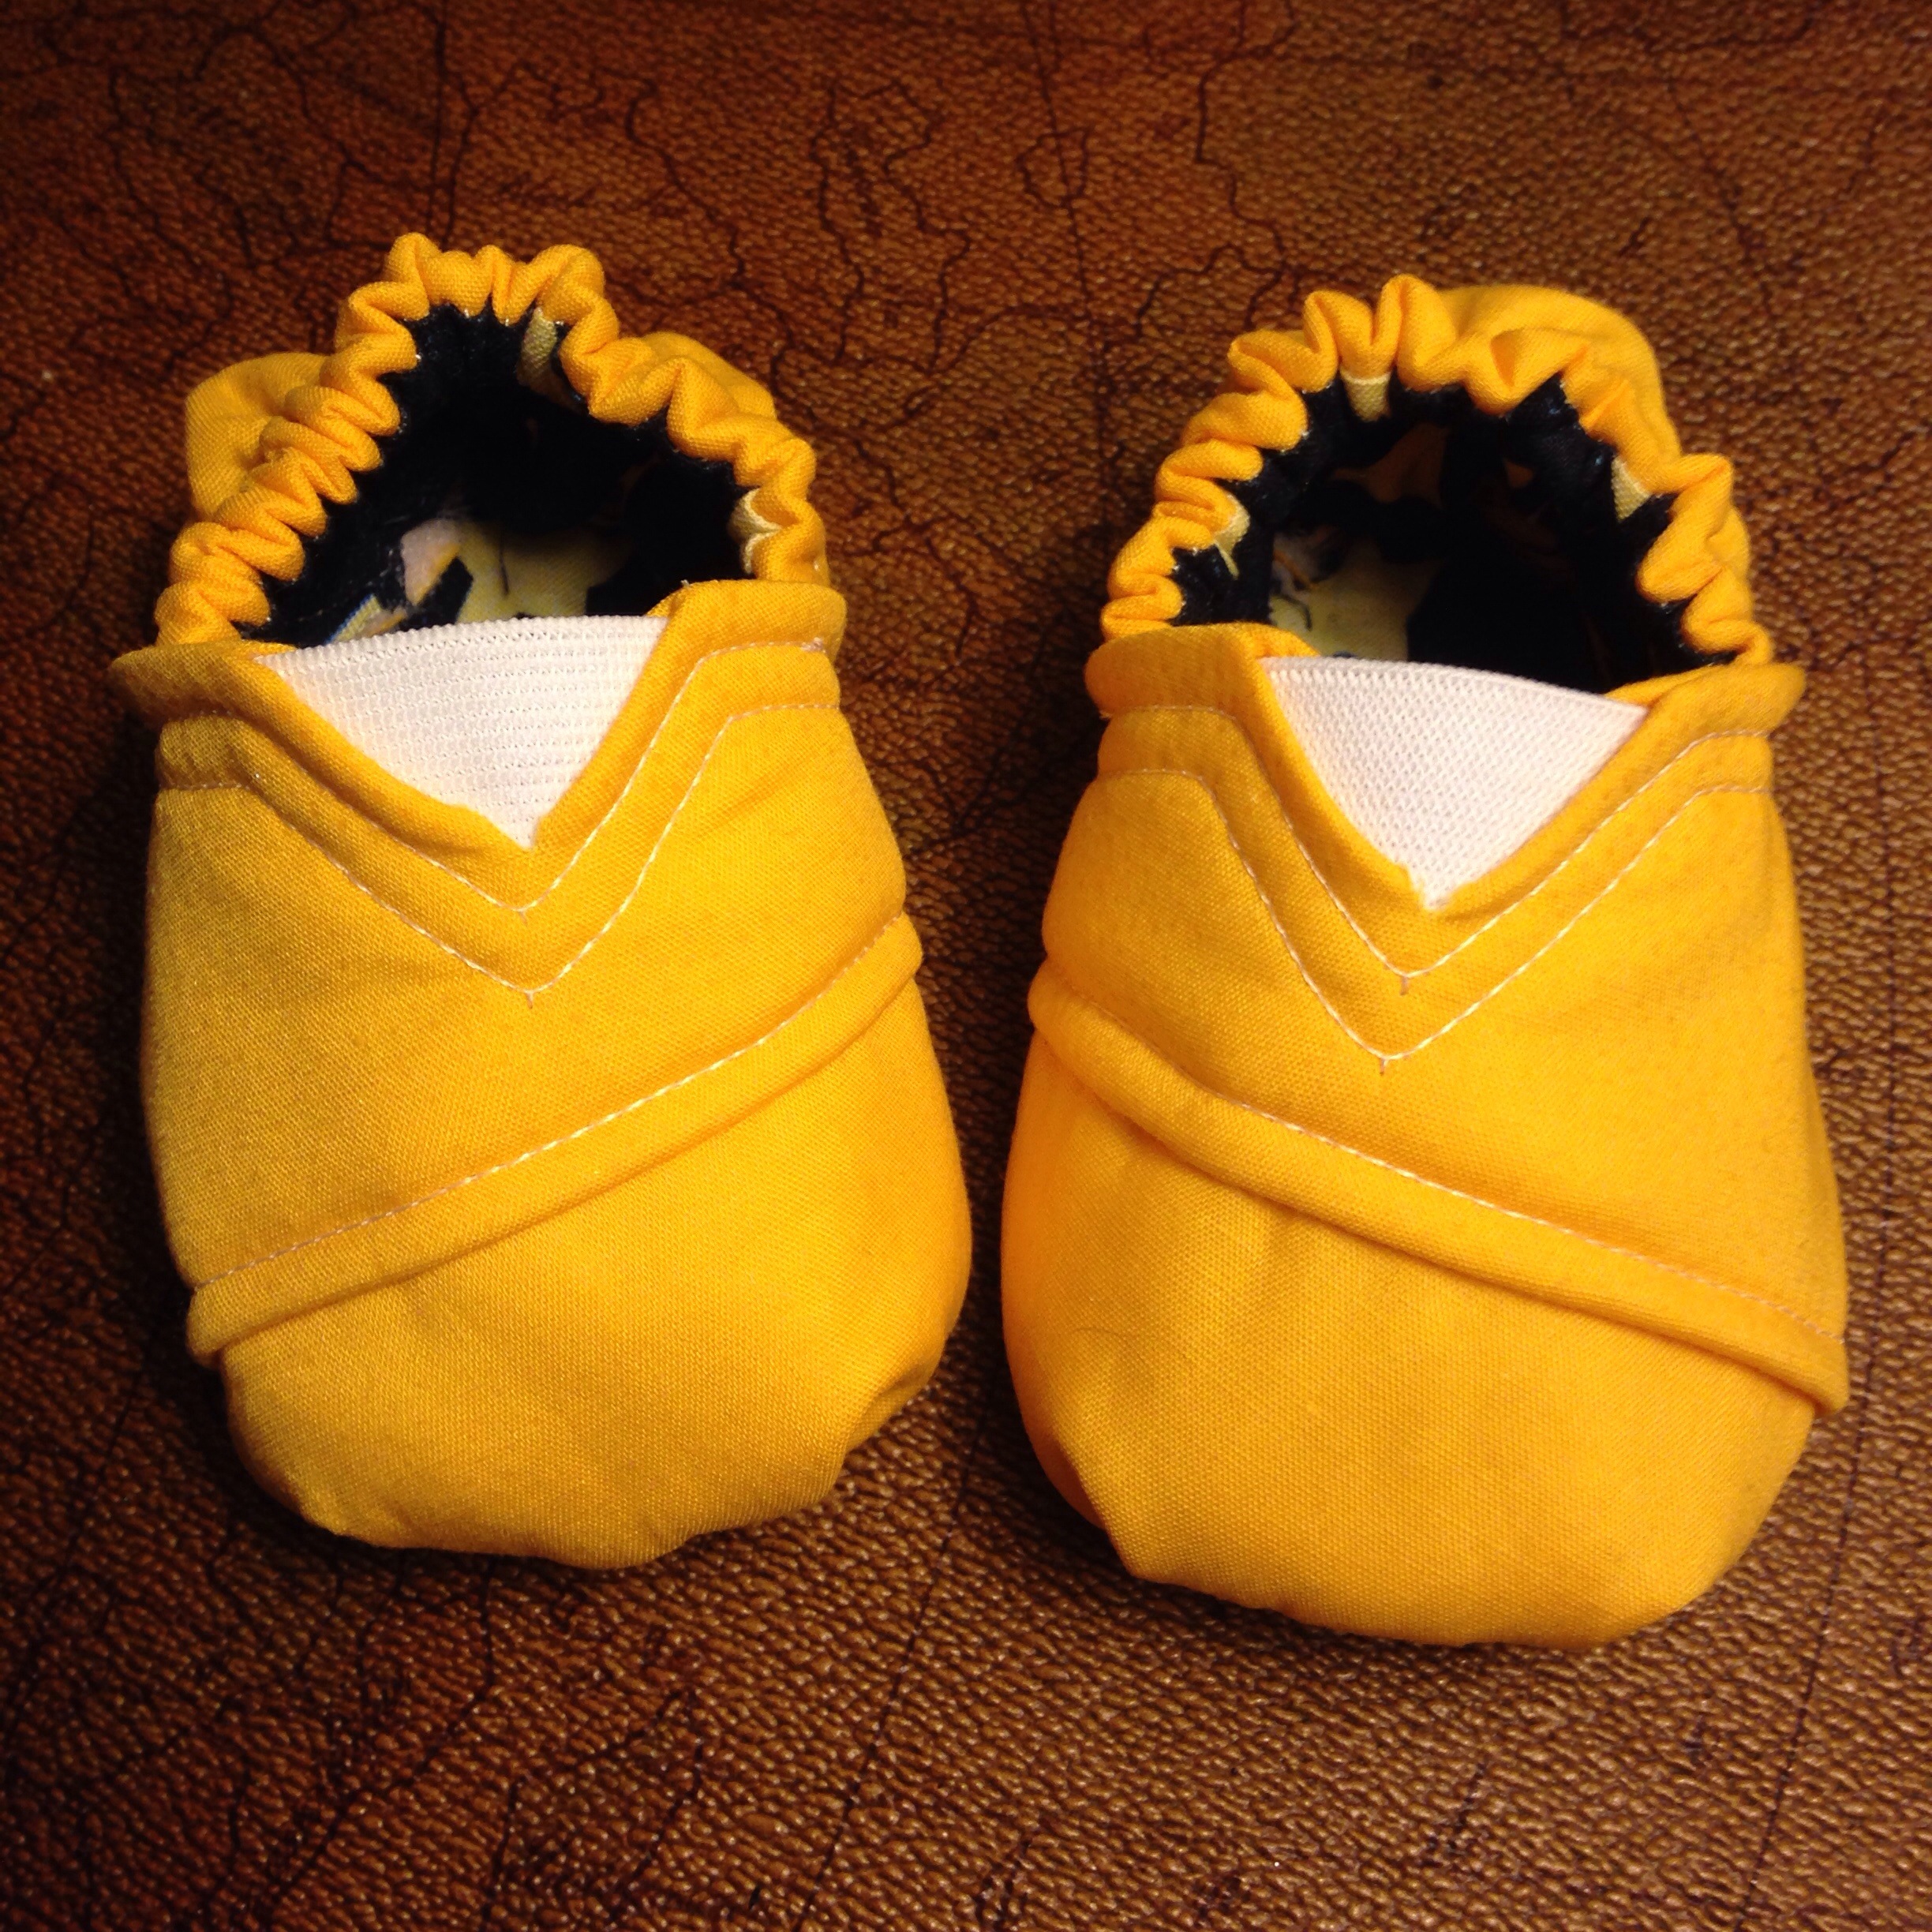
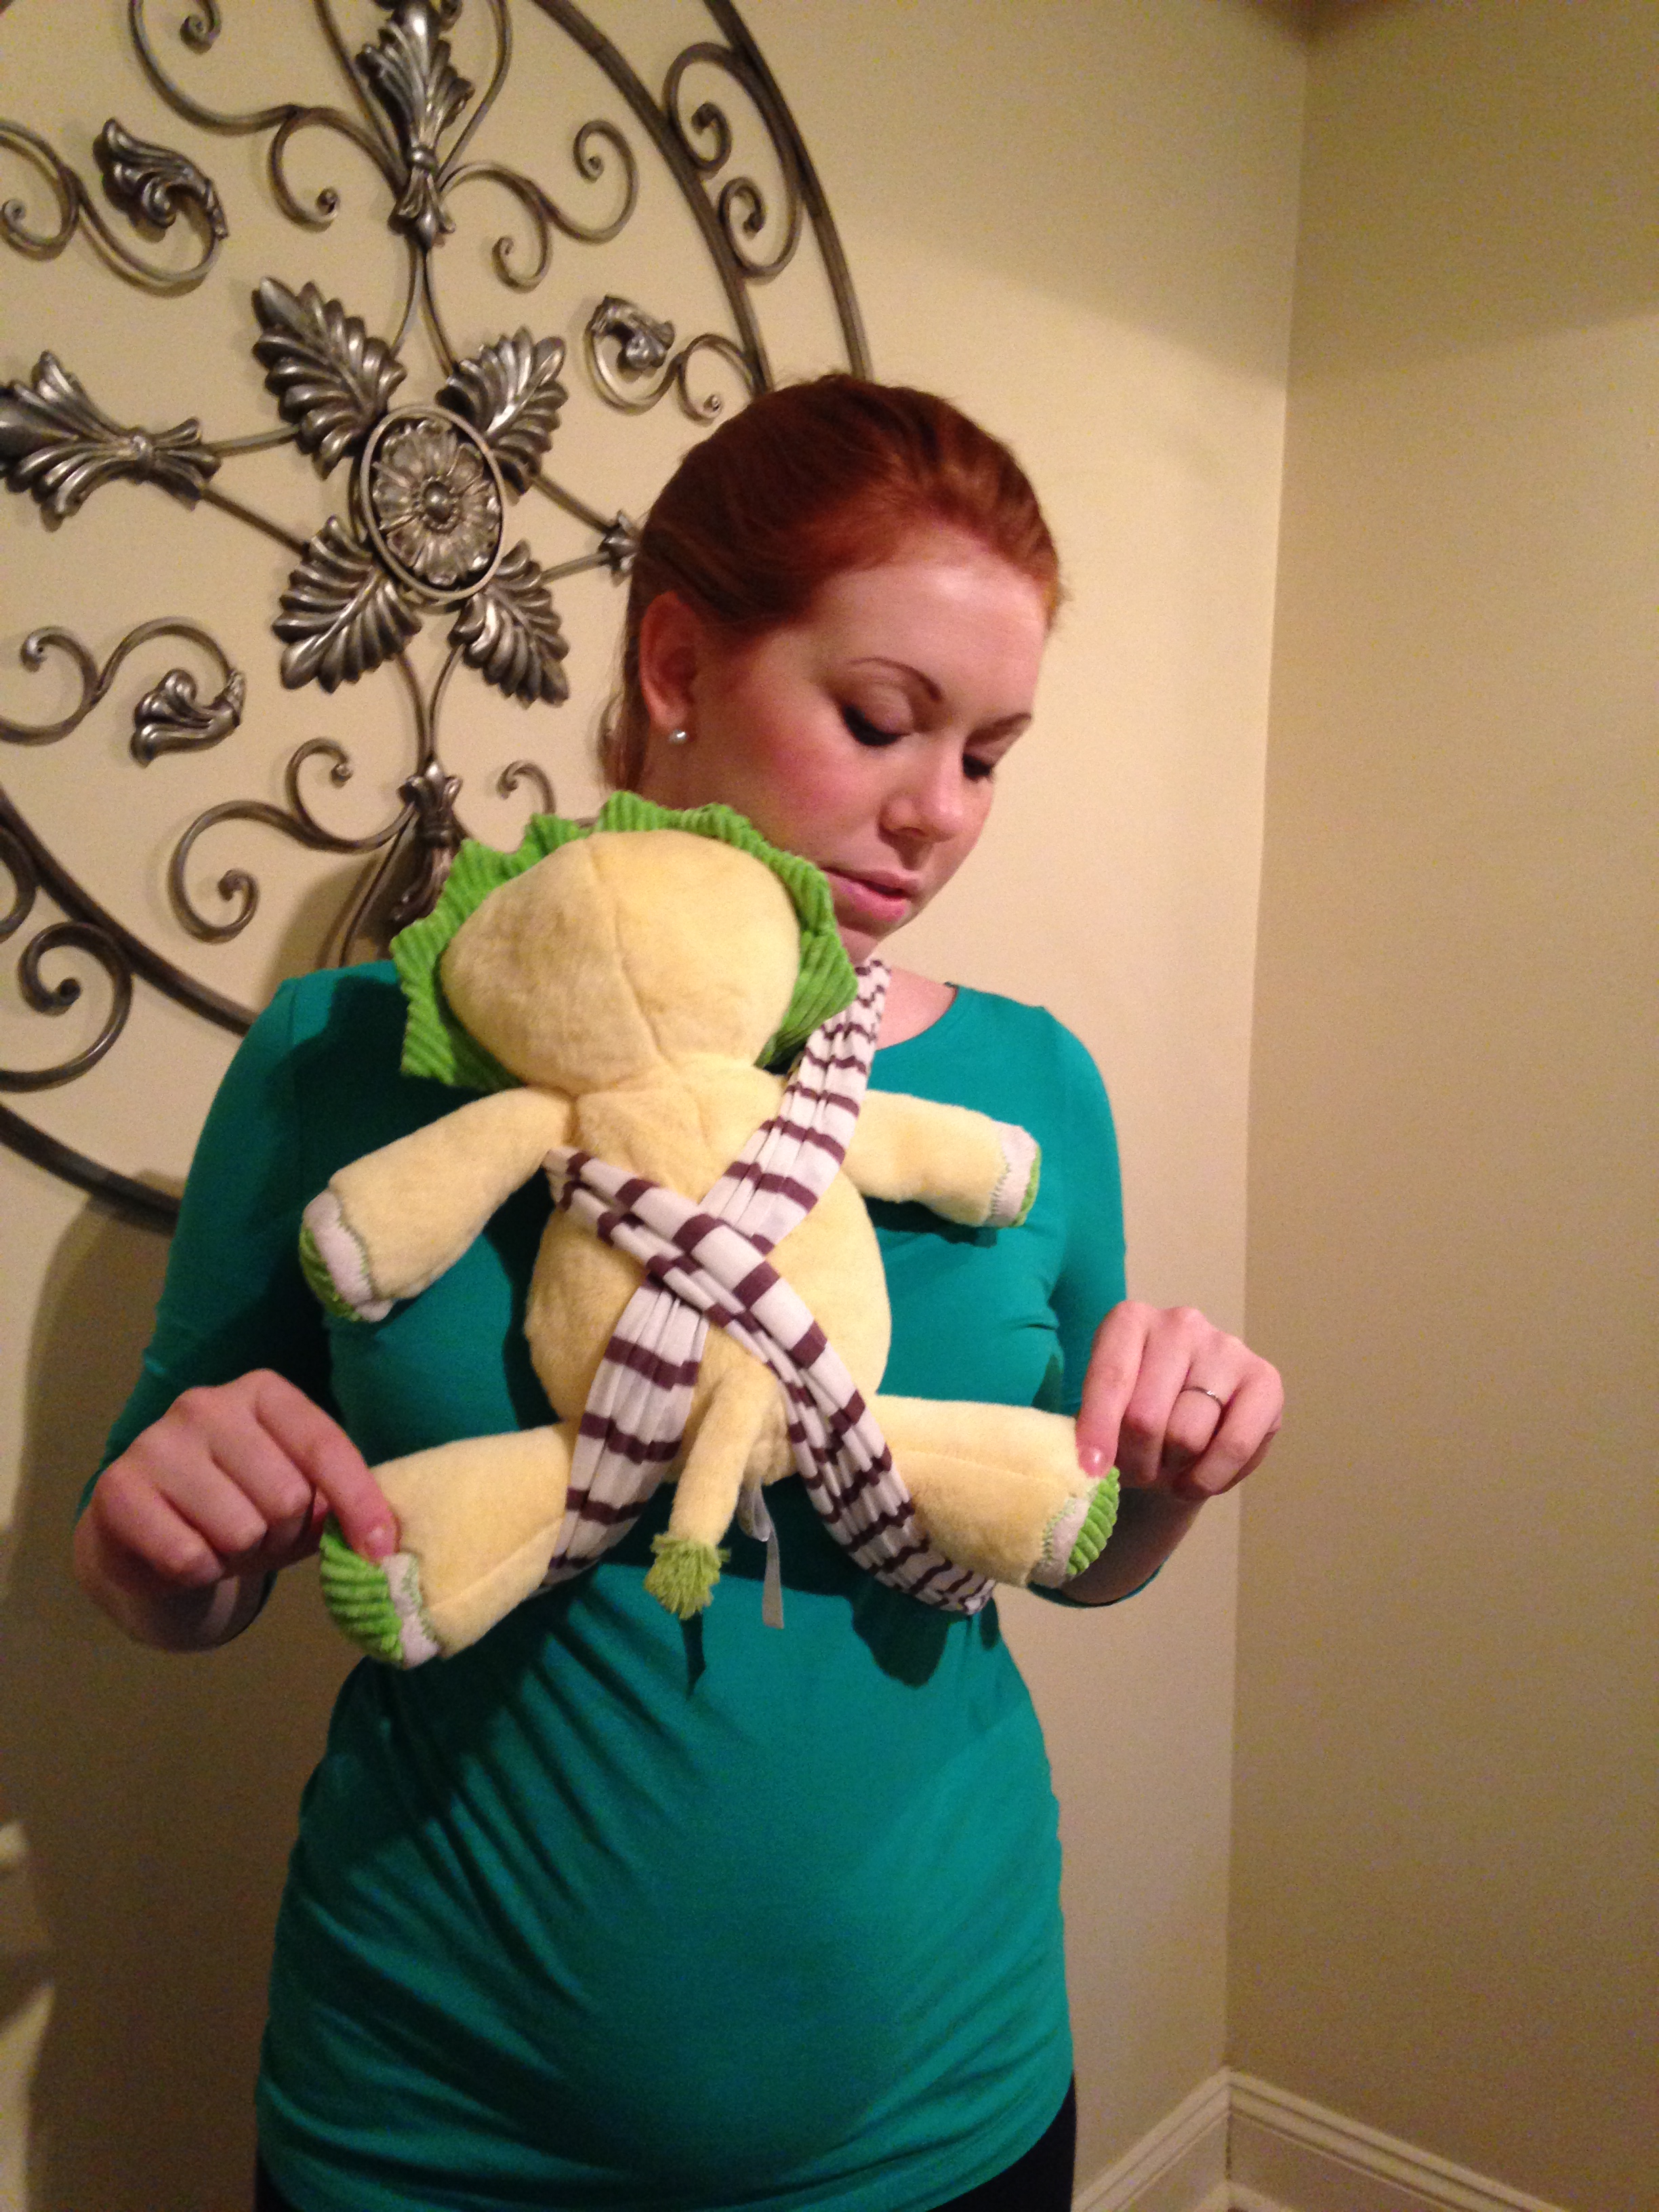
I found a great pattern for these Baby TOMS at homemadetoast.com. I modified them just a little and this is what I got:

BAH! The cuteness is killing me!!
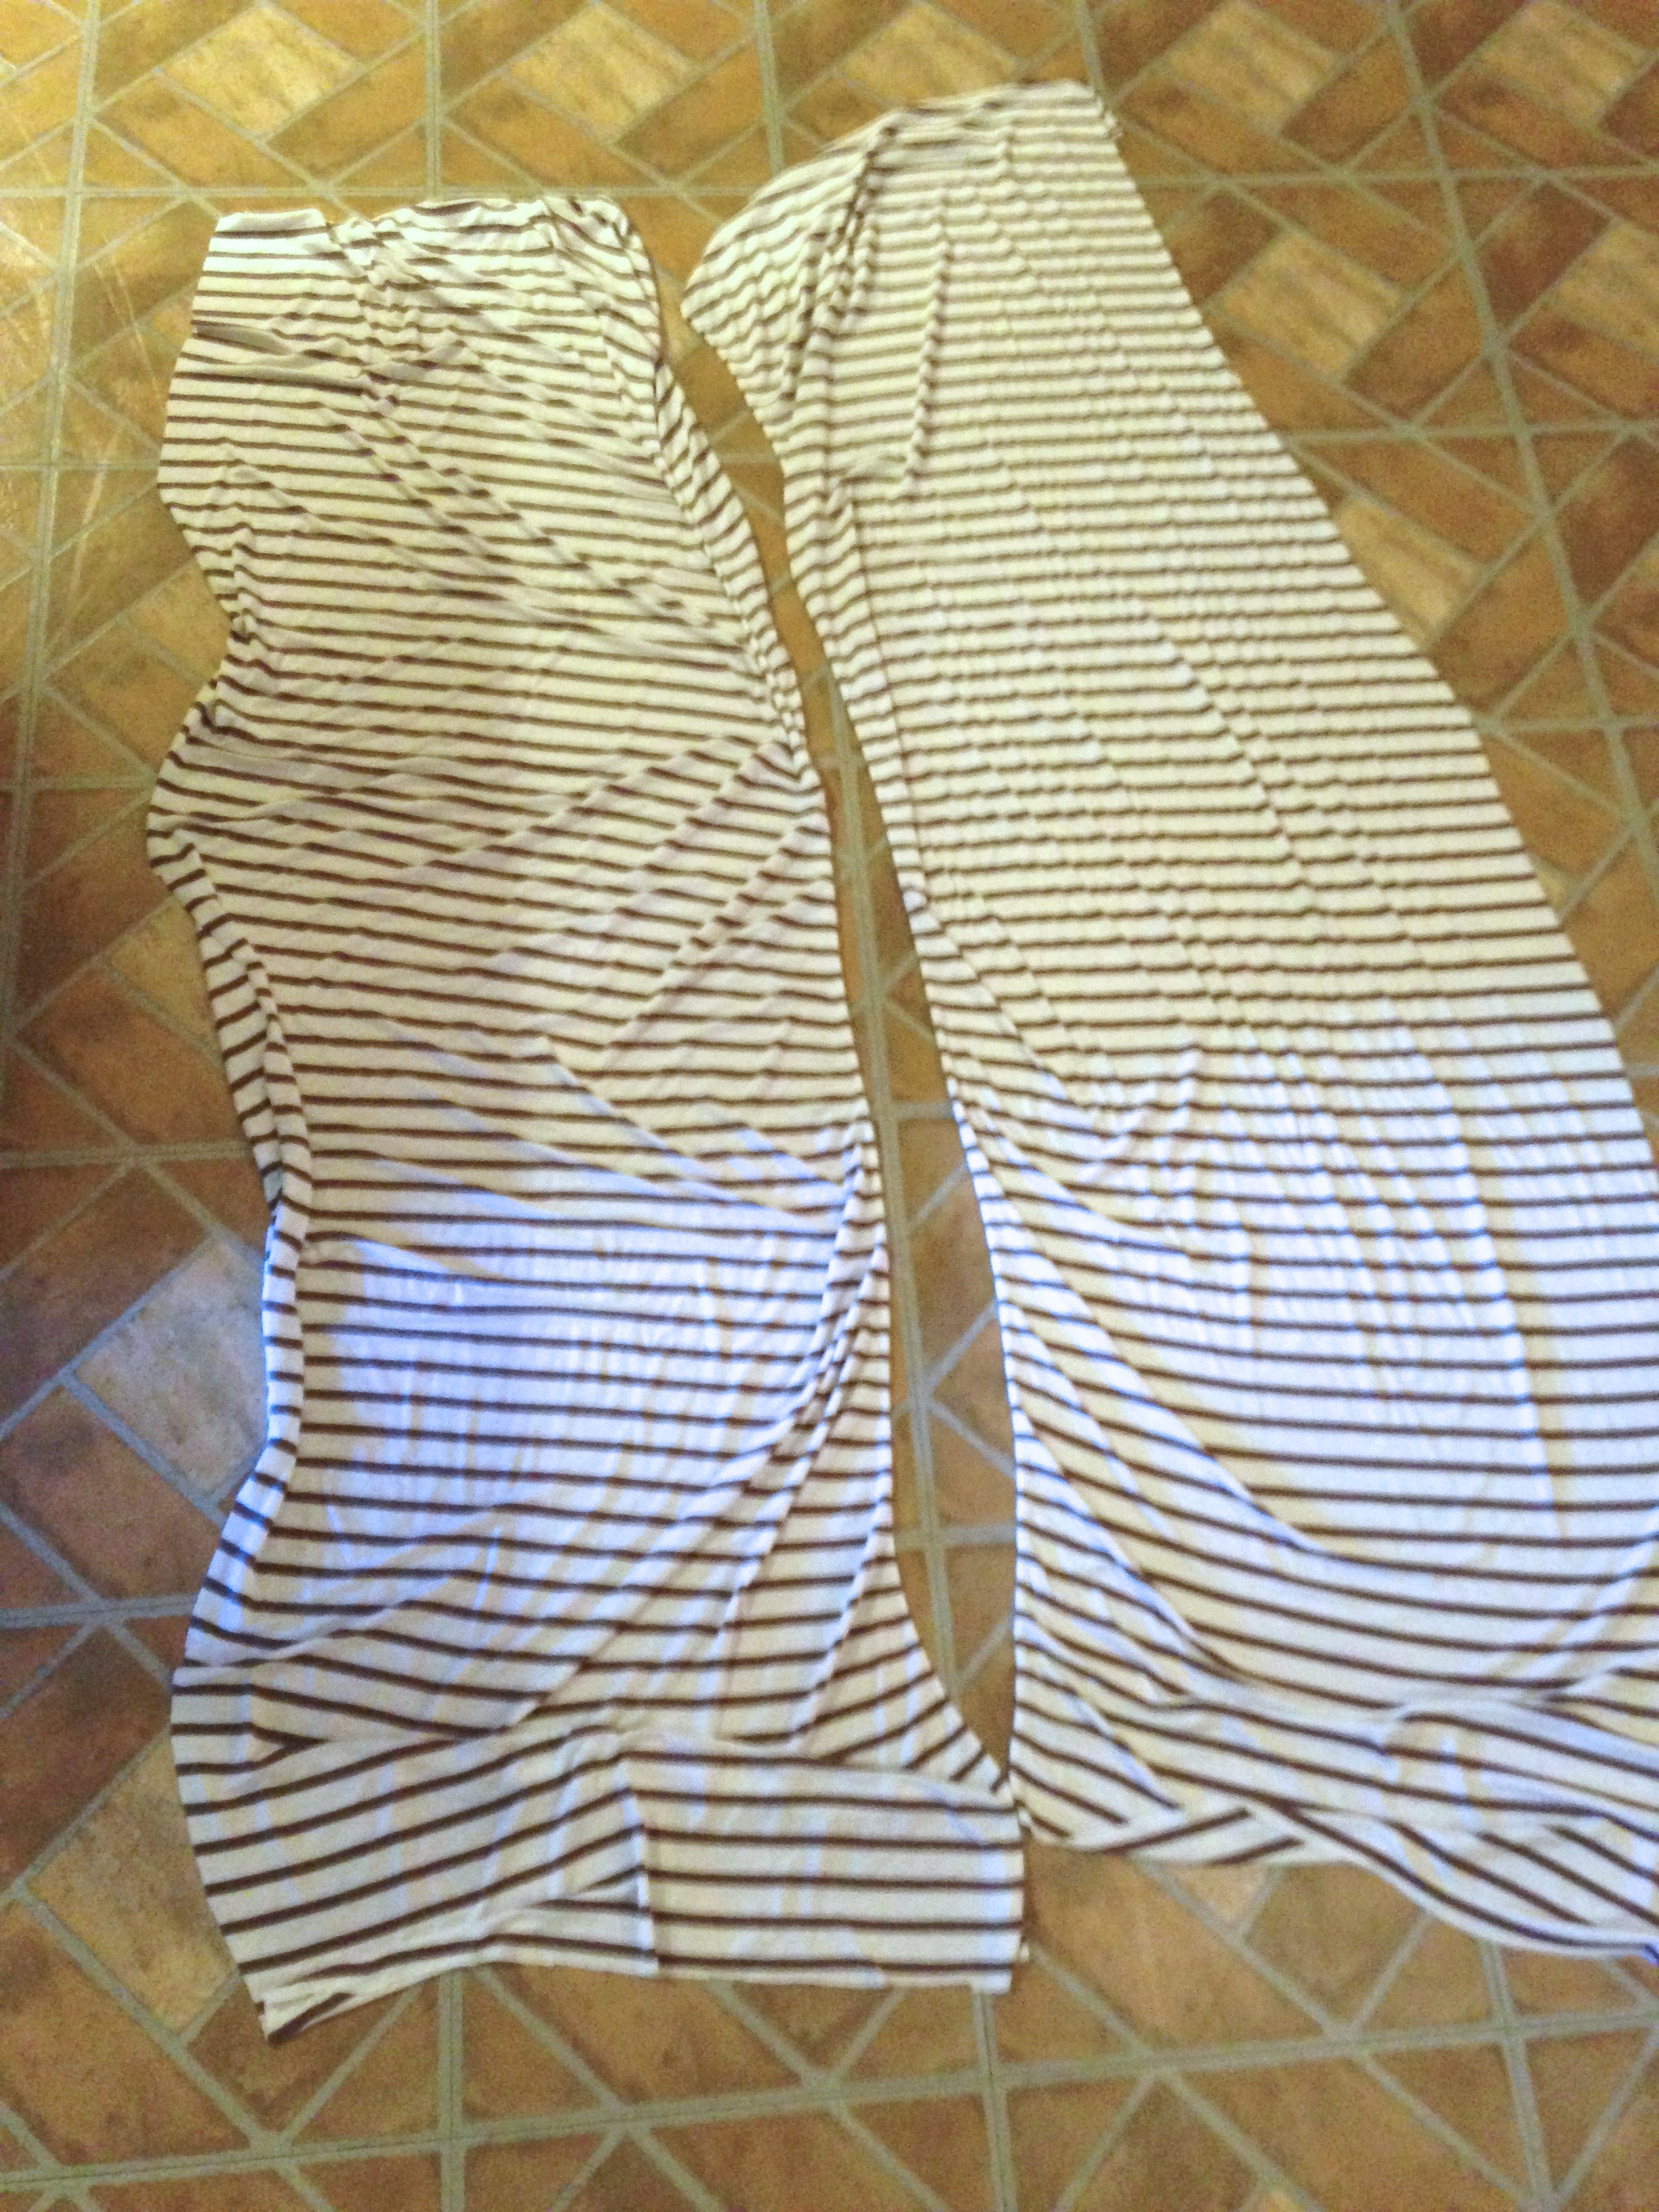
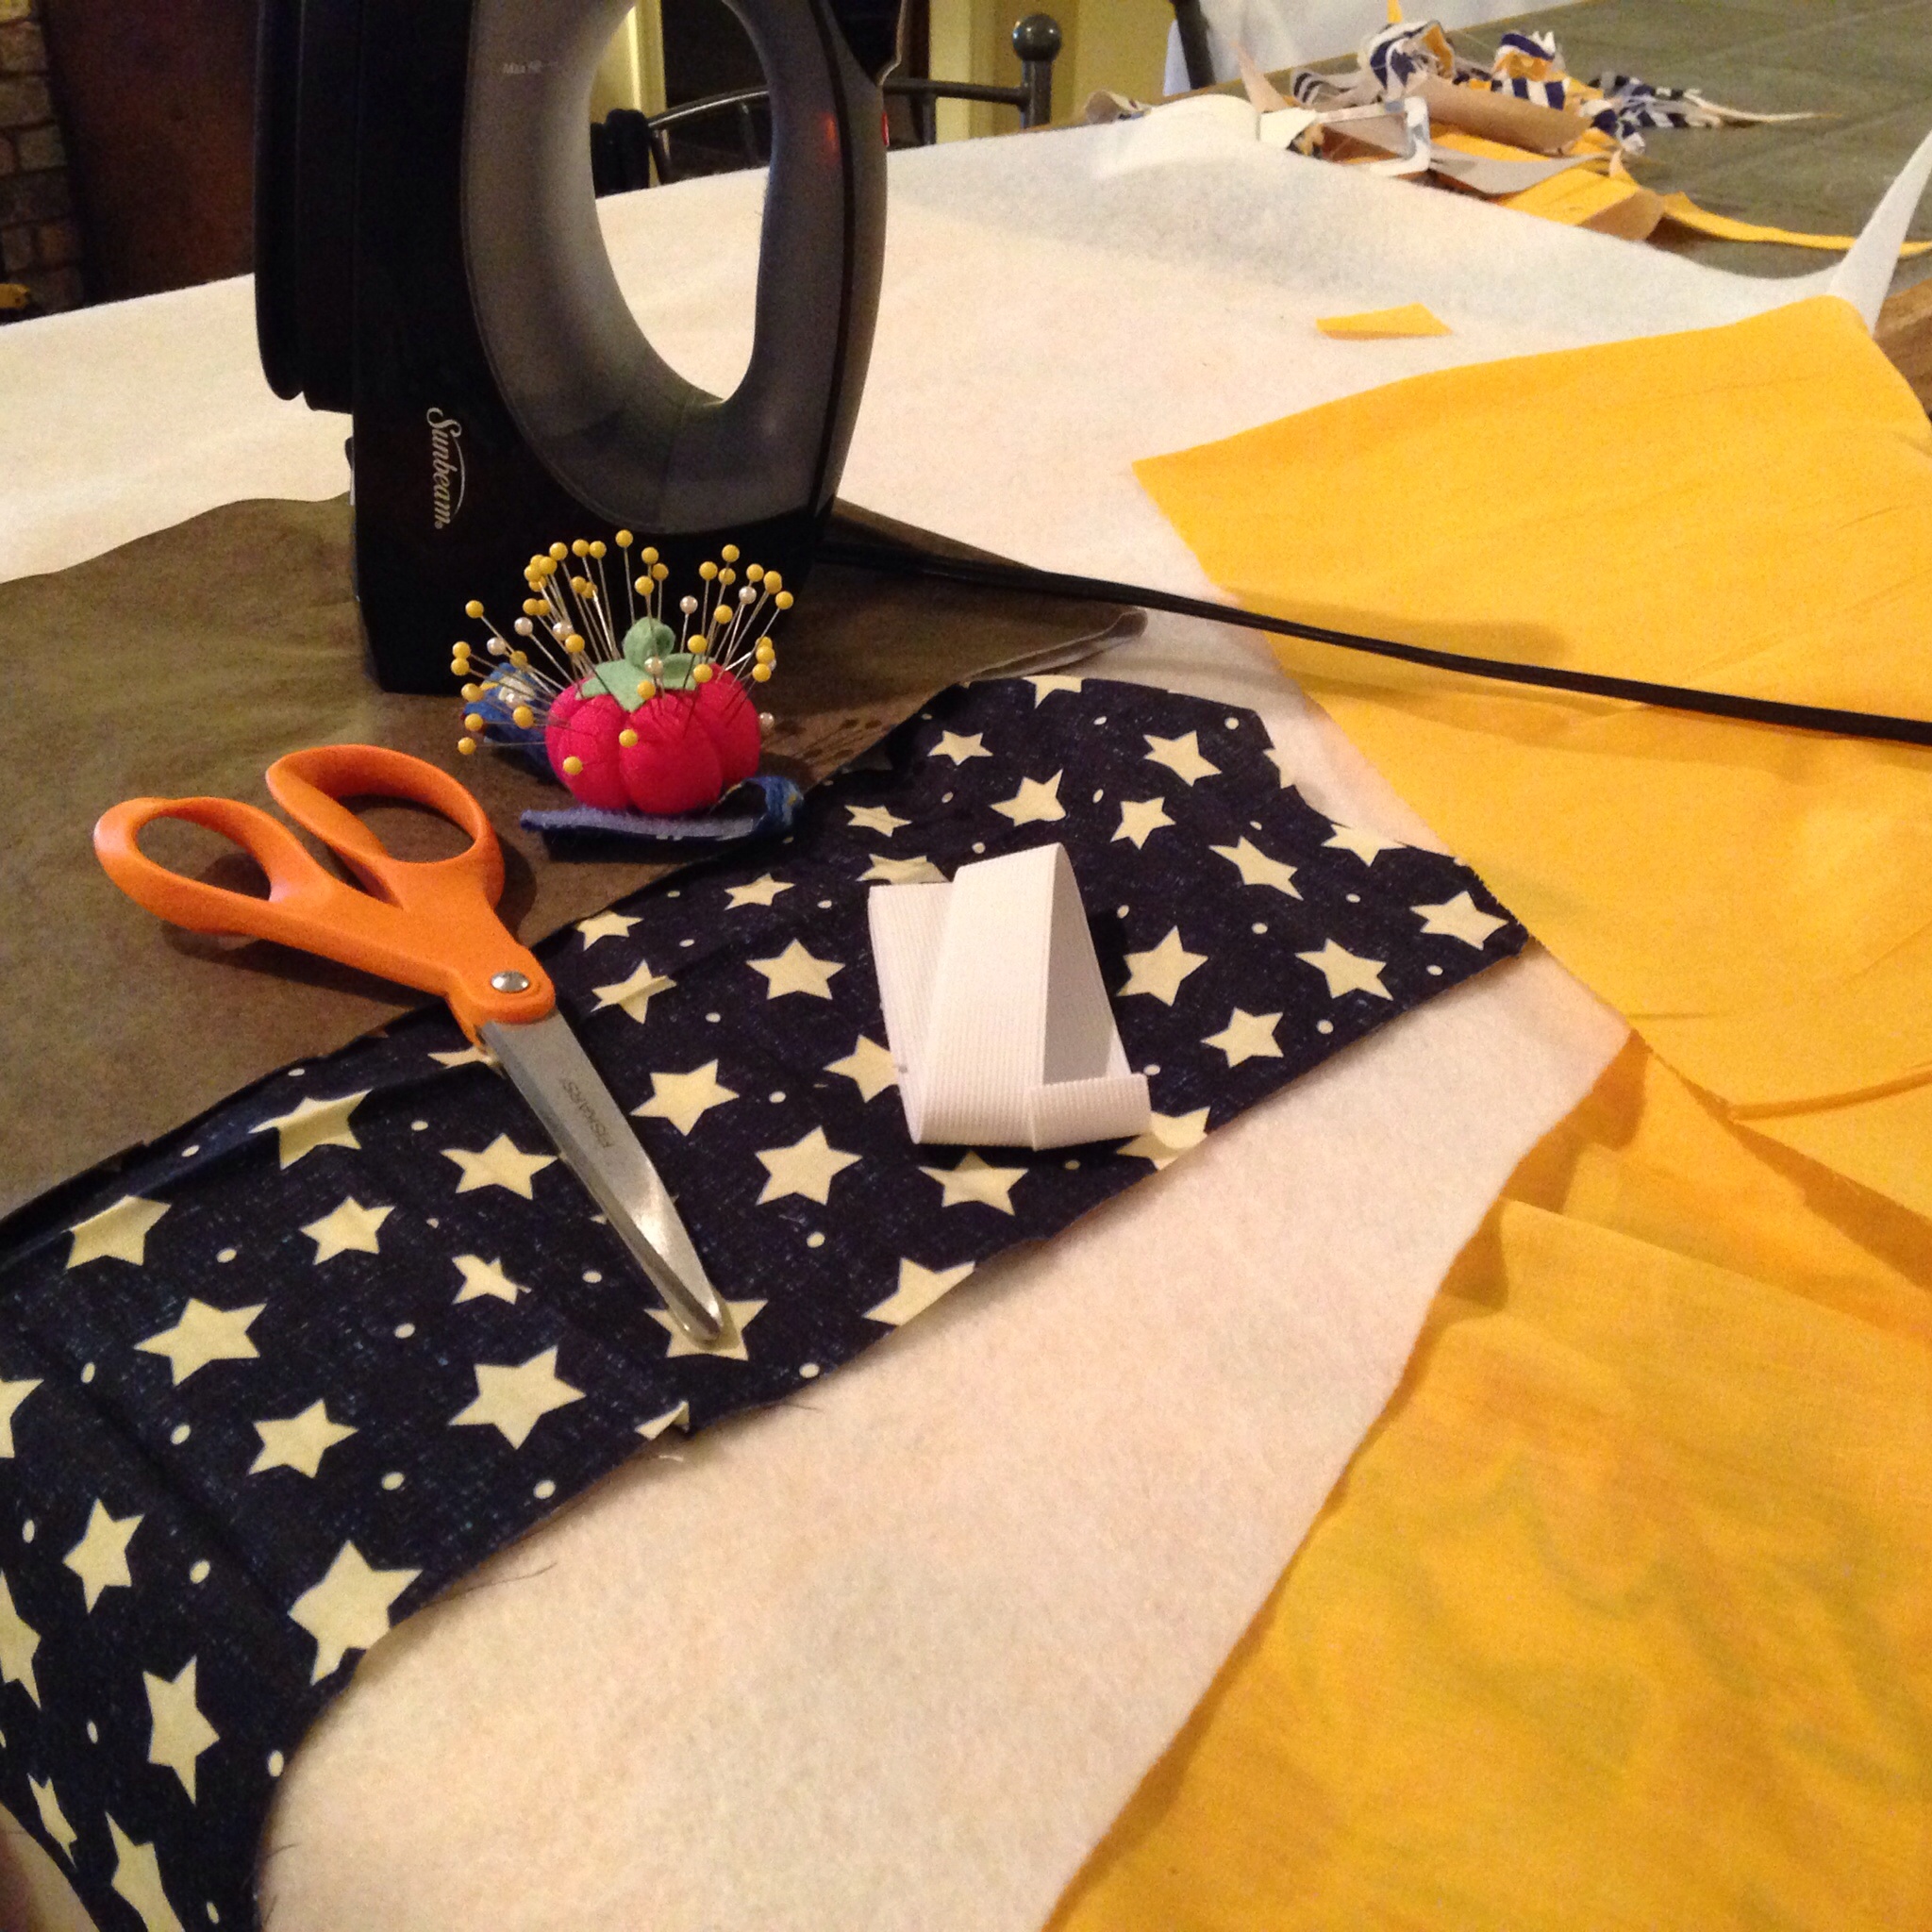
These were fairly simple to make! I started with 1/2 yard of a thin cotton fabric with equal amounts of fusible fleece interfacing to make it more sturdy and insulated. You’ll need just a scrap of fabric for the inside liner and even less for the bottom of the sole. You’ll also need 4″ of 3/4-inch elastic and 12″ of 1/4-inch elastic. Have scissors, straight pins and an iron on hand, too.
Credit to homemadetoast.com
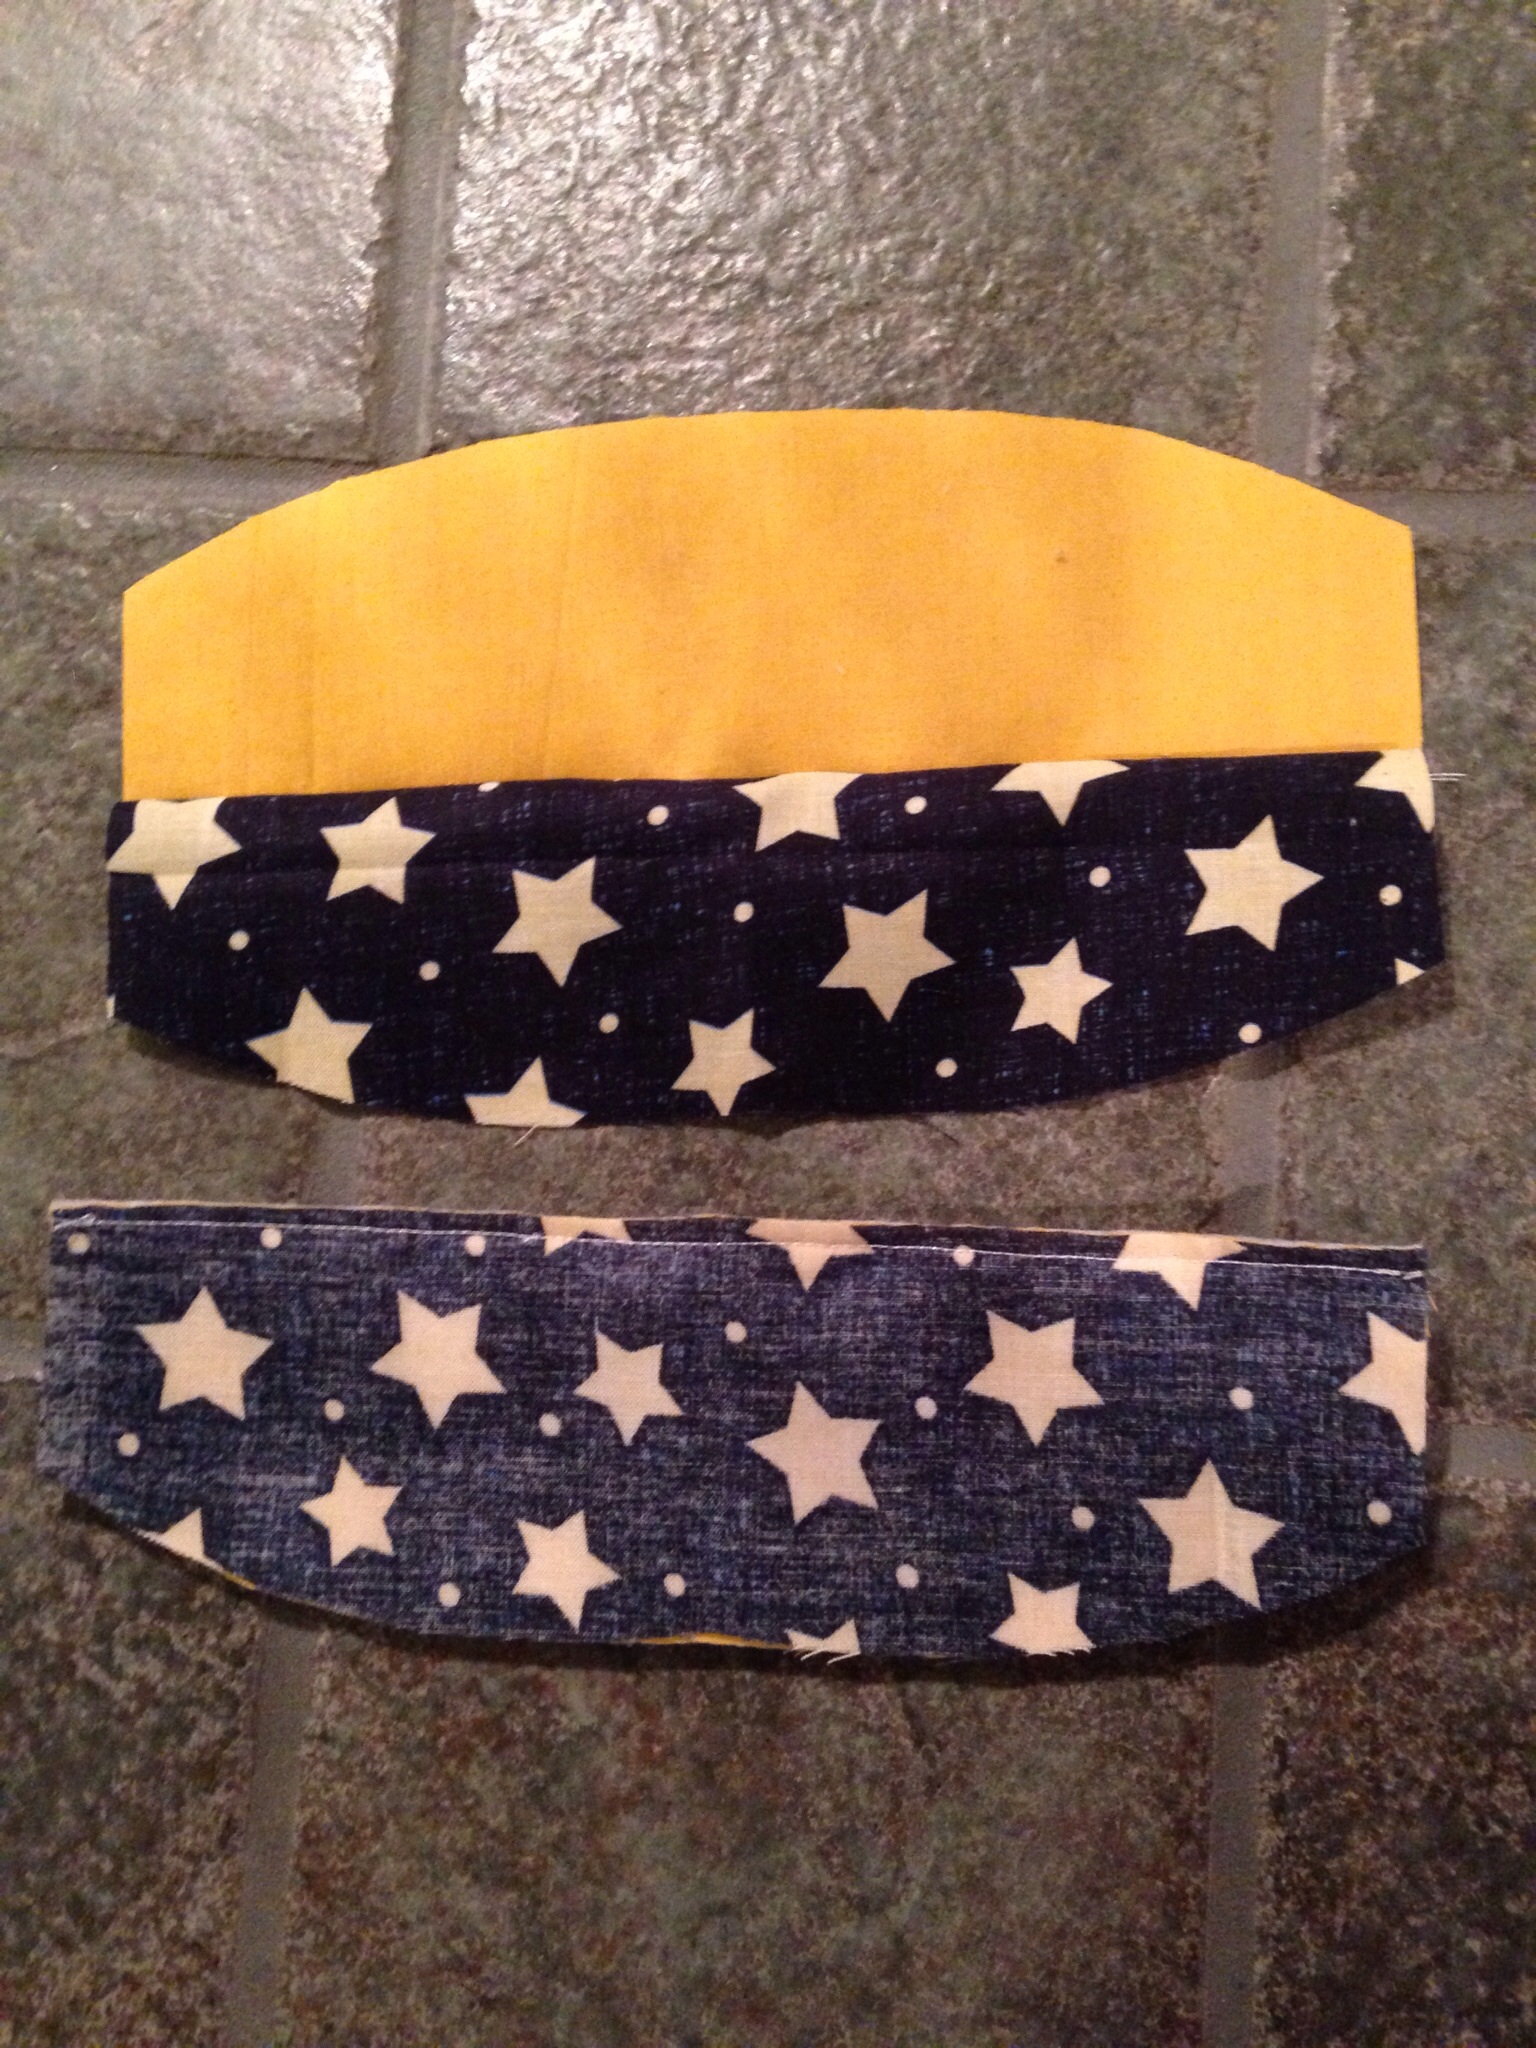
Step 1:
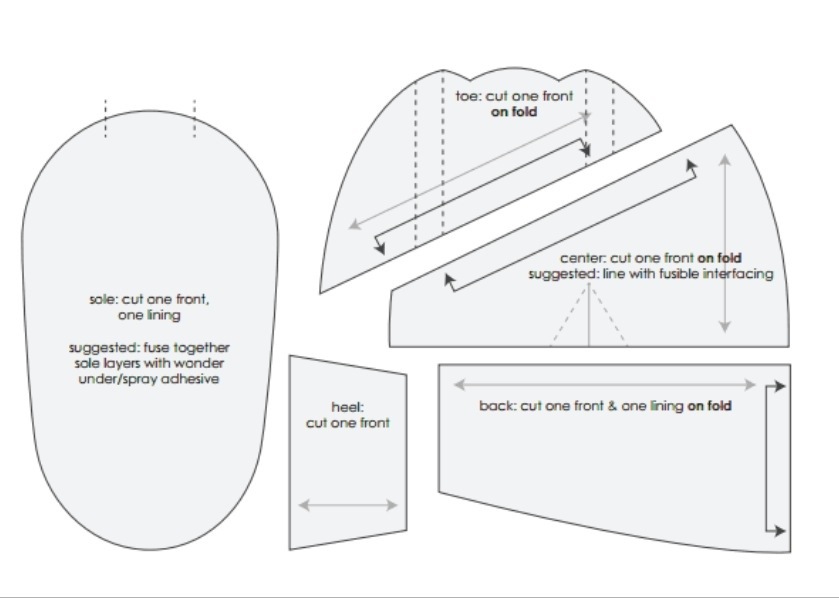
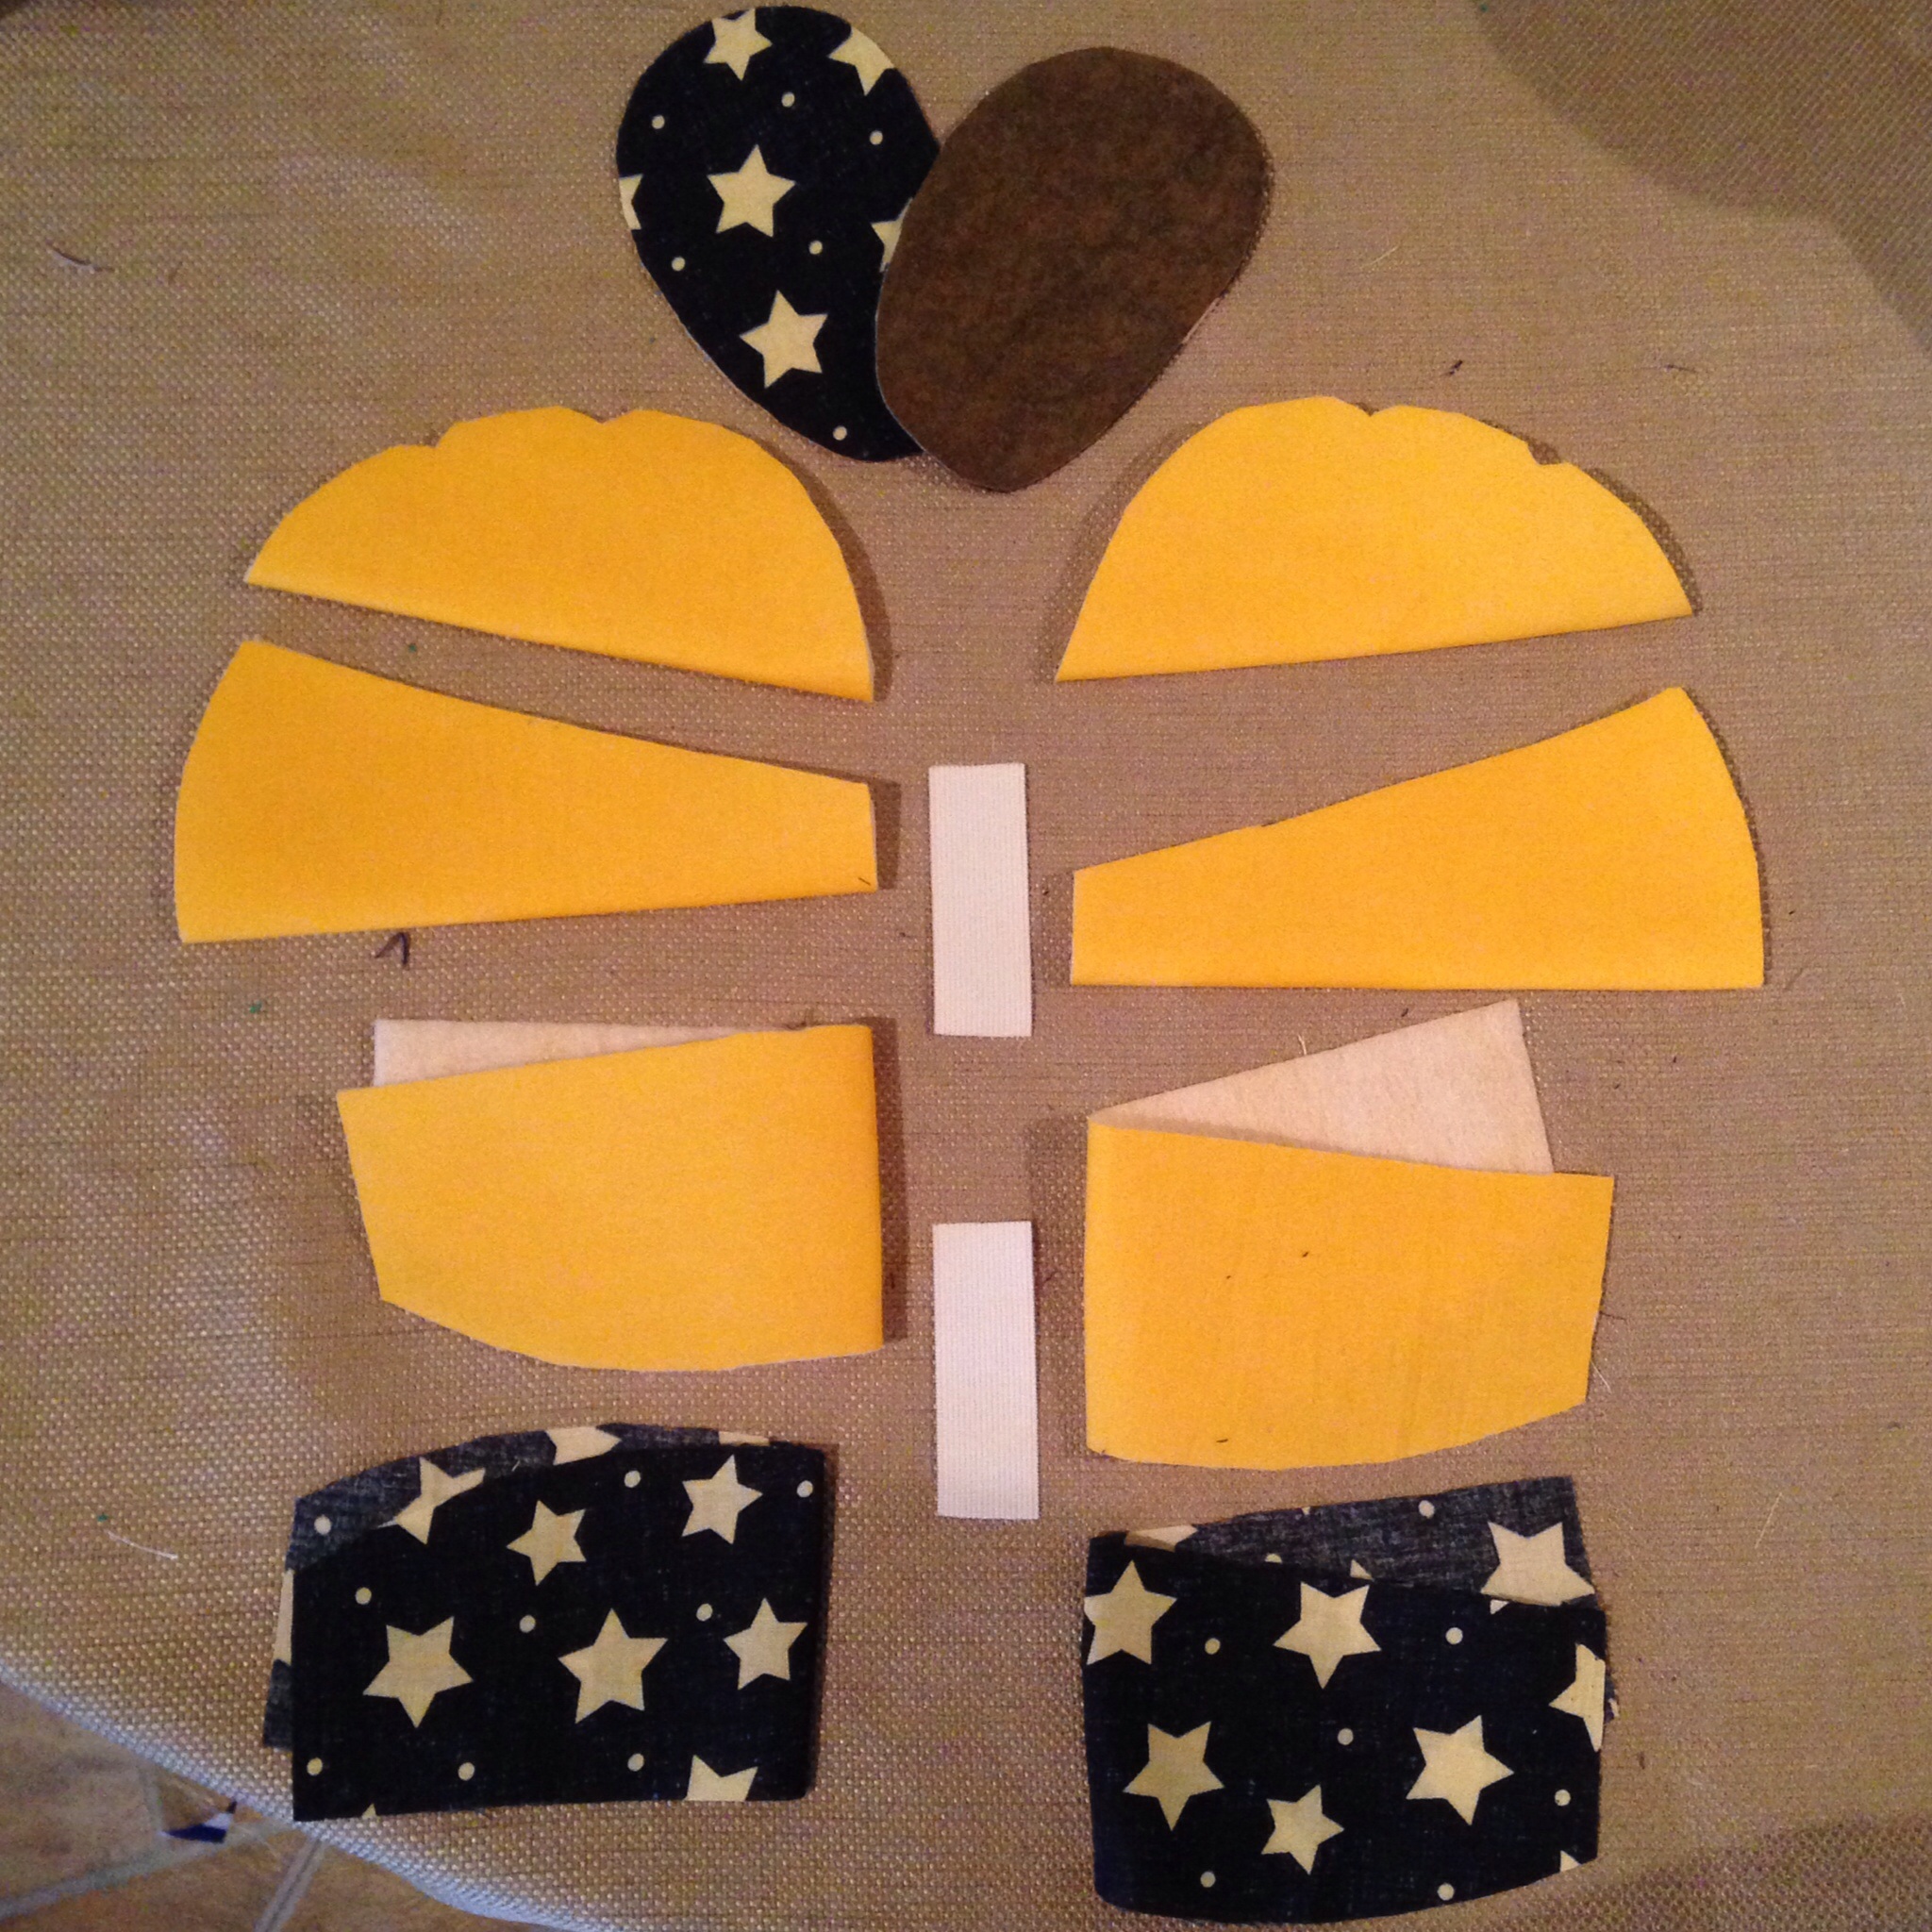
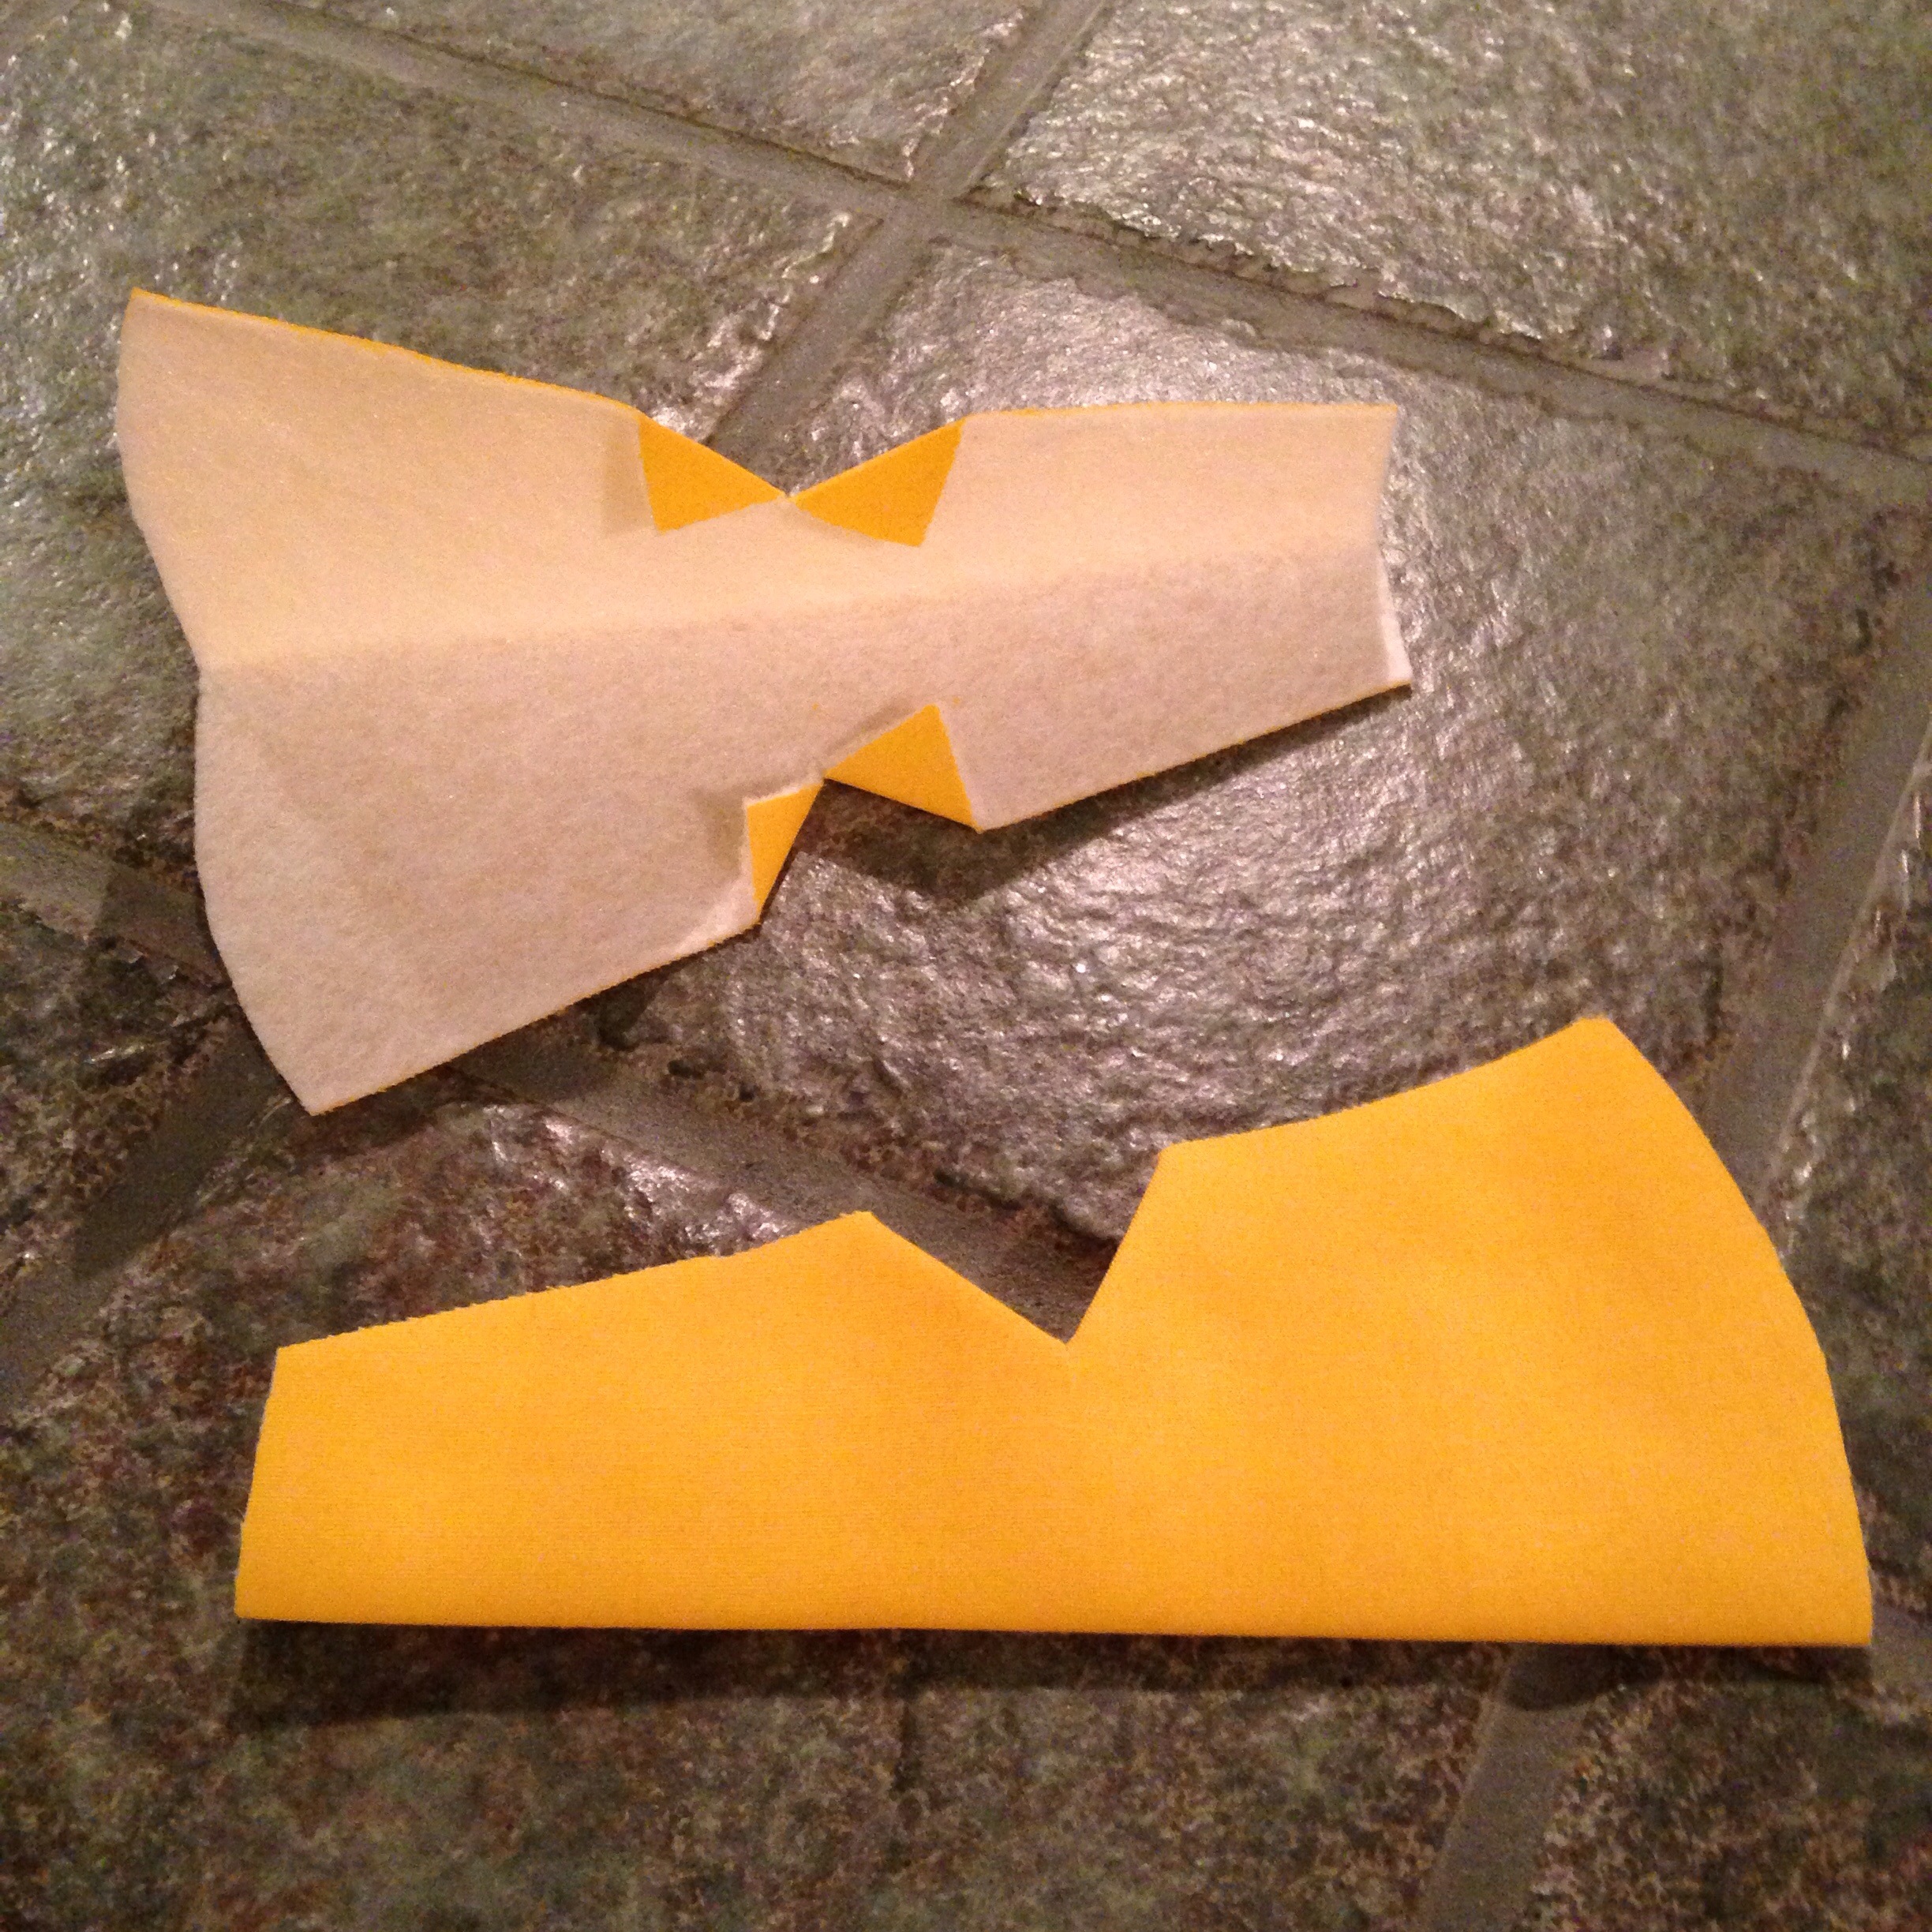
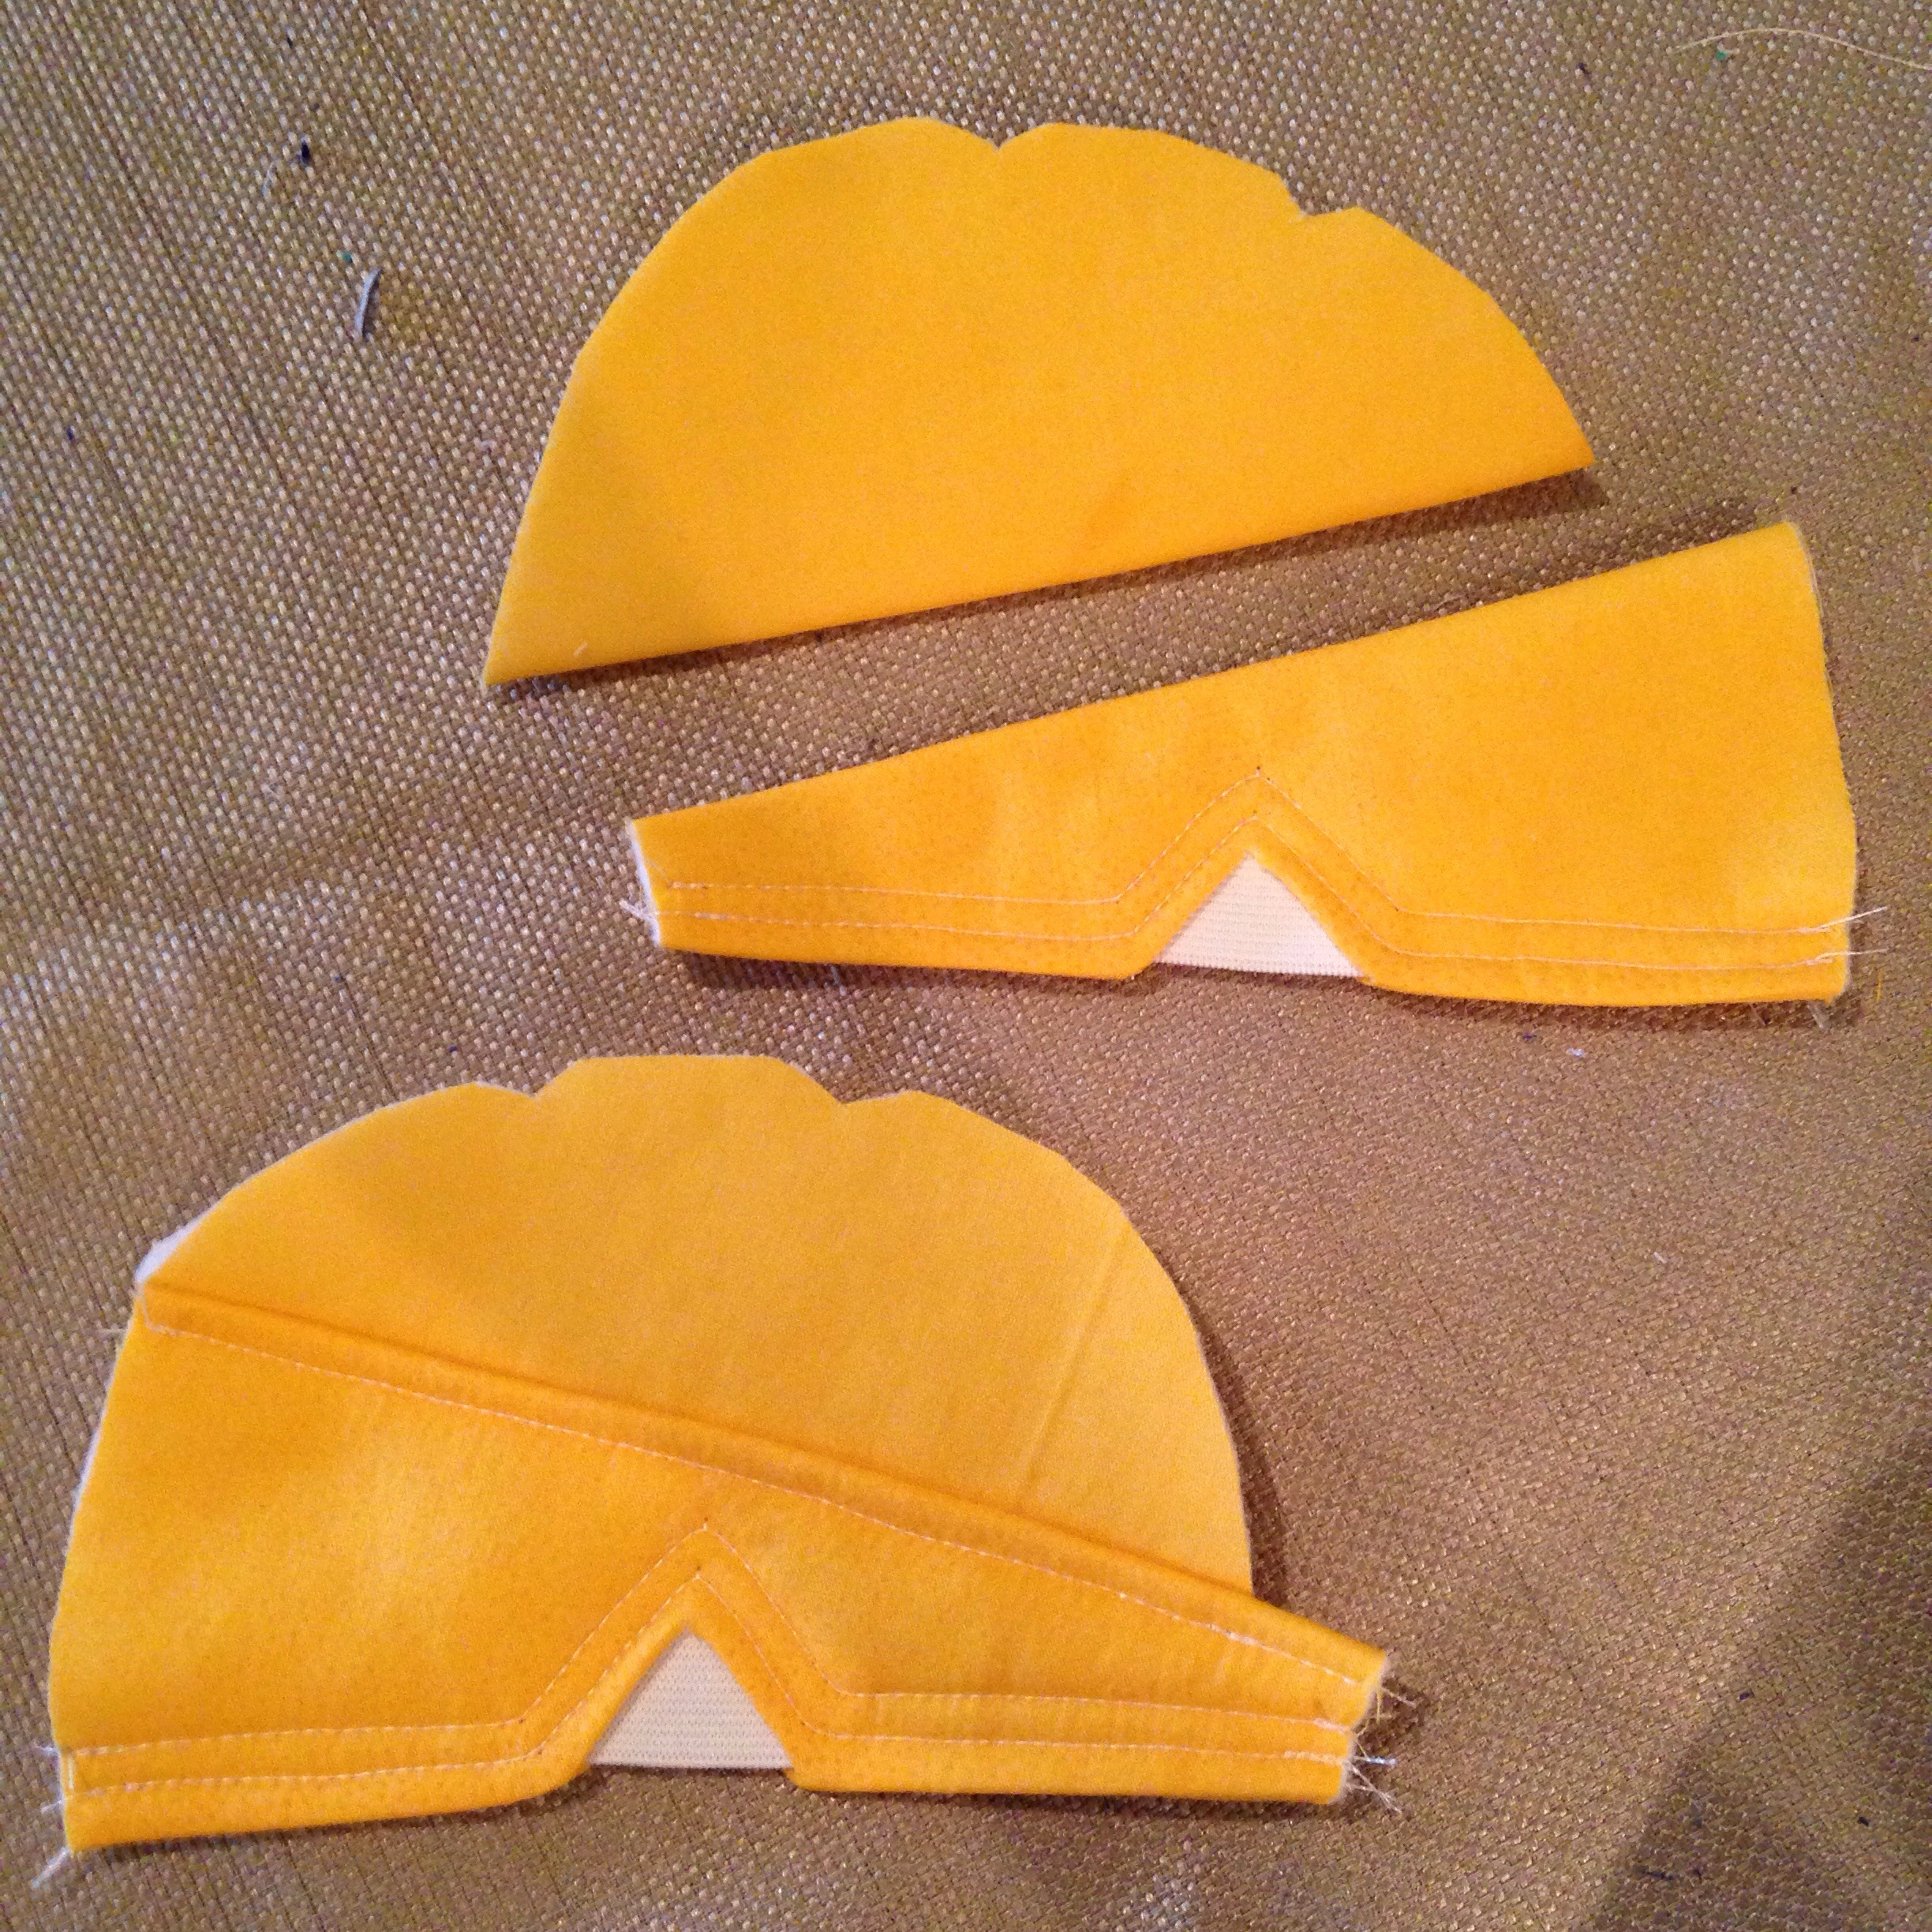
Cut out all the pieces using the pattern above. The pieces should look like this (my two sole layers were already stuck together; you cant see, but there are two of each):
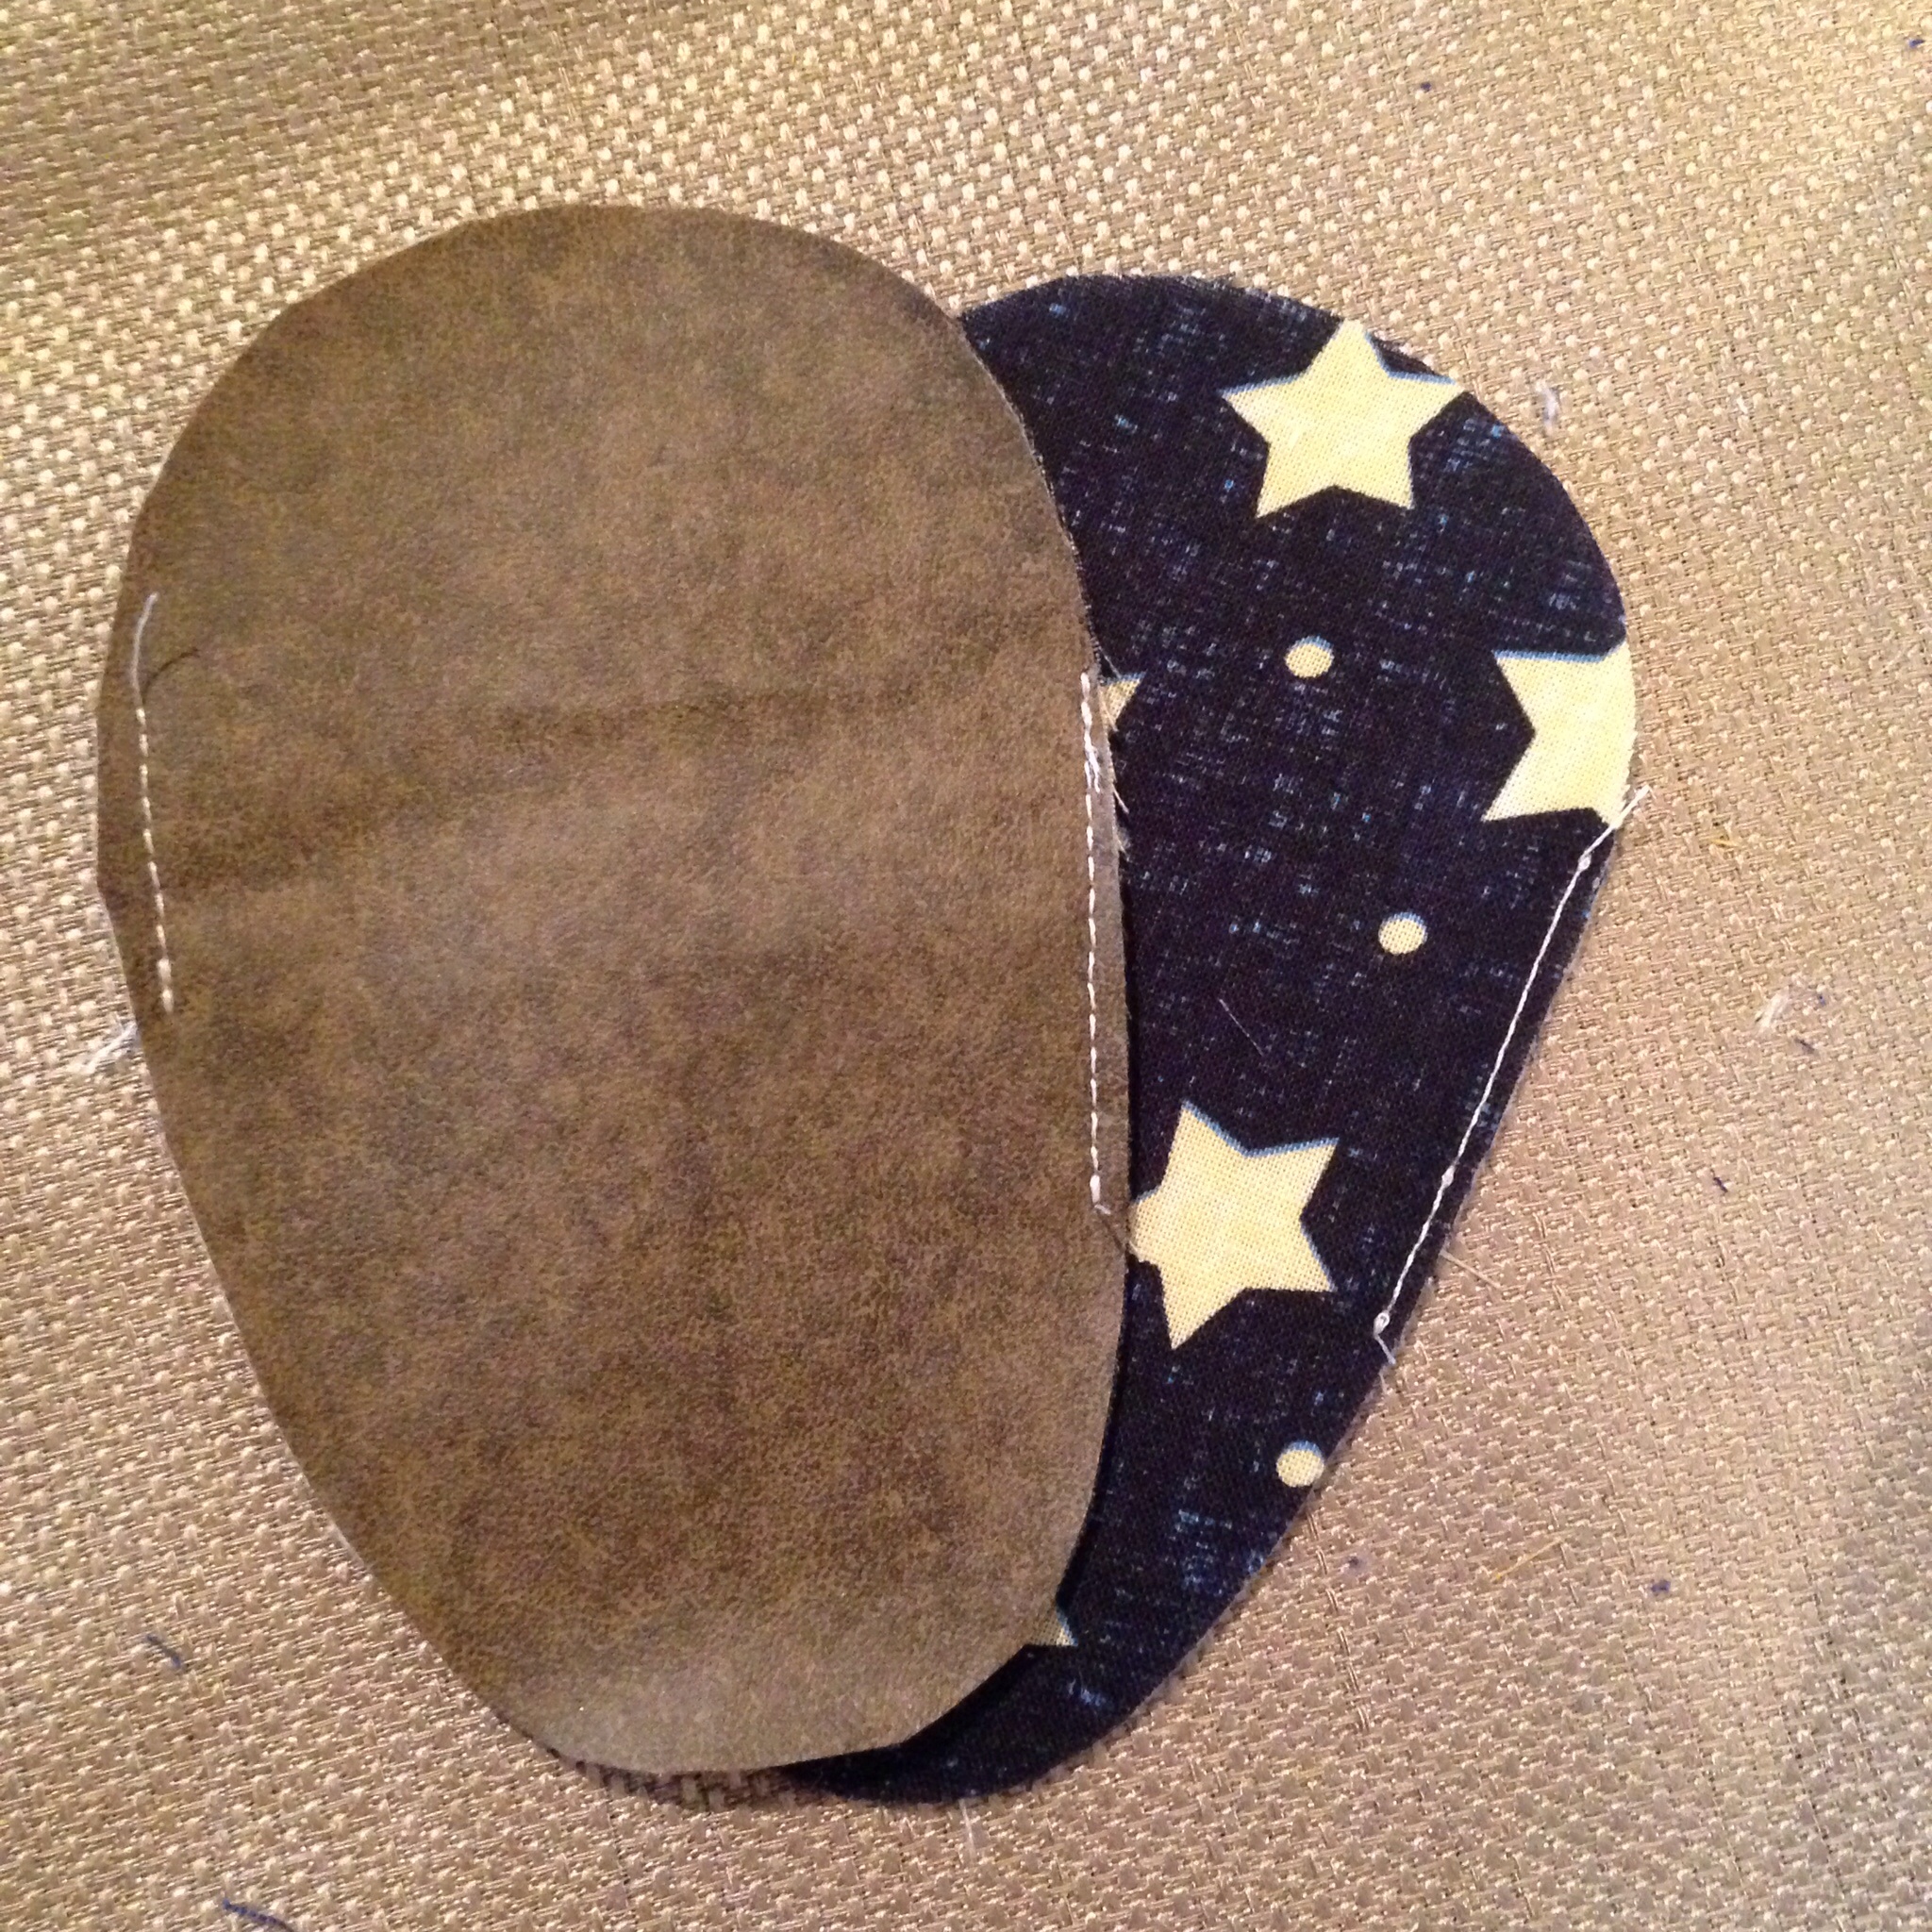
Step 2:
Attach the inner and outer layers of the sole either using spray adhesive or a few stitches.
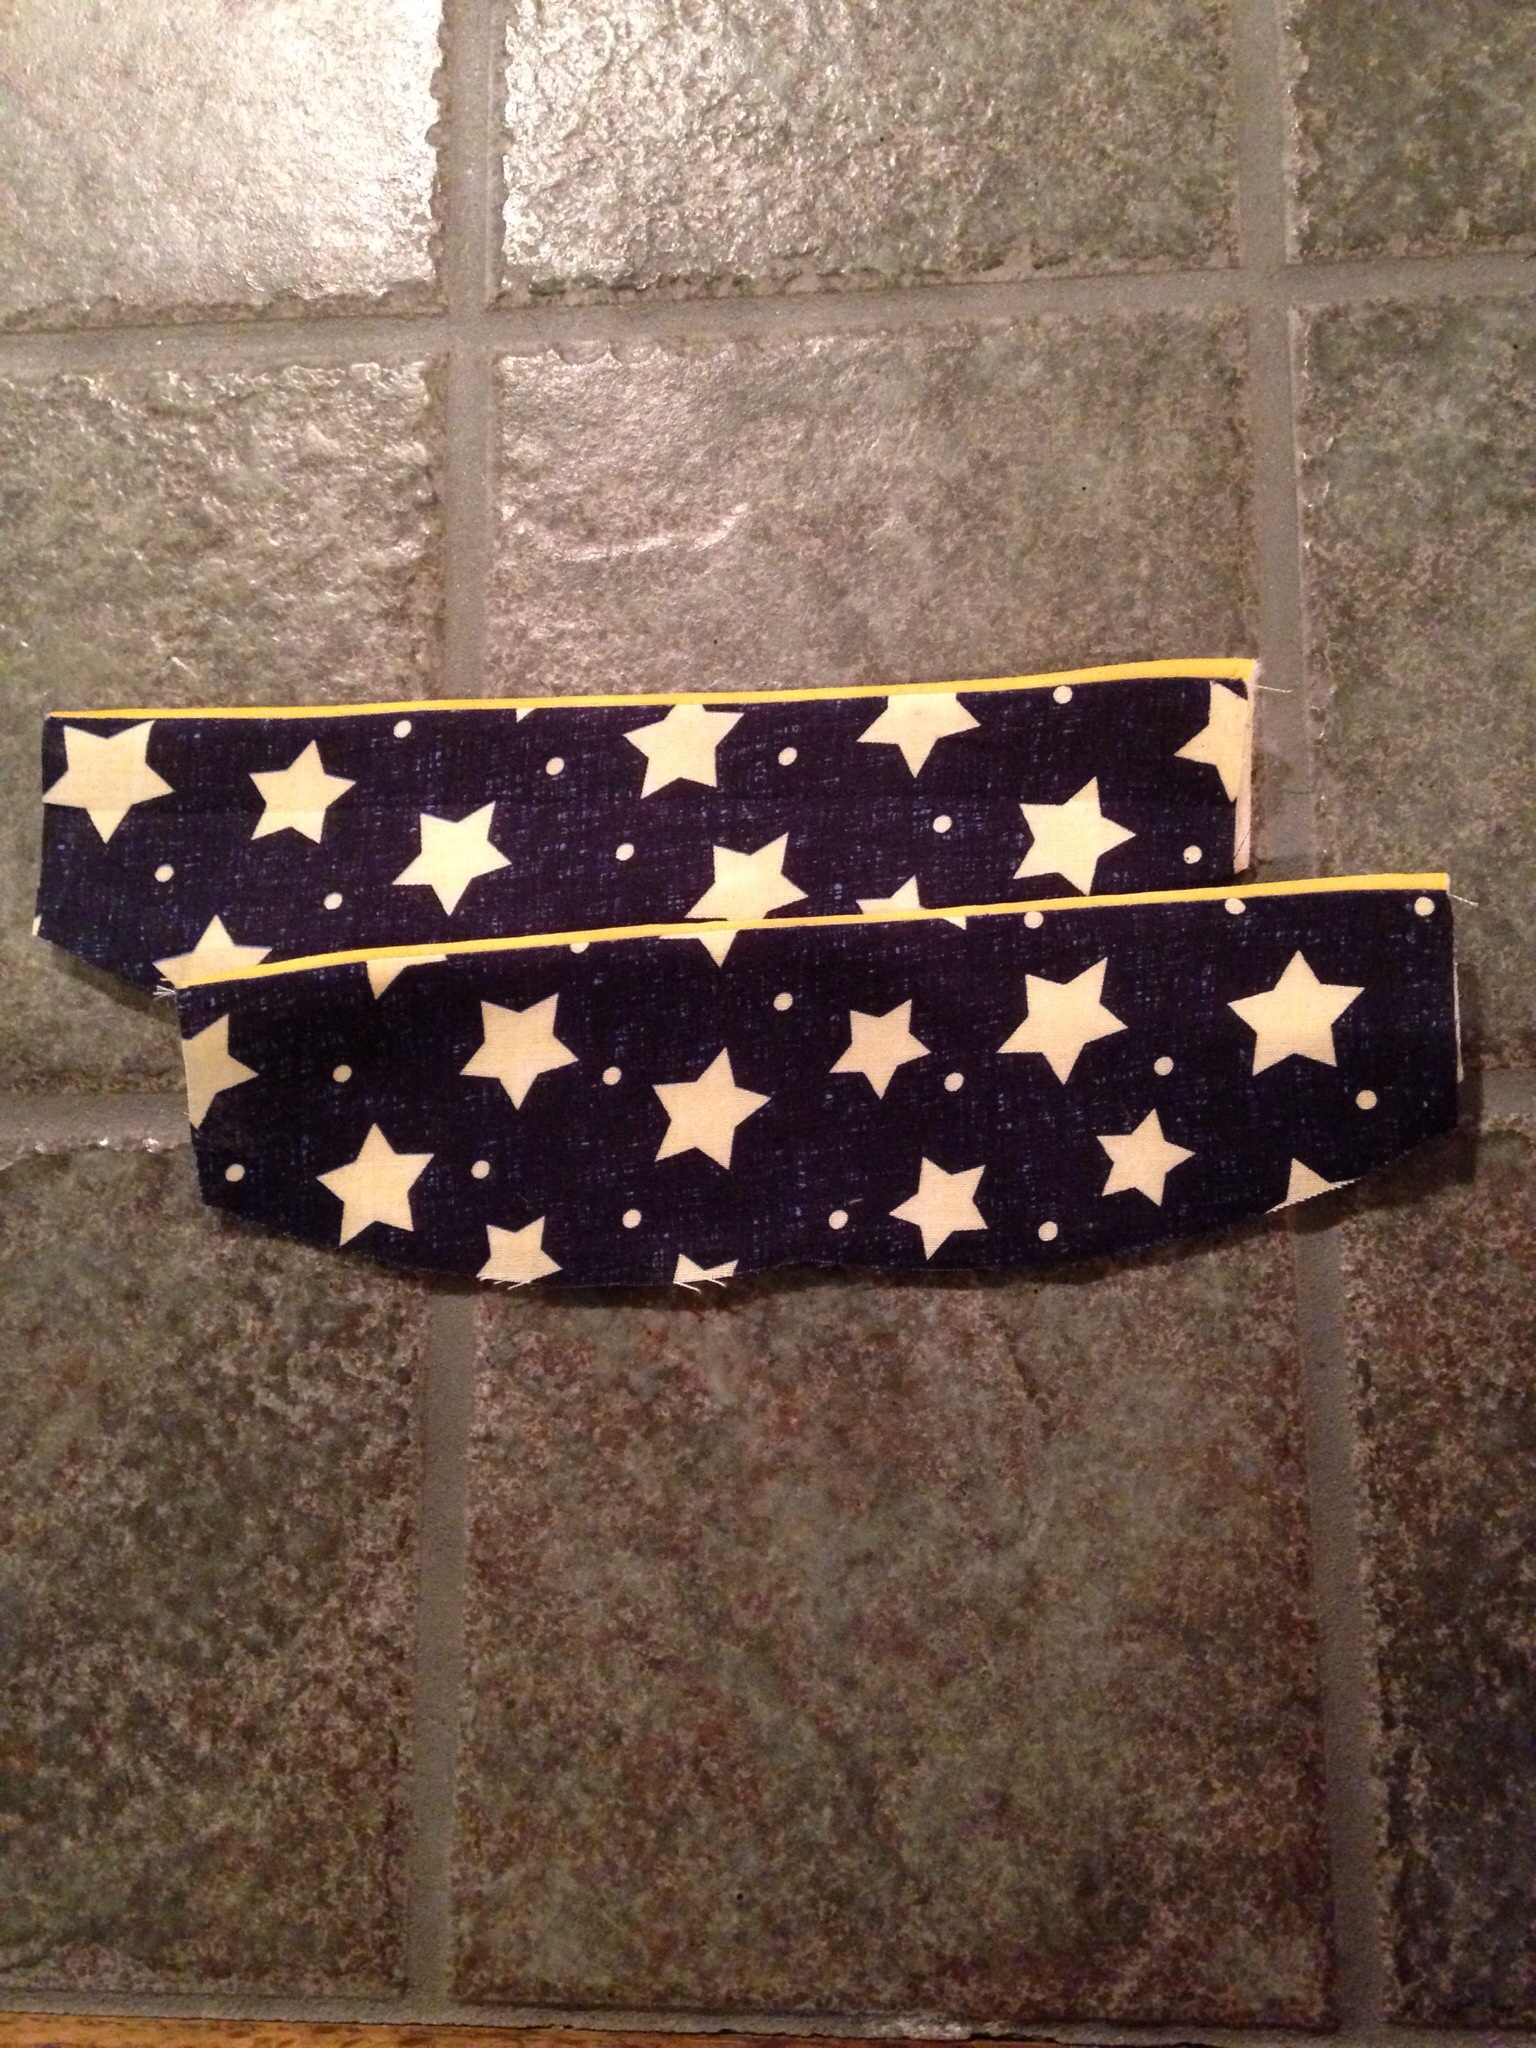
Step 3:
With right-sides together, sew the straight sides of the inner and outer layers of the heel. Iron right sides out. **NOTE: These pieces ended up being waaaay too long when it came time to attach it to the sole. You can trim 1 – 1.5″ off either end of all heel layers.**
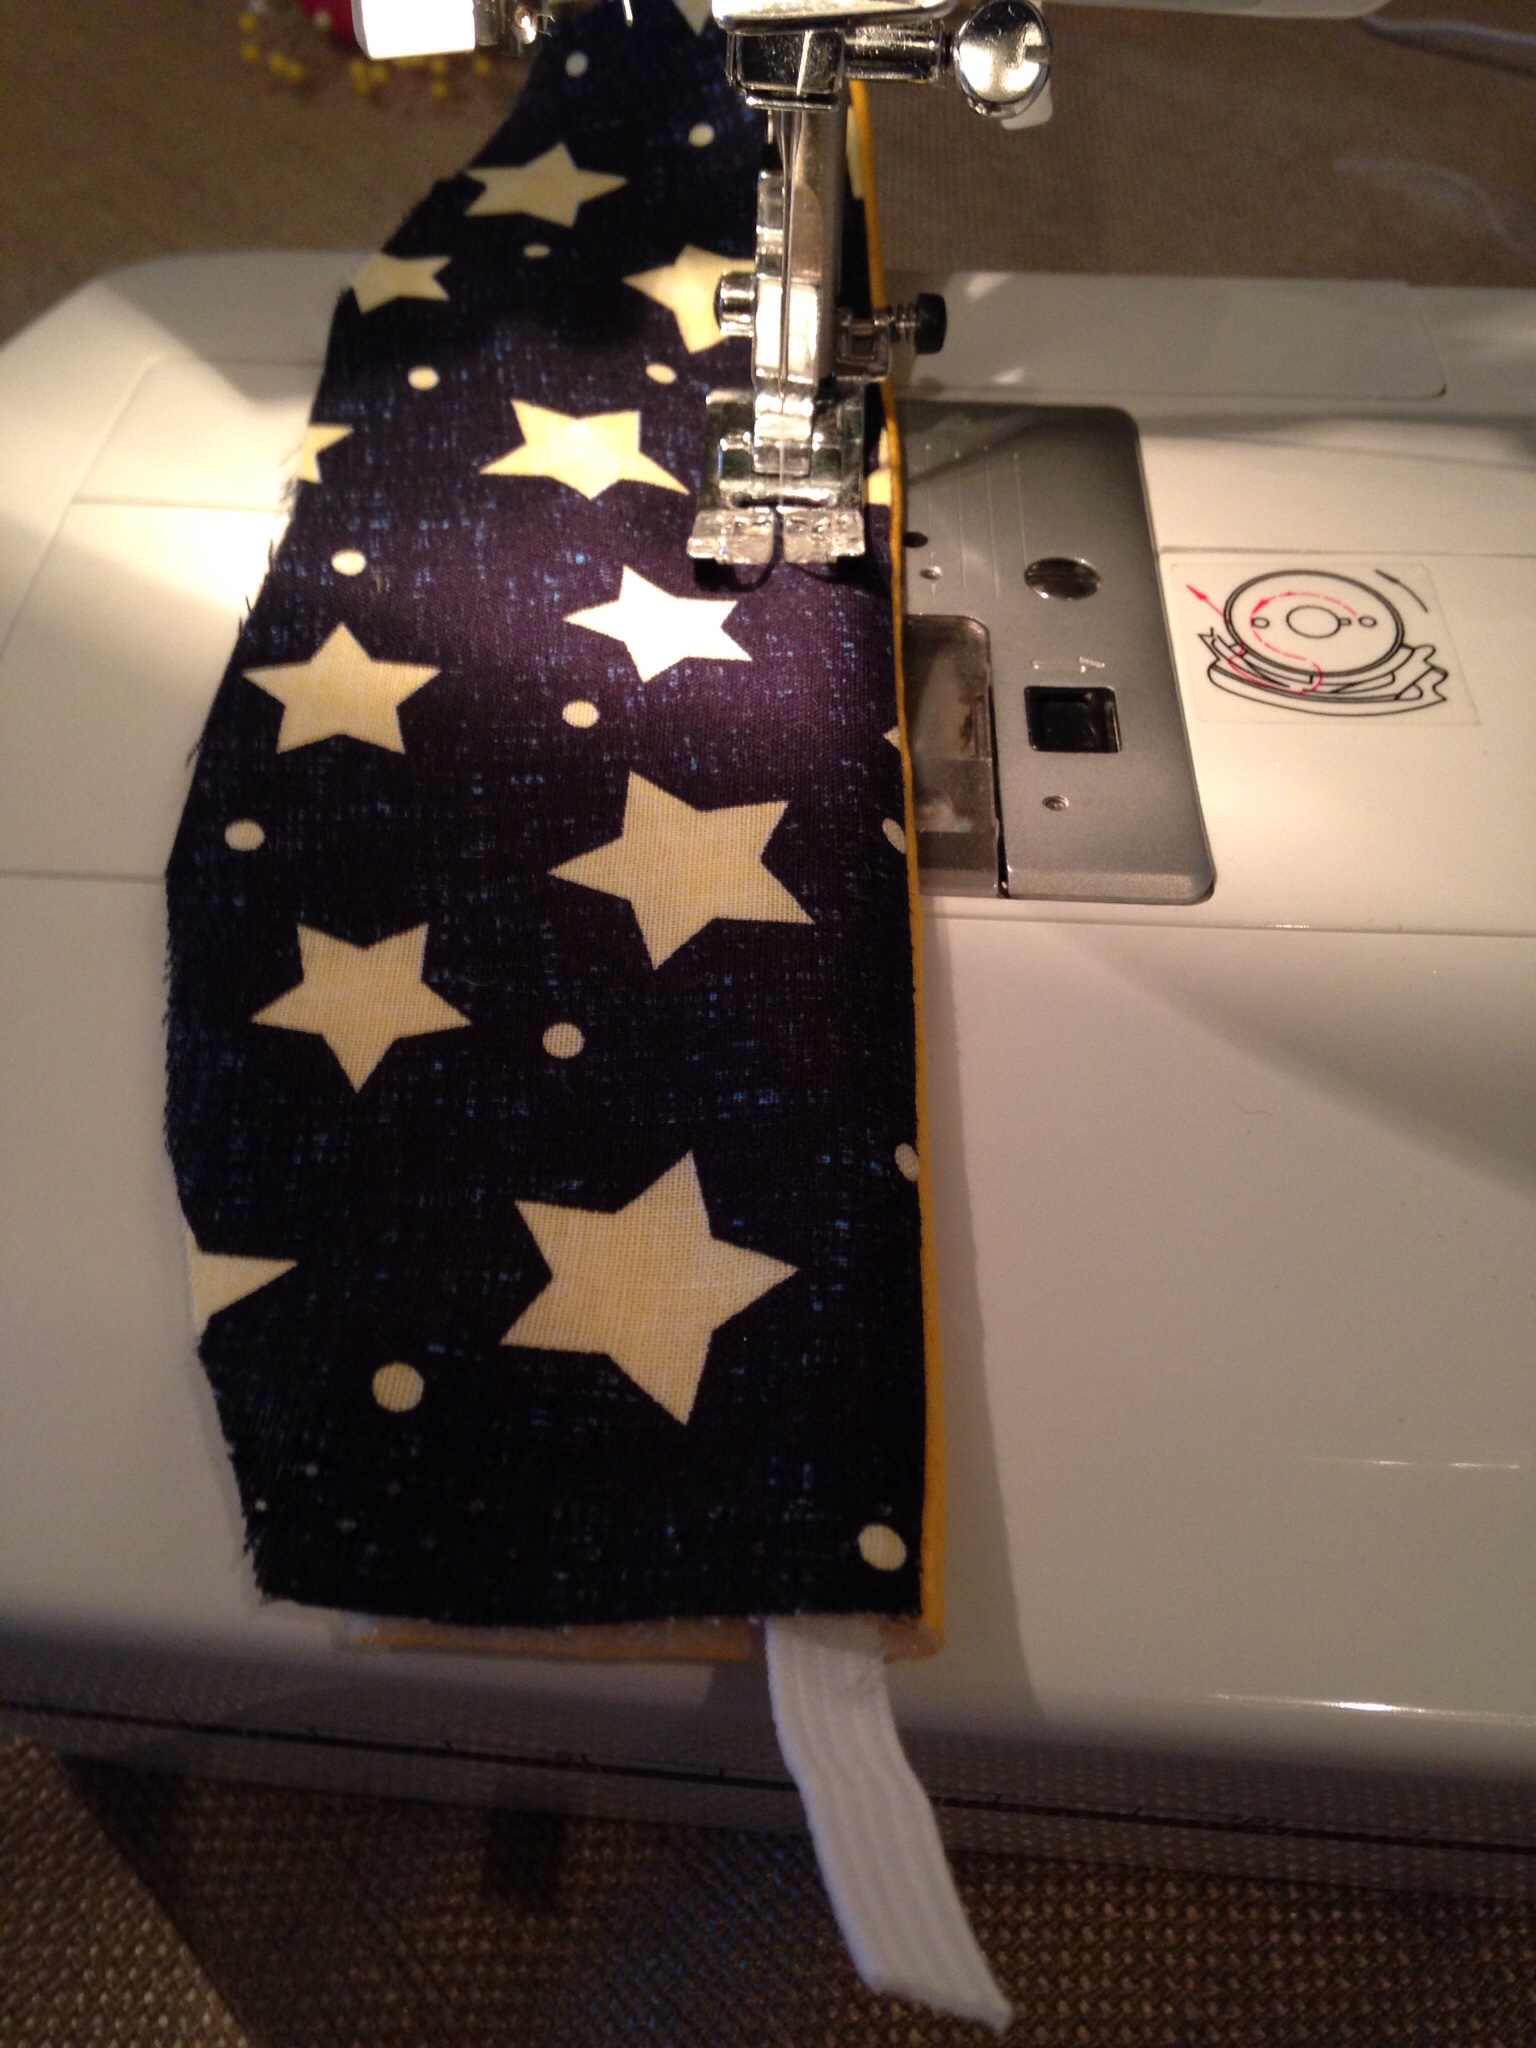
Step 4:
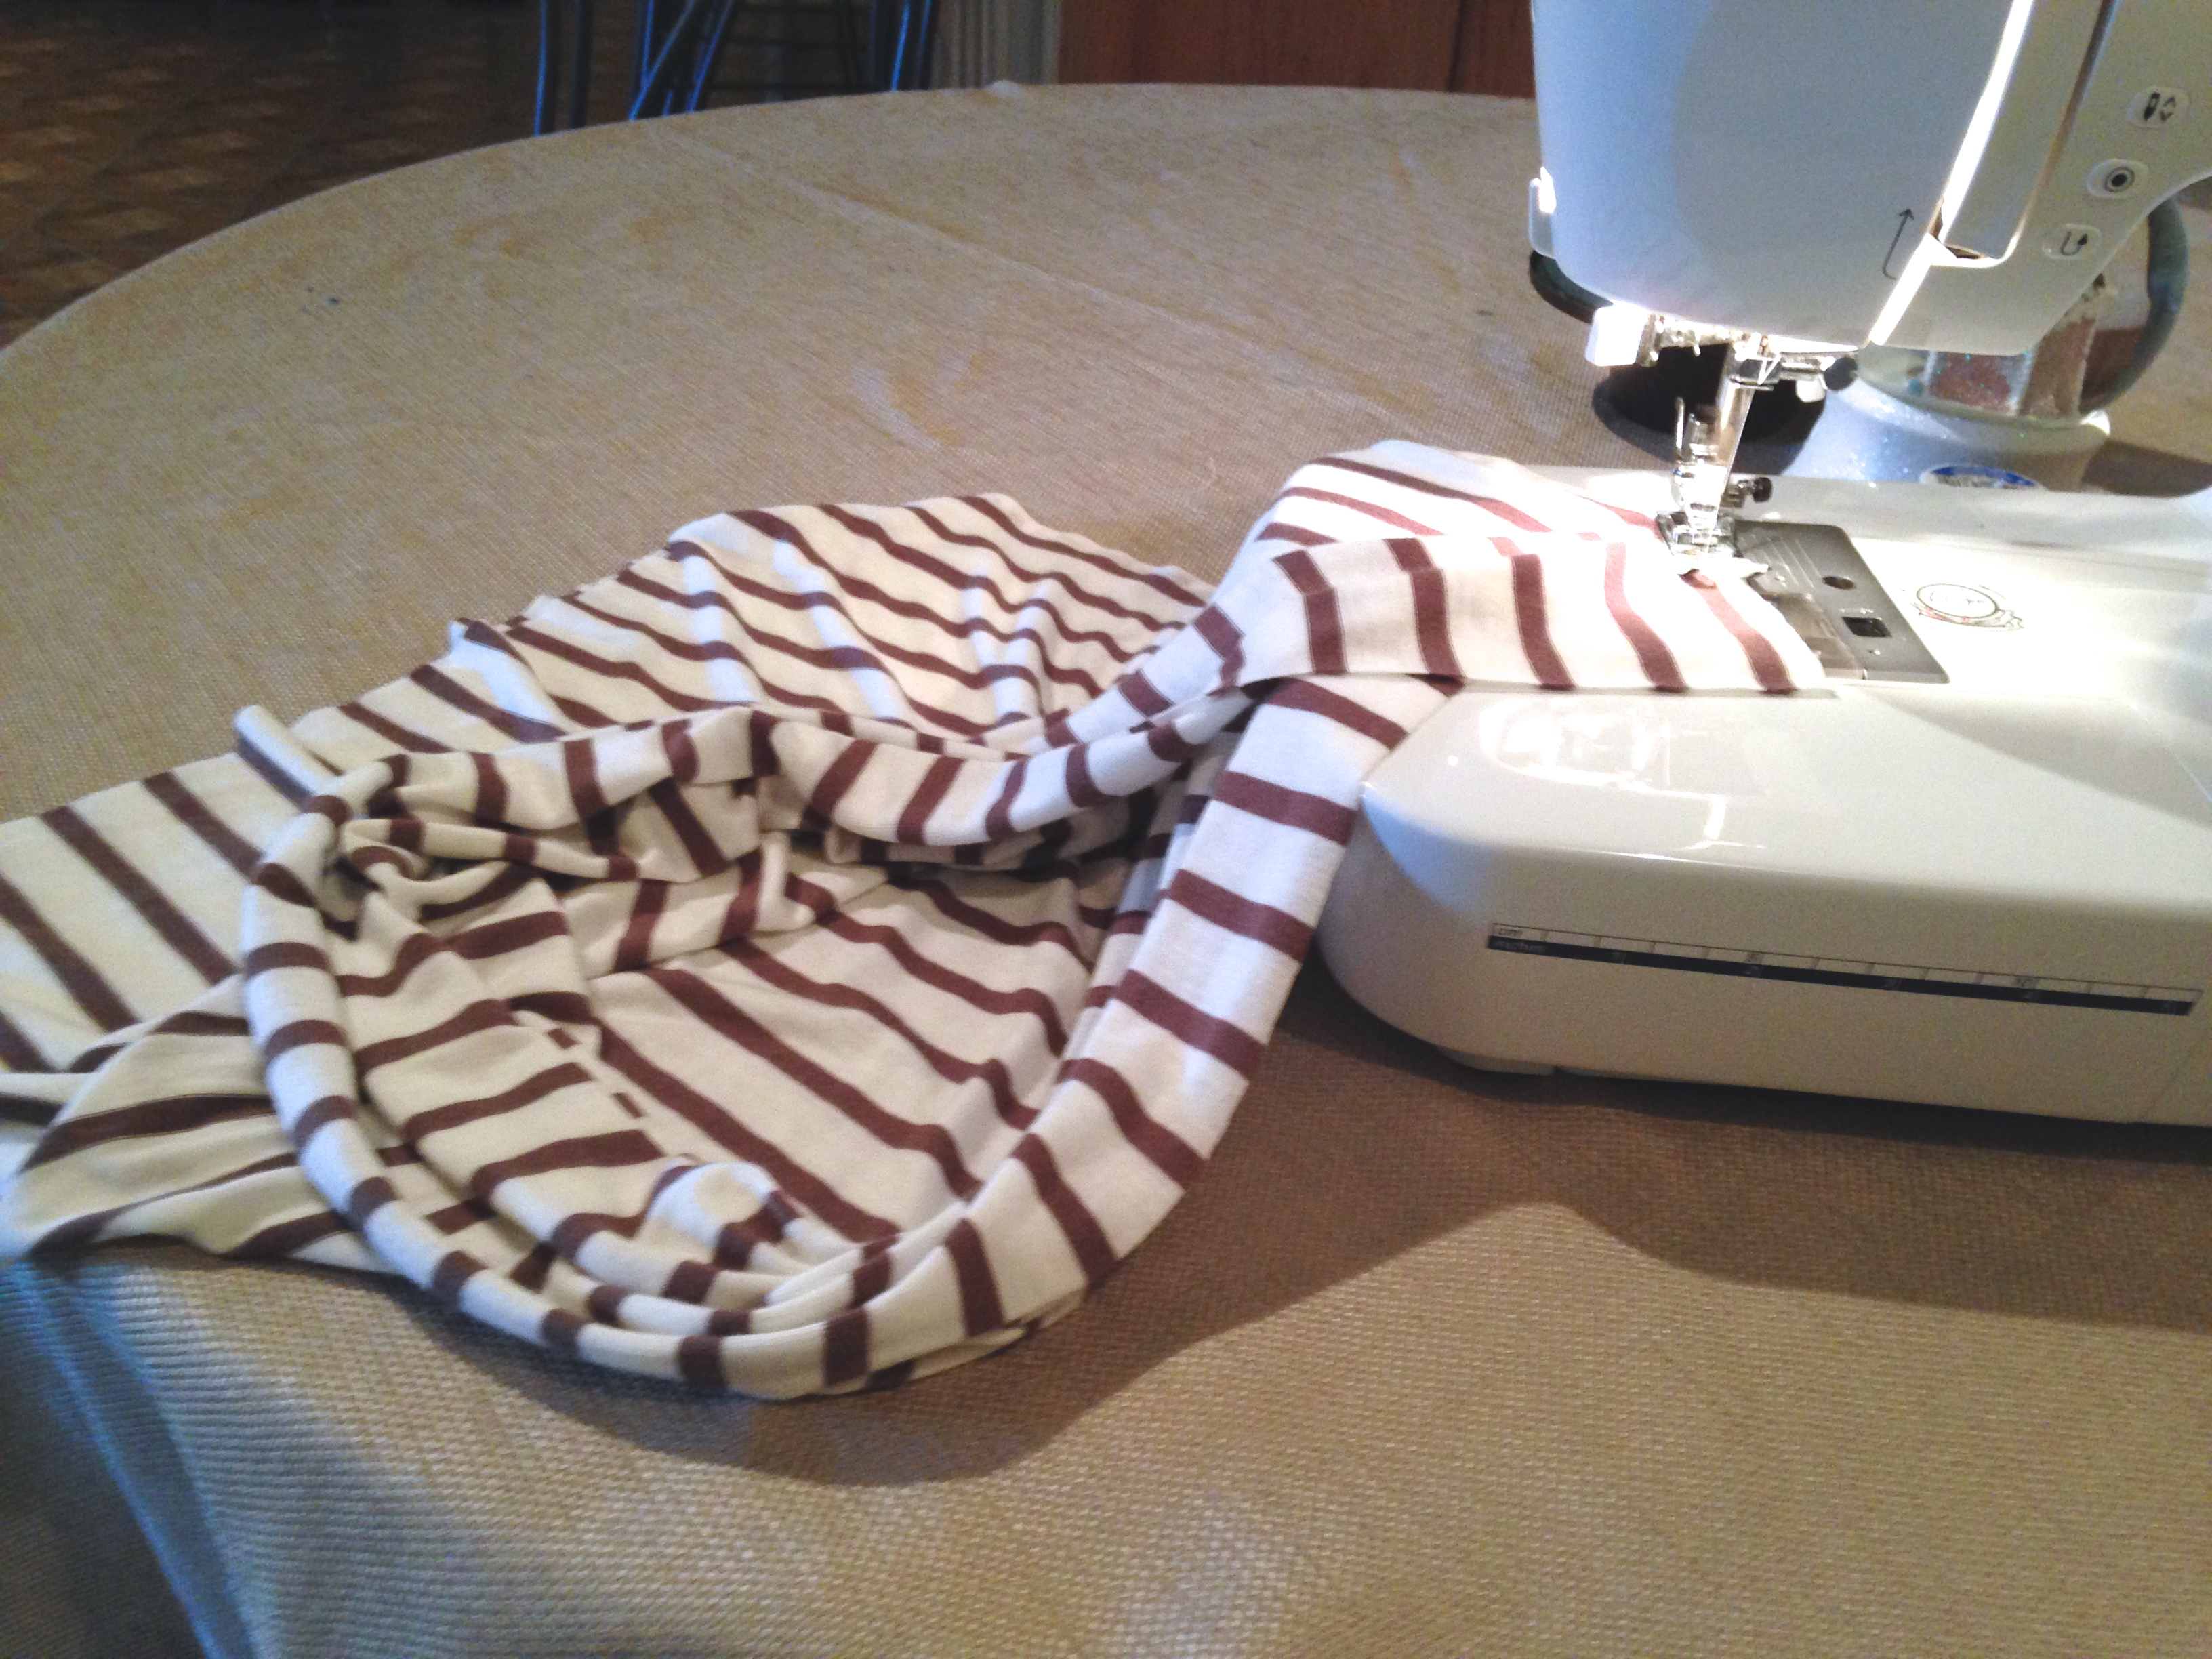
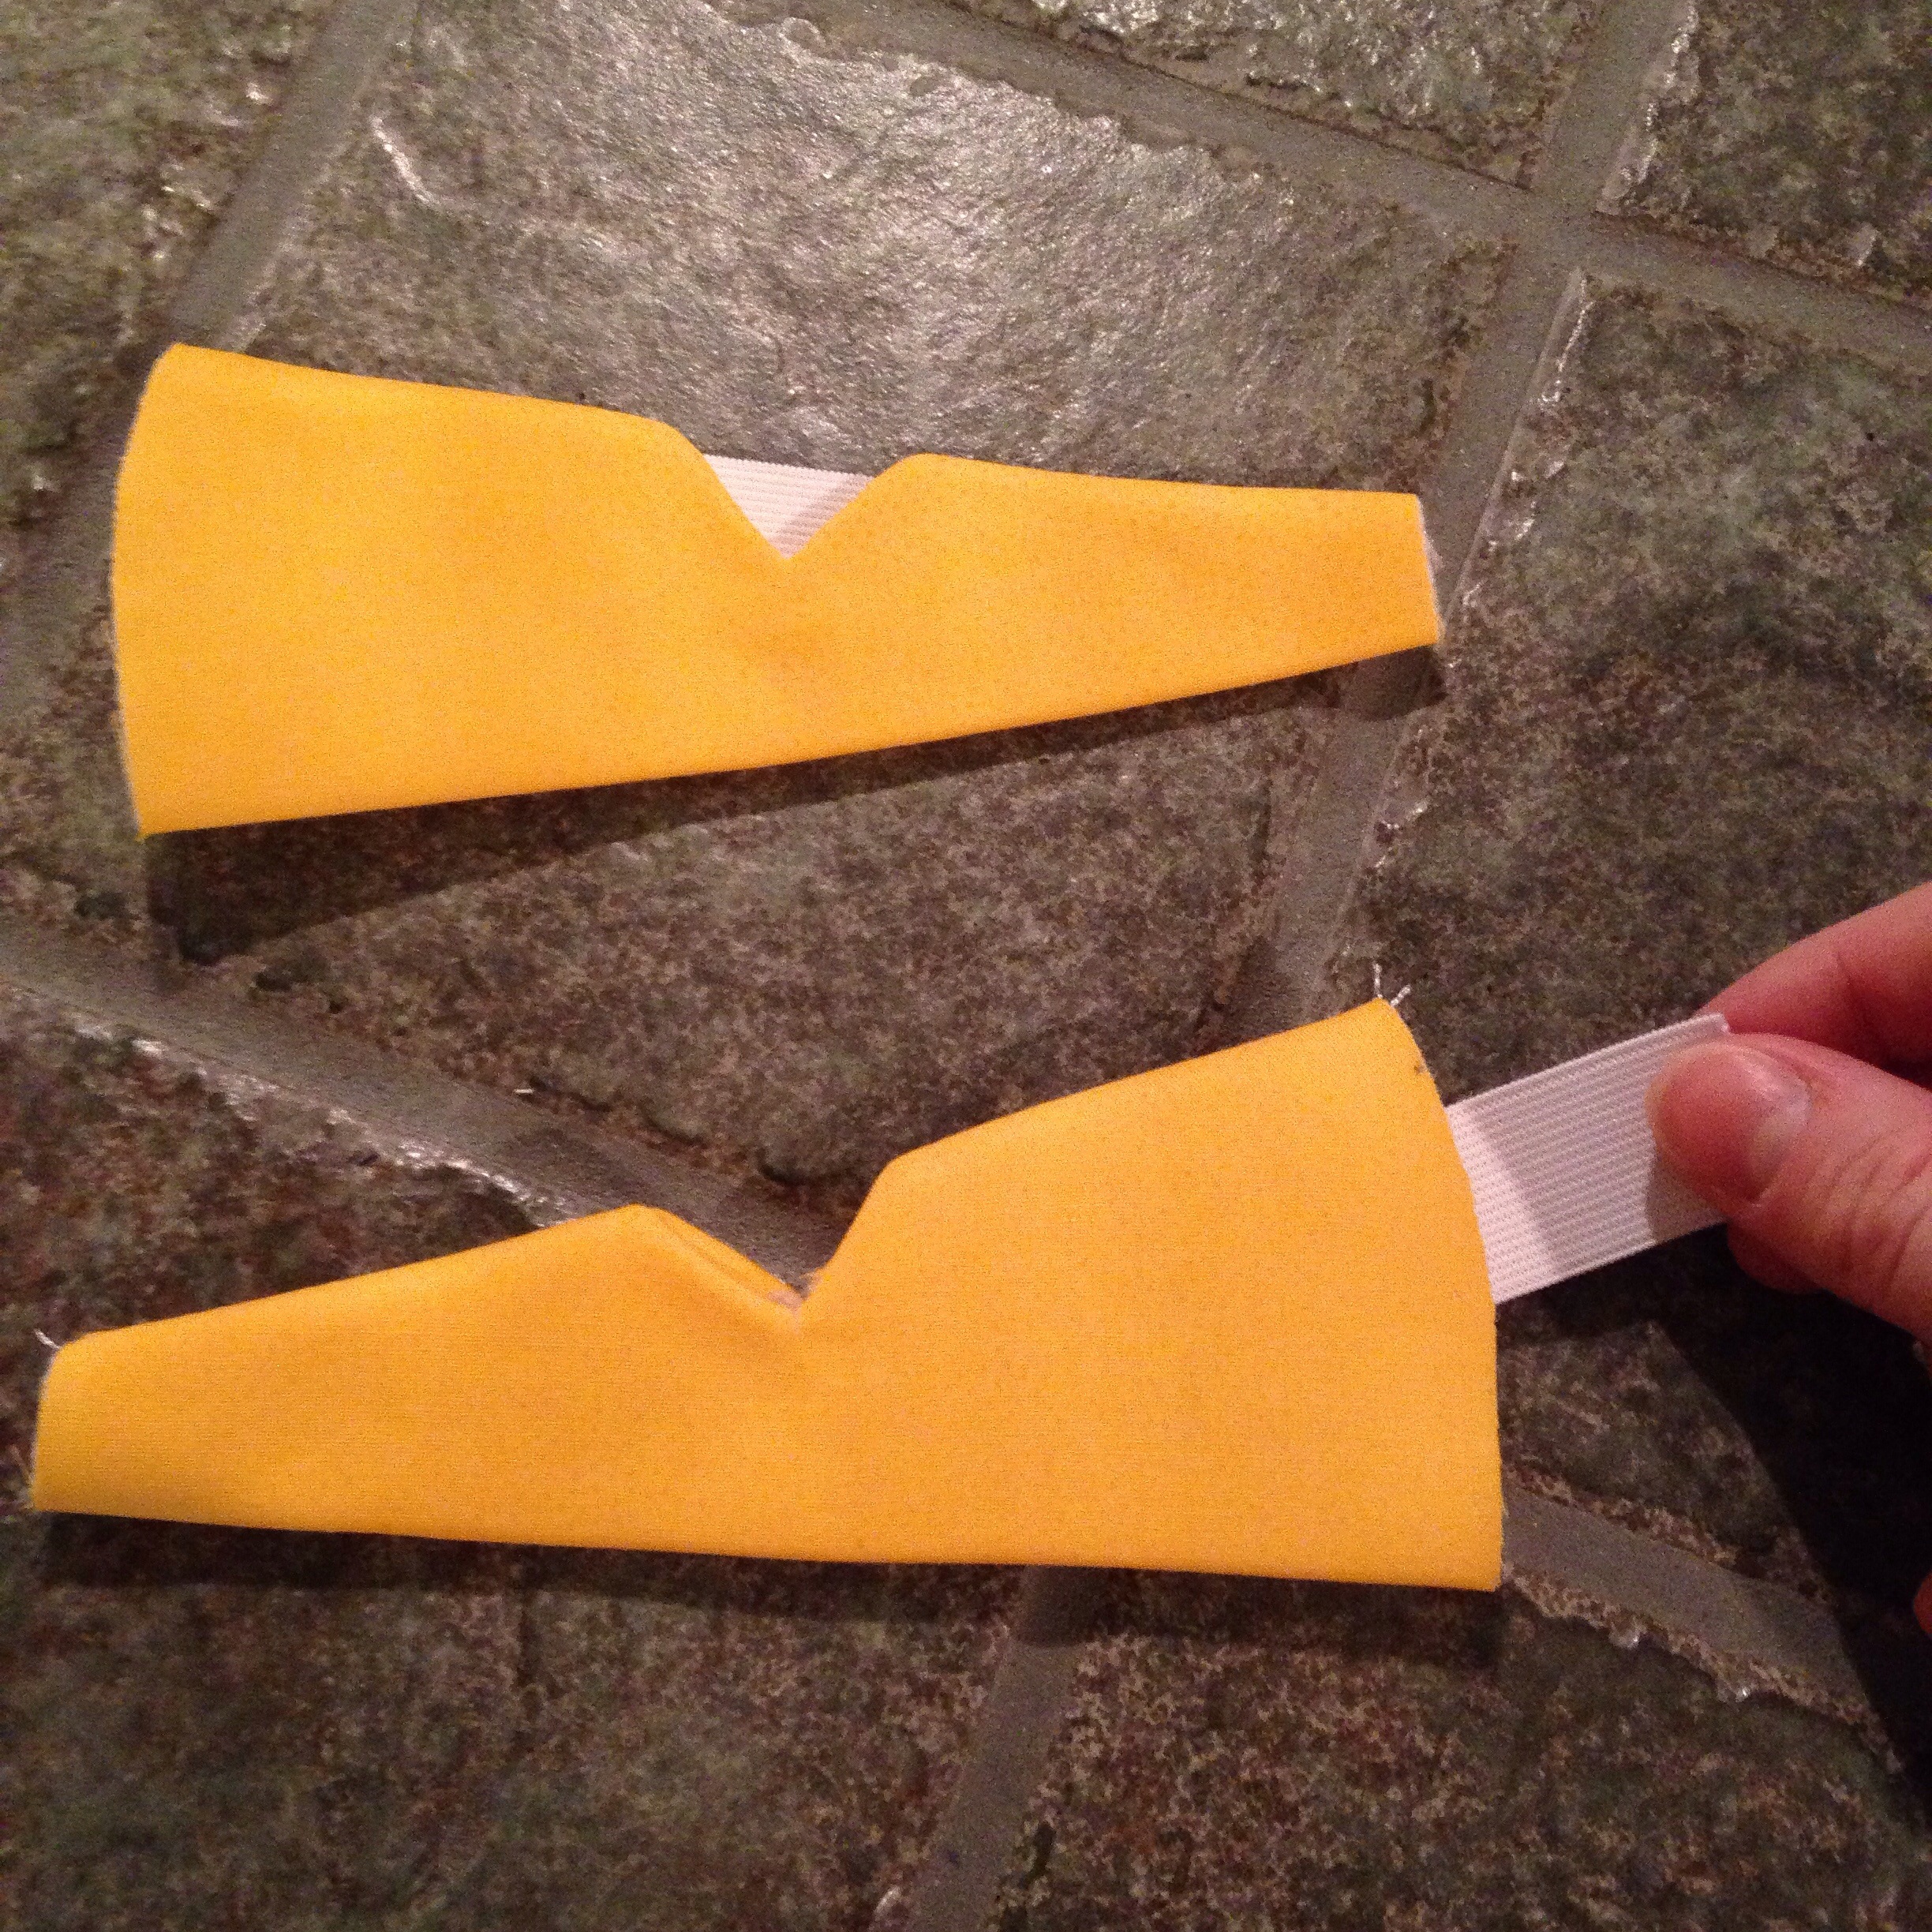
Lay a 6″ length of the 1/4-inch elastic between the layers of the heel piece, against the seam. Carefully sew a straight line along the edge.
 Step 5:
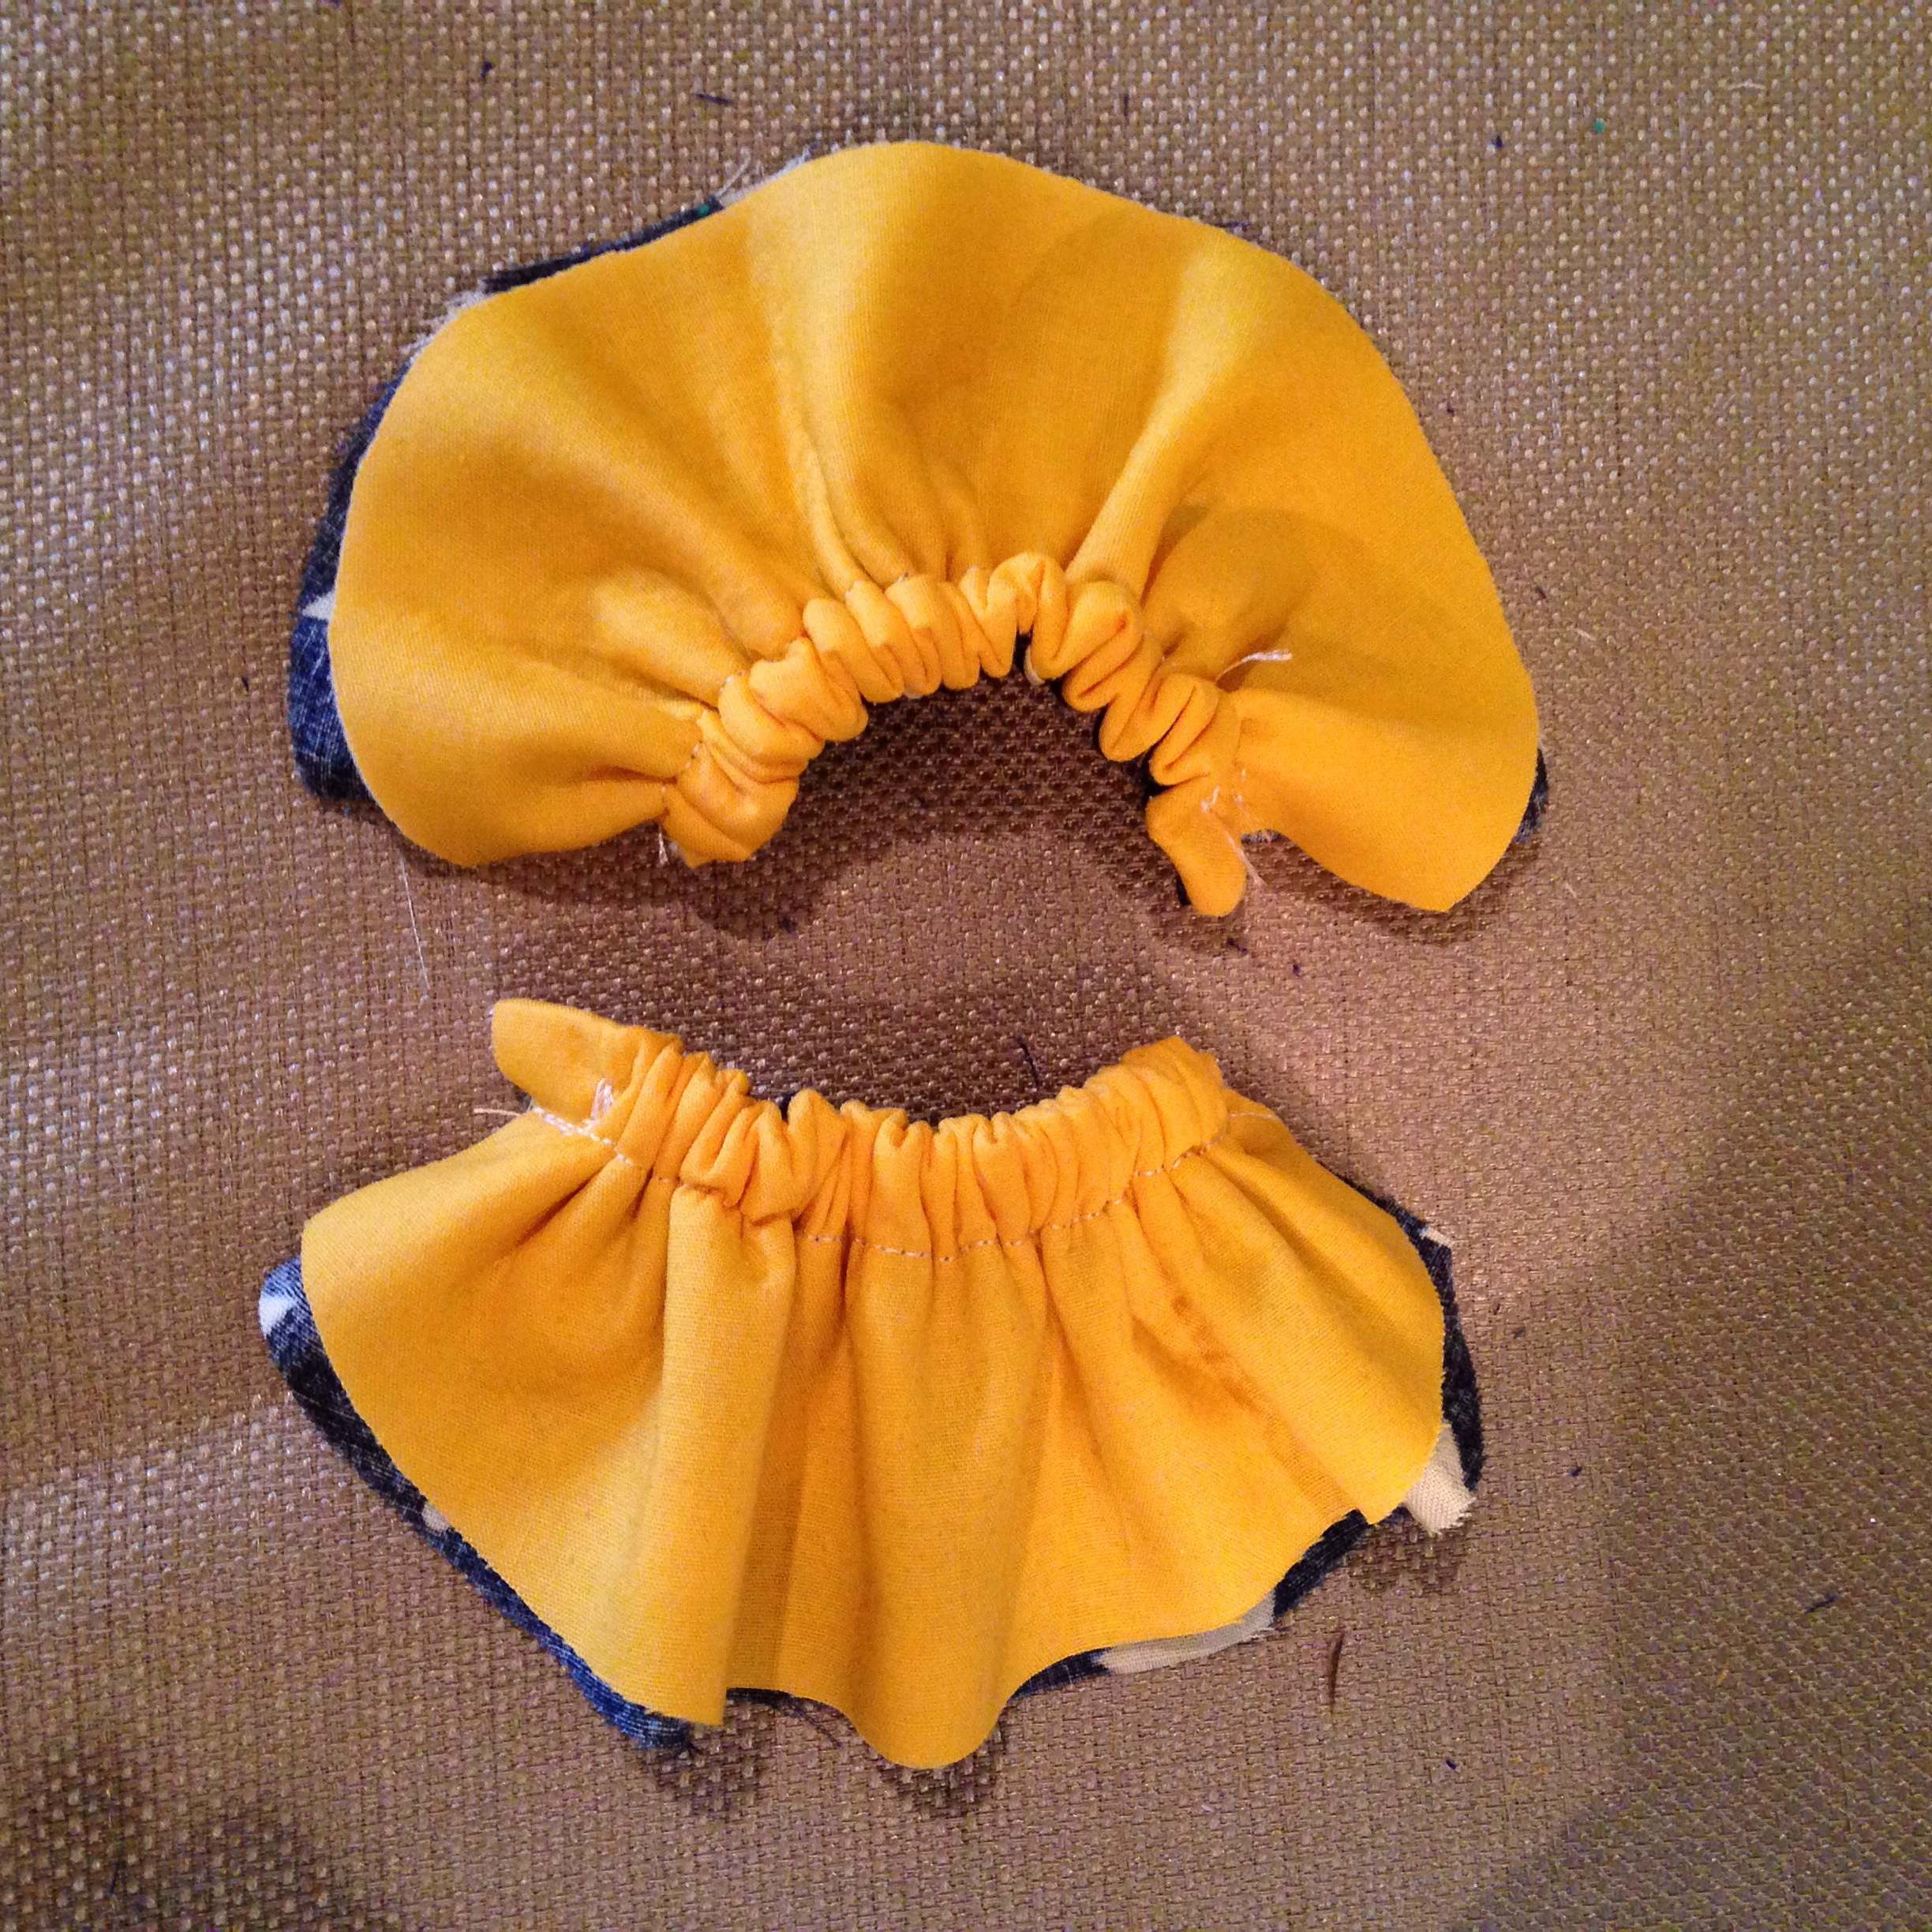
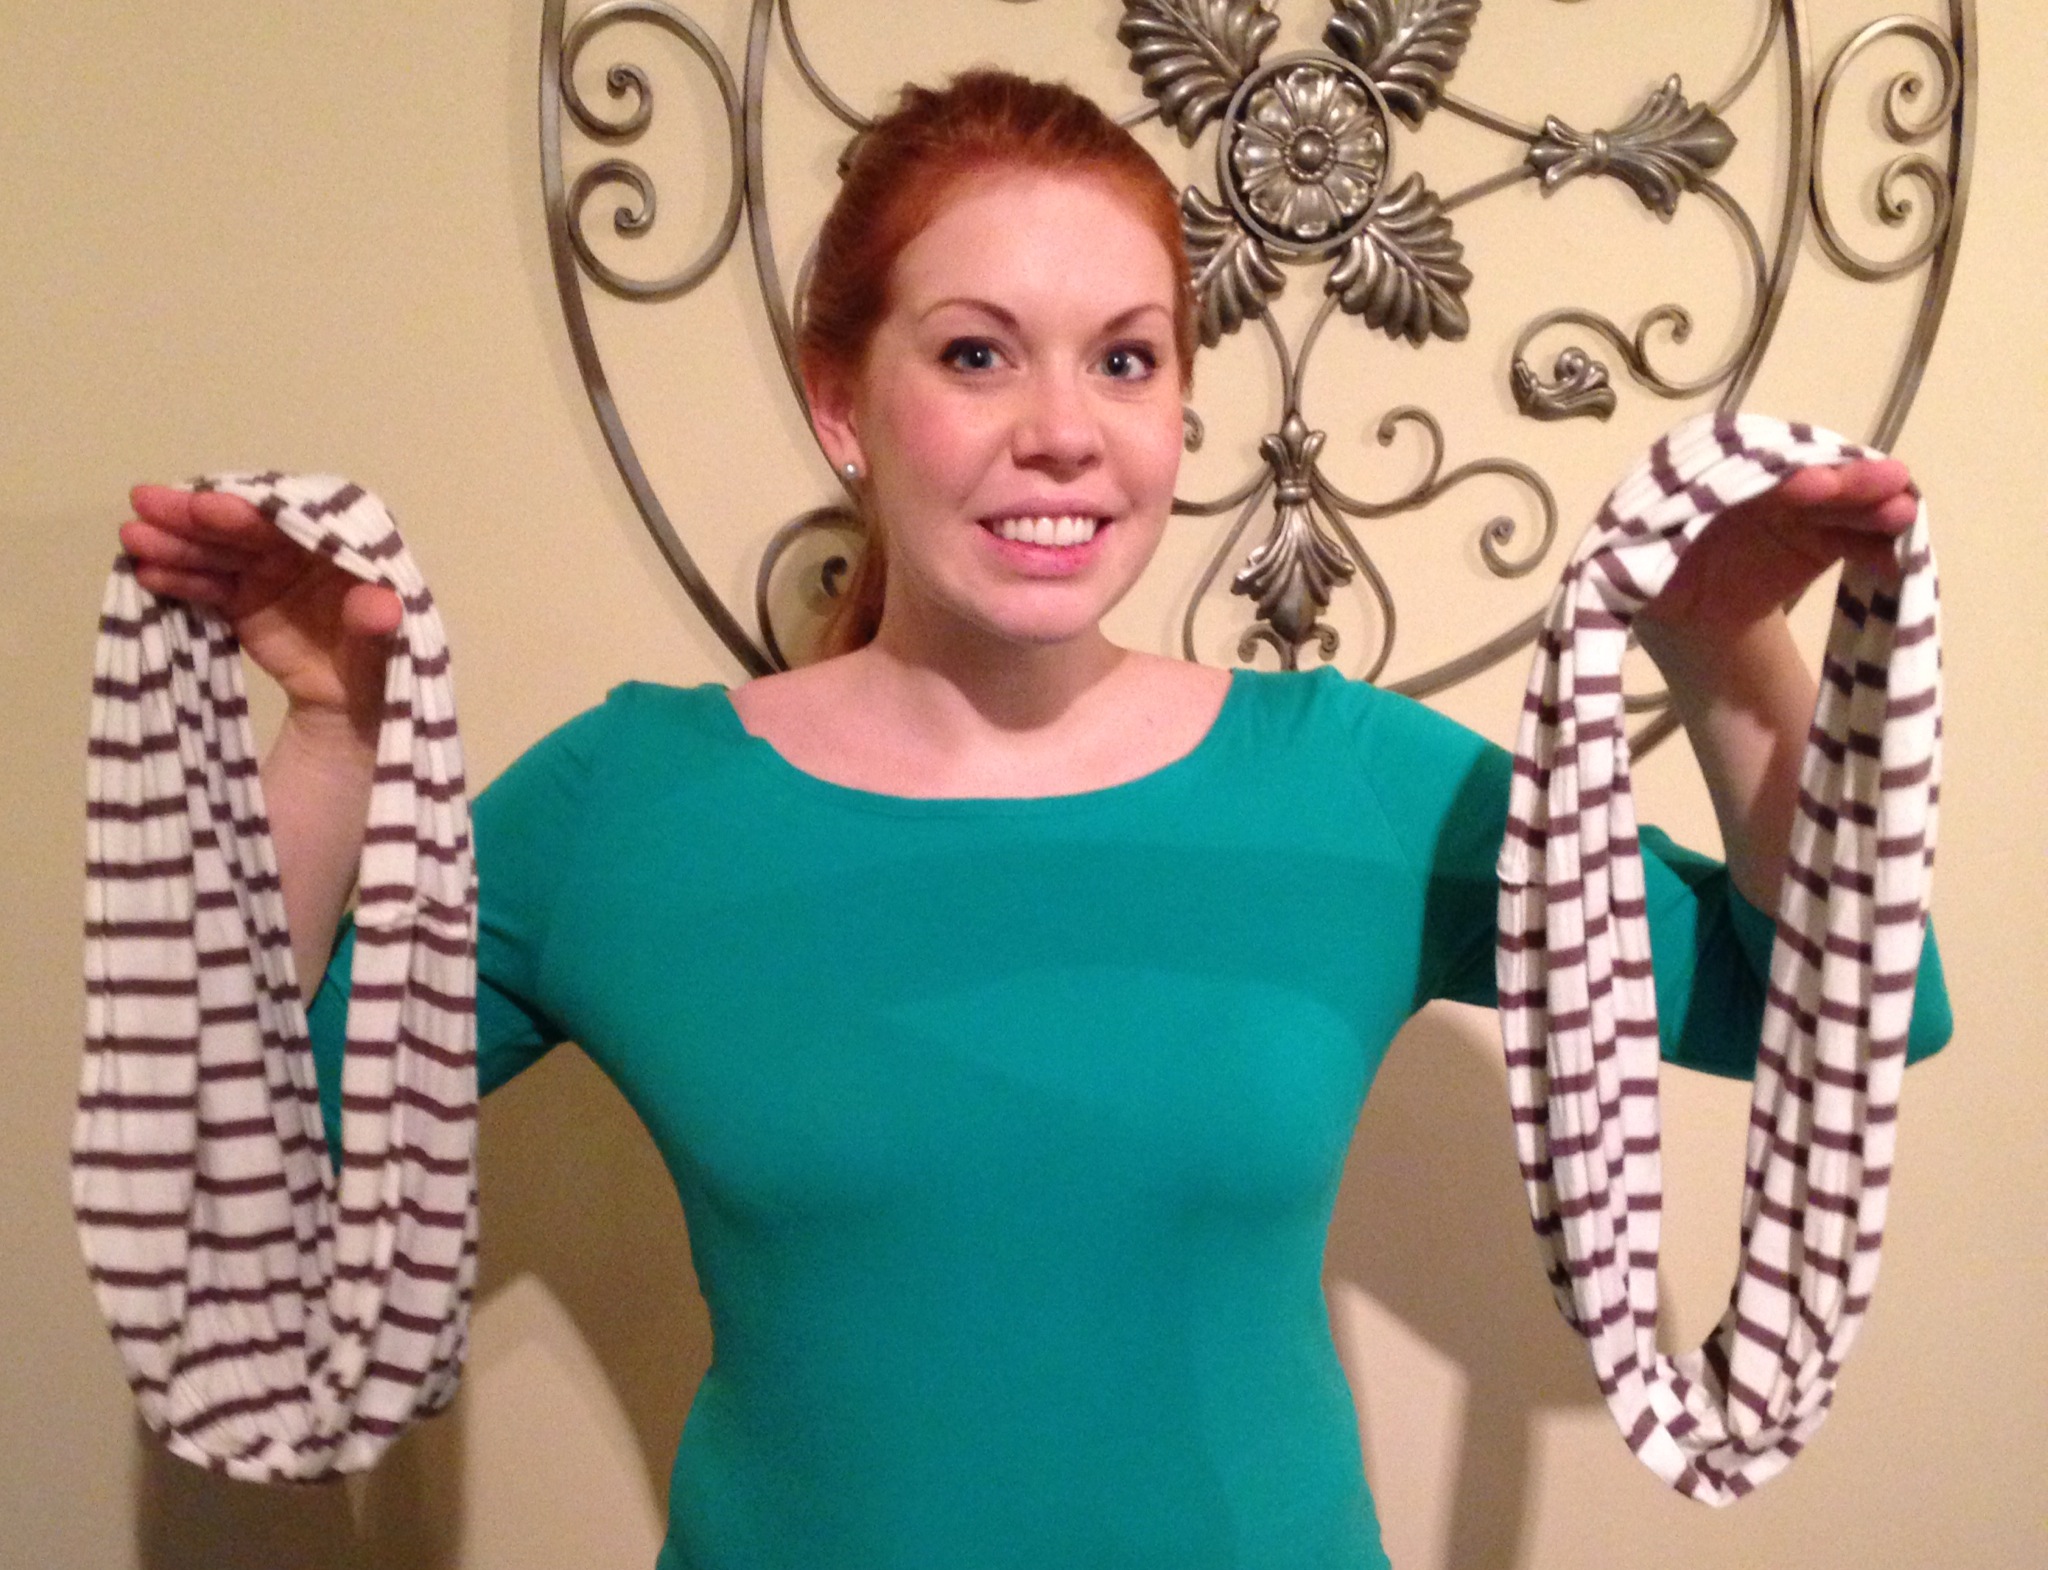
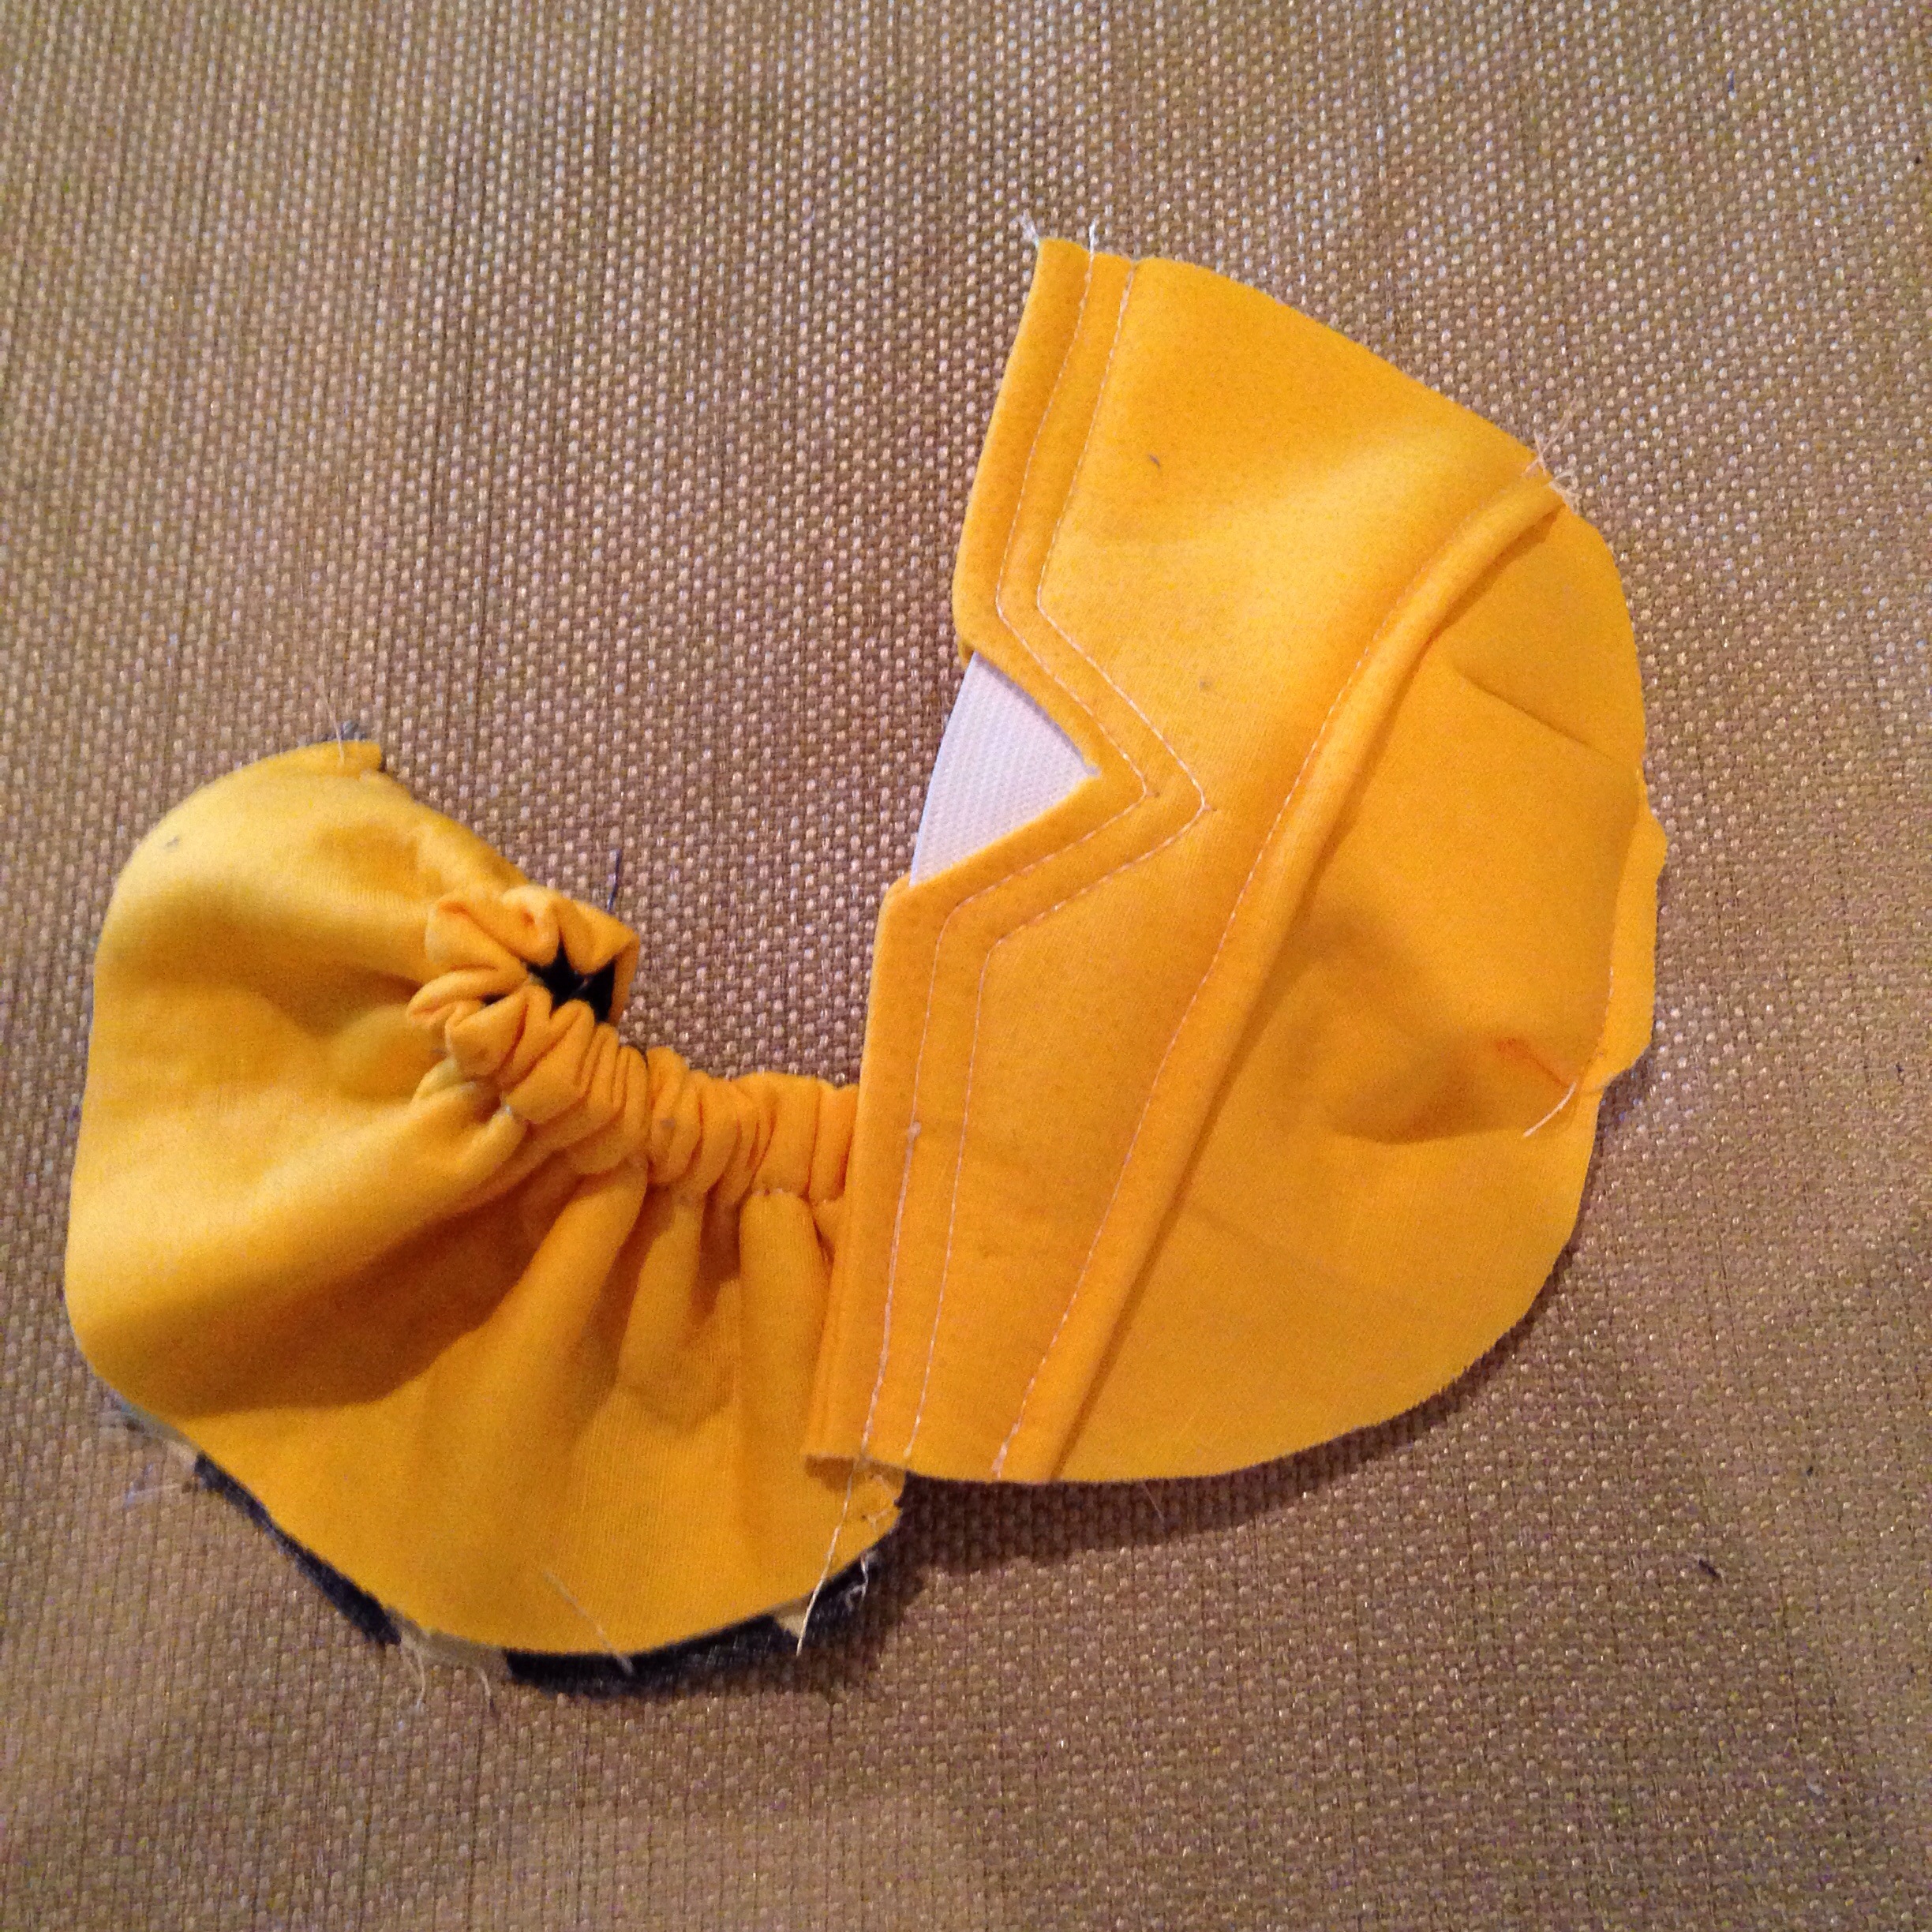
Sew a zig-zag stich at one end of the elastic to secure it, then pull the other end to gather the top. Trim the elastic. (Remember, your pieces should look smaller and less bunchy than these. Mine ended up being way to big and I had to keep down-sizing!)

Step 6:
Cut a notch in the exact center of the triangle pieces. Fold the corners down to the inside and iron flat. Sew the right sides together, then turn right-side out. Iron everything flat again.
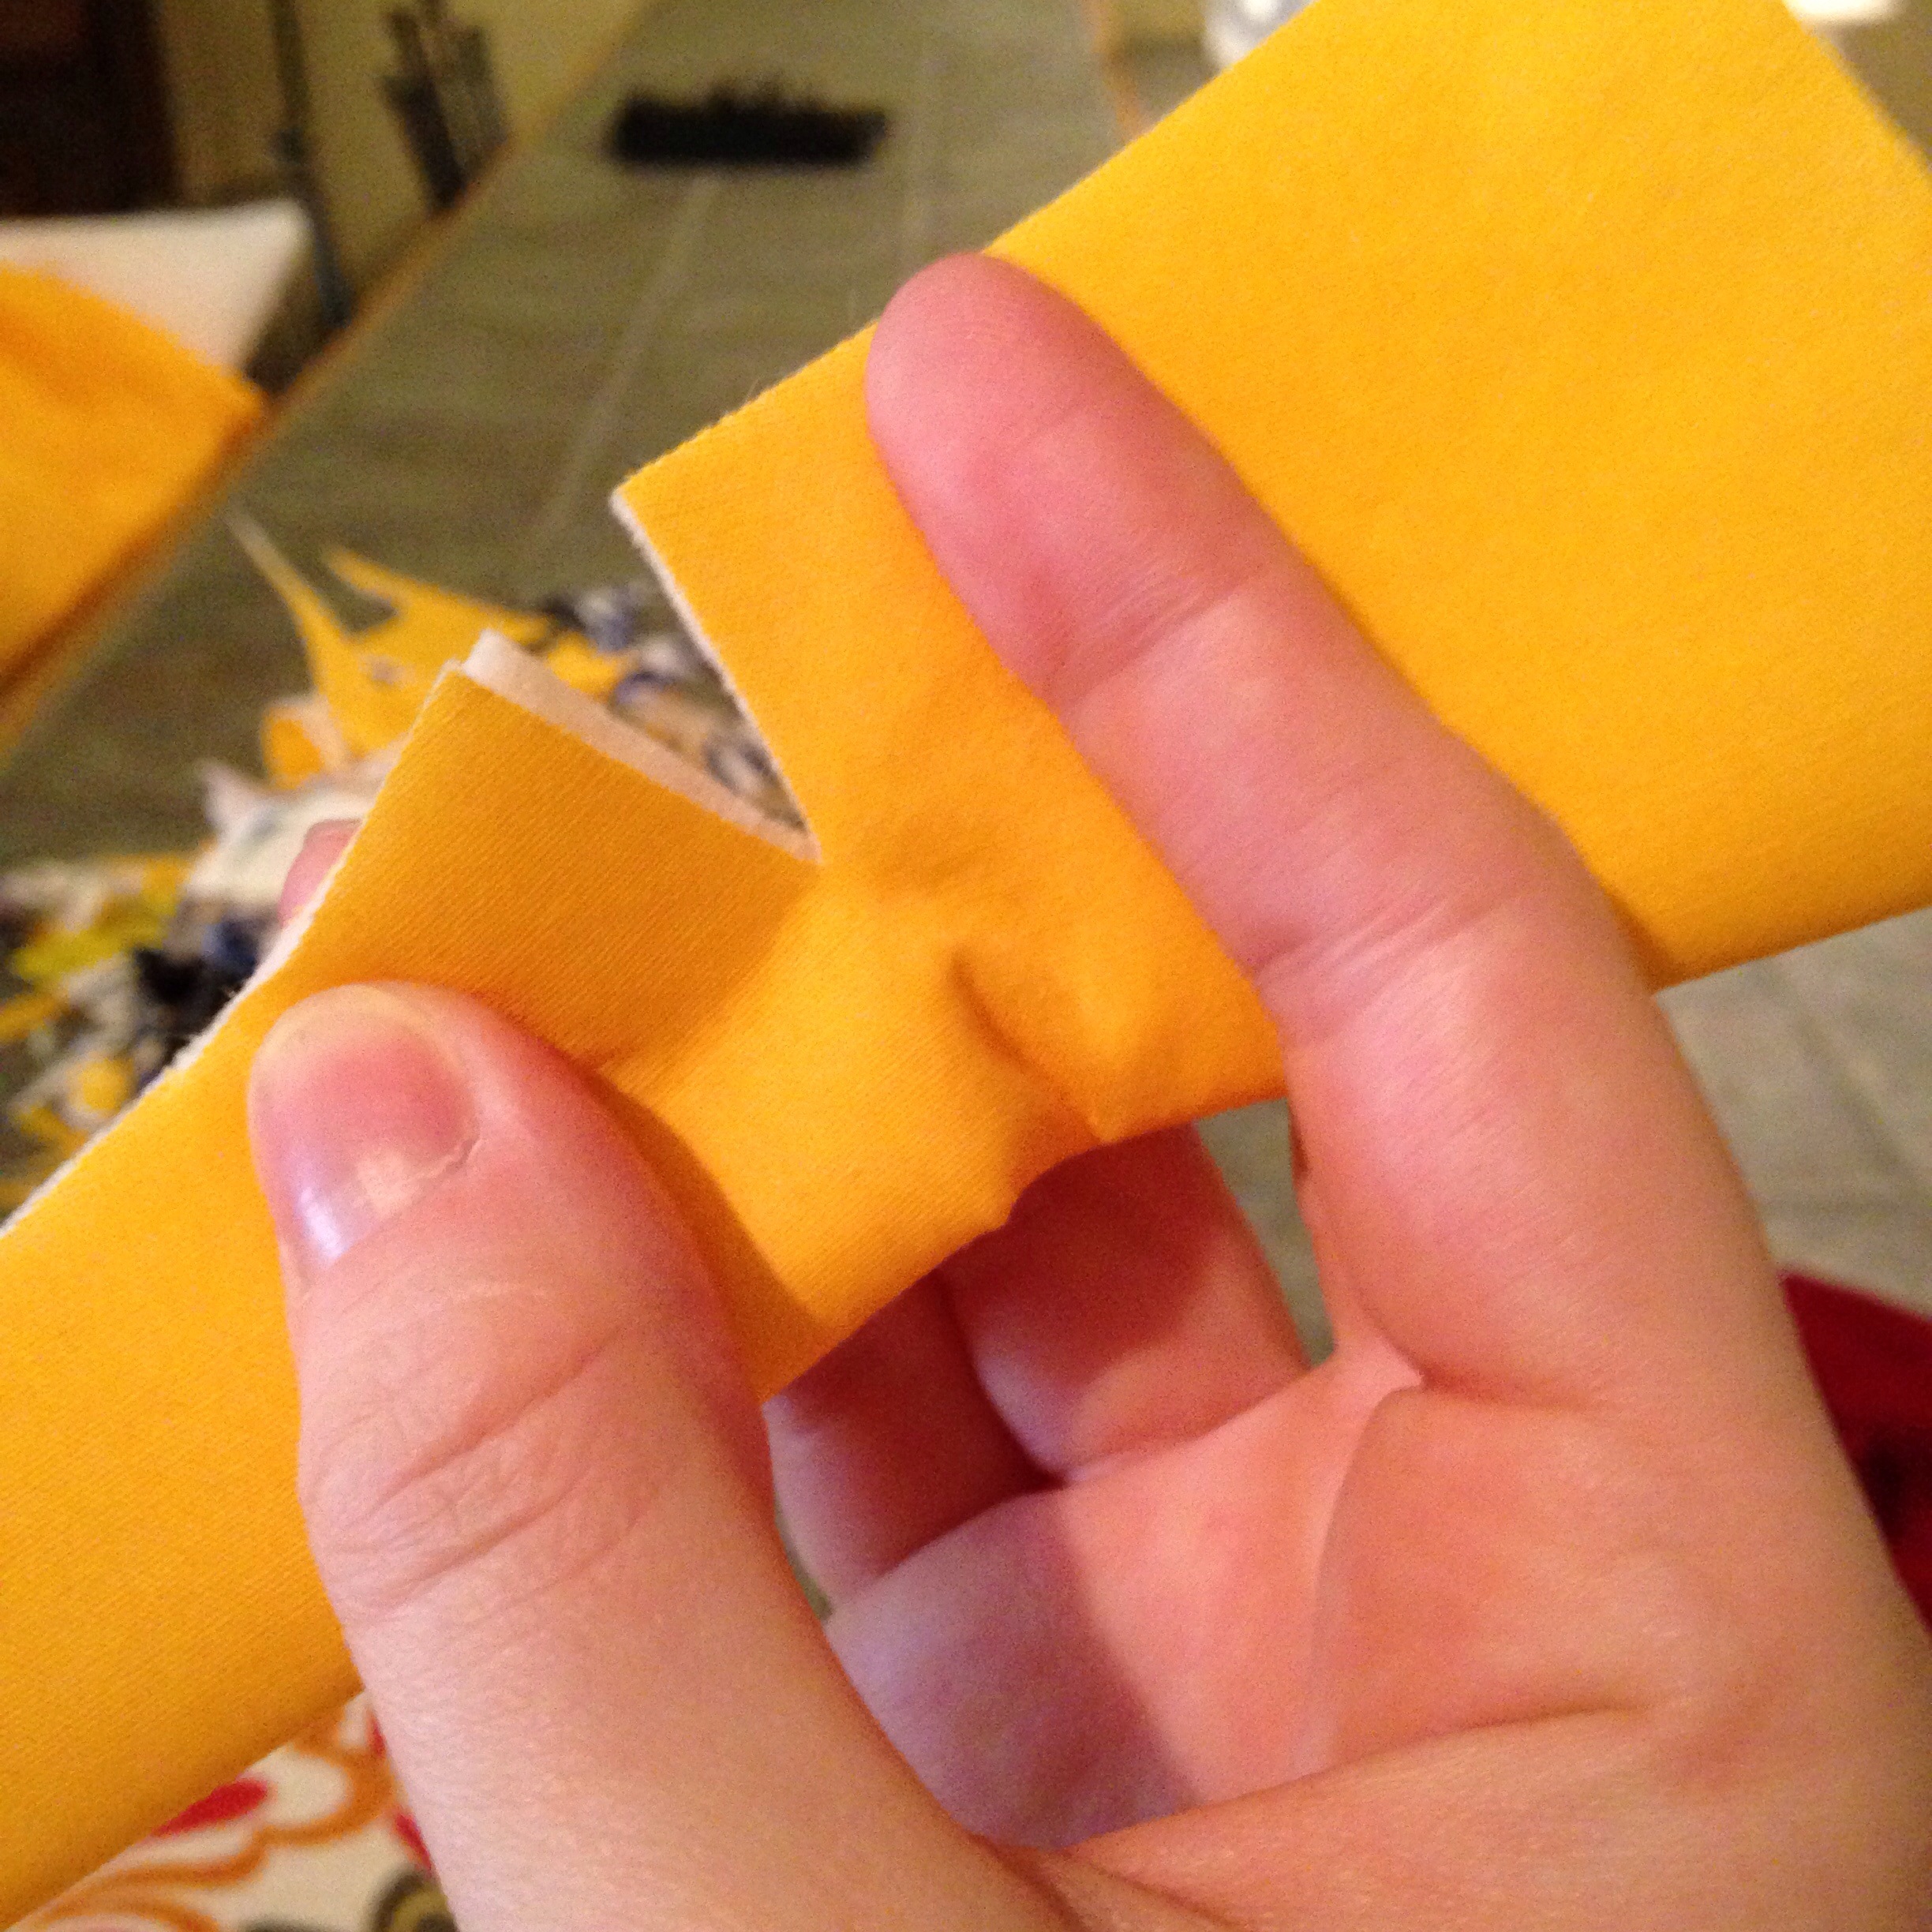

Don’t skip the ironing!
Step 7:
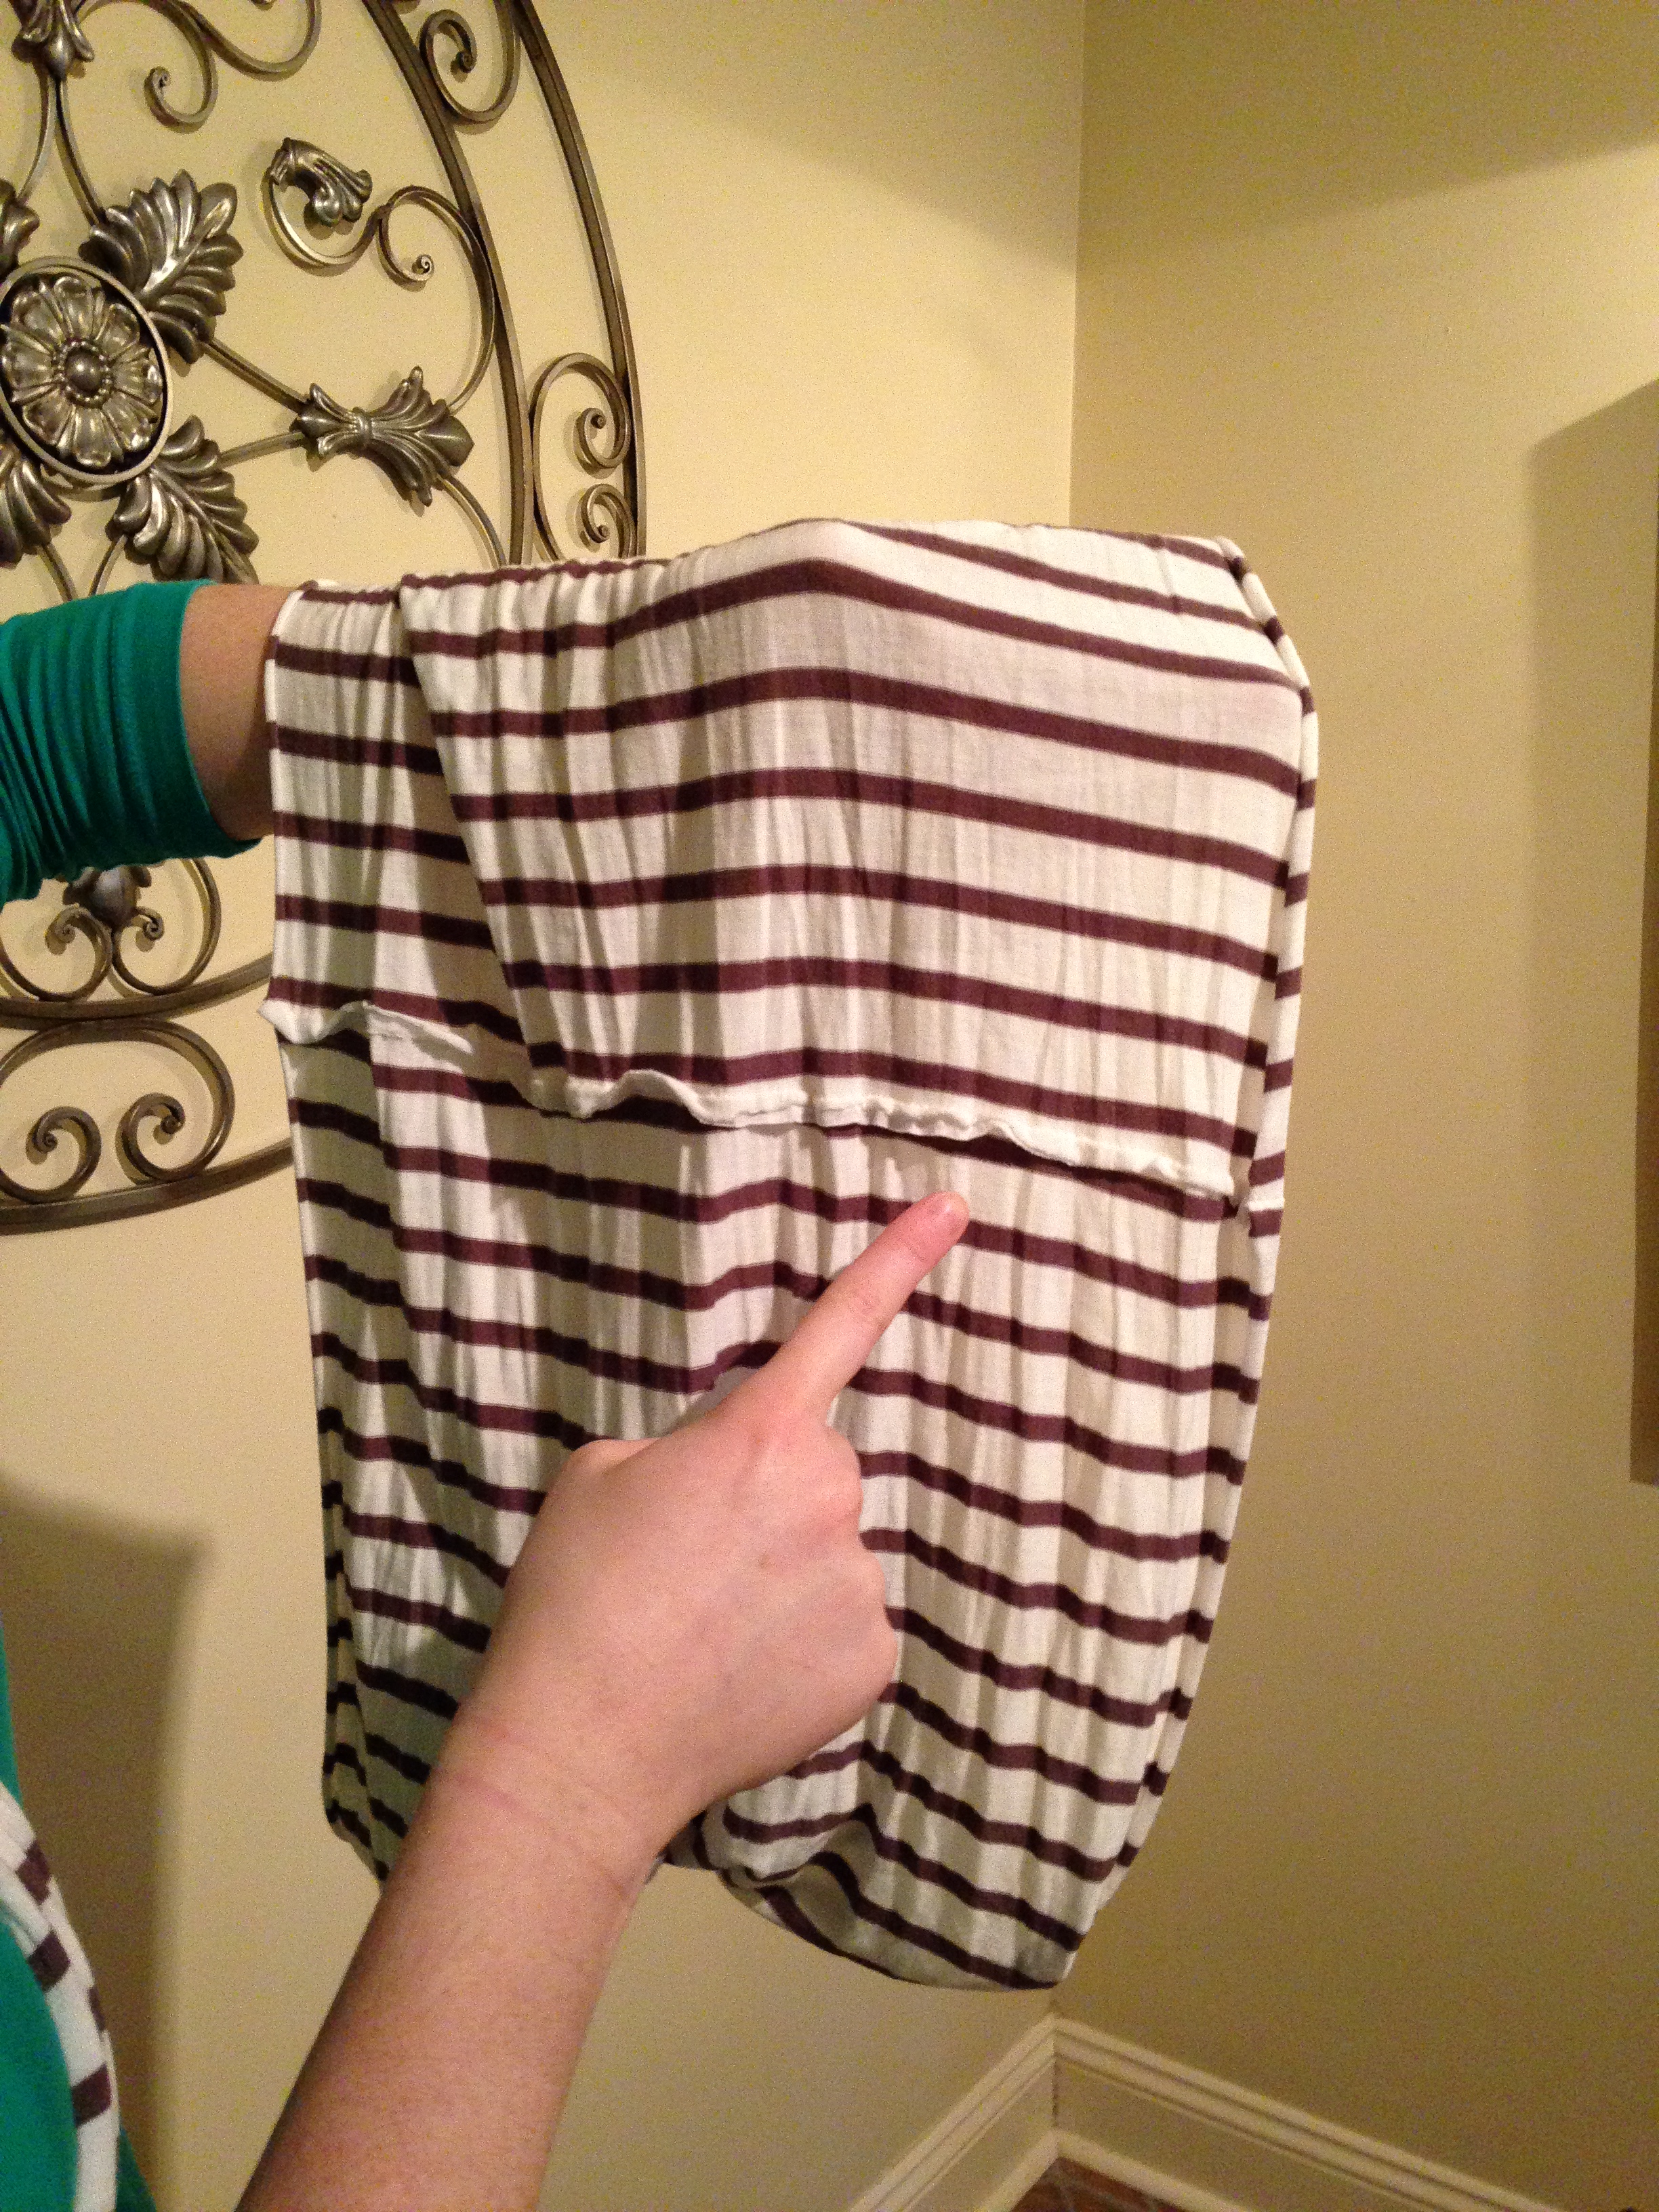
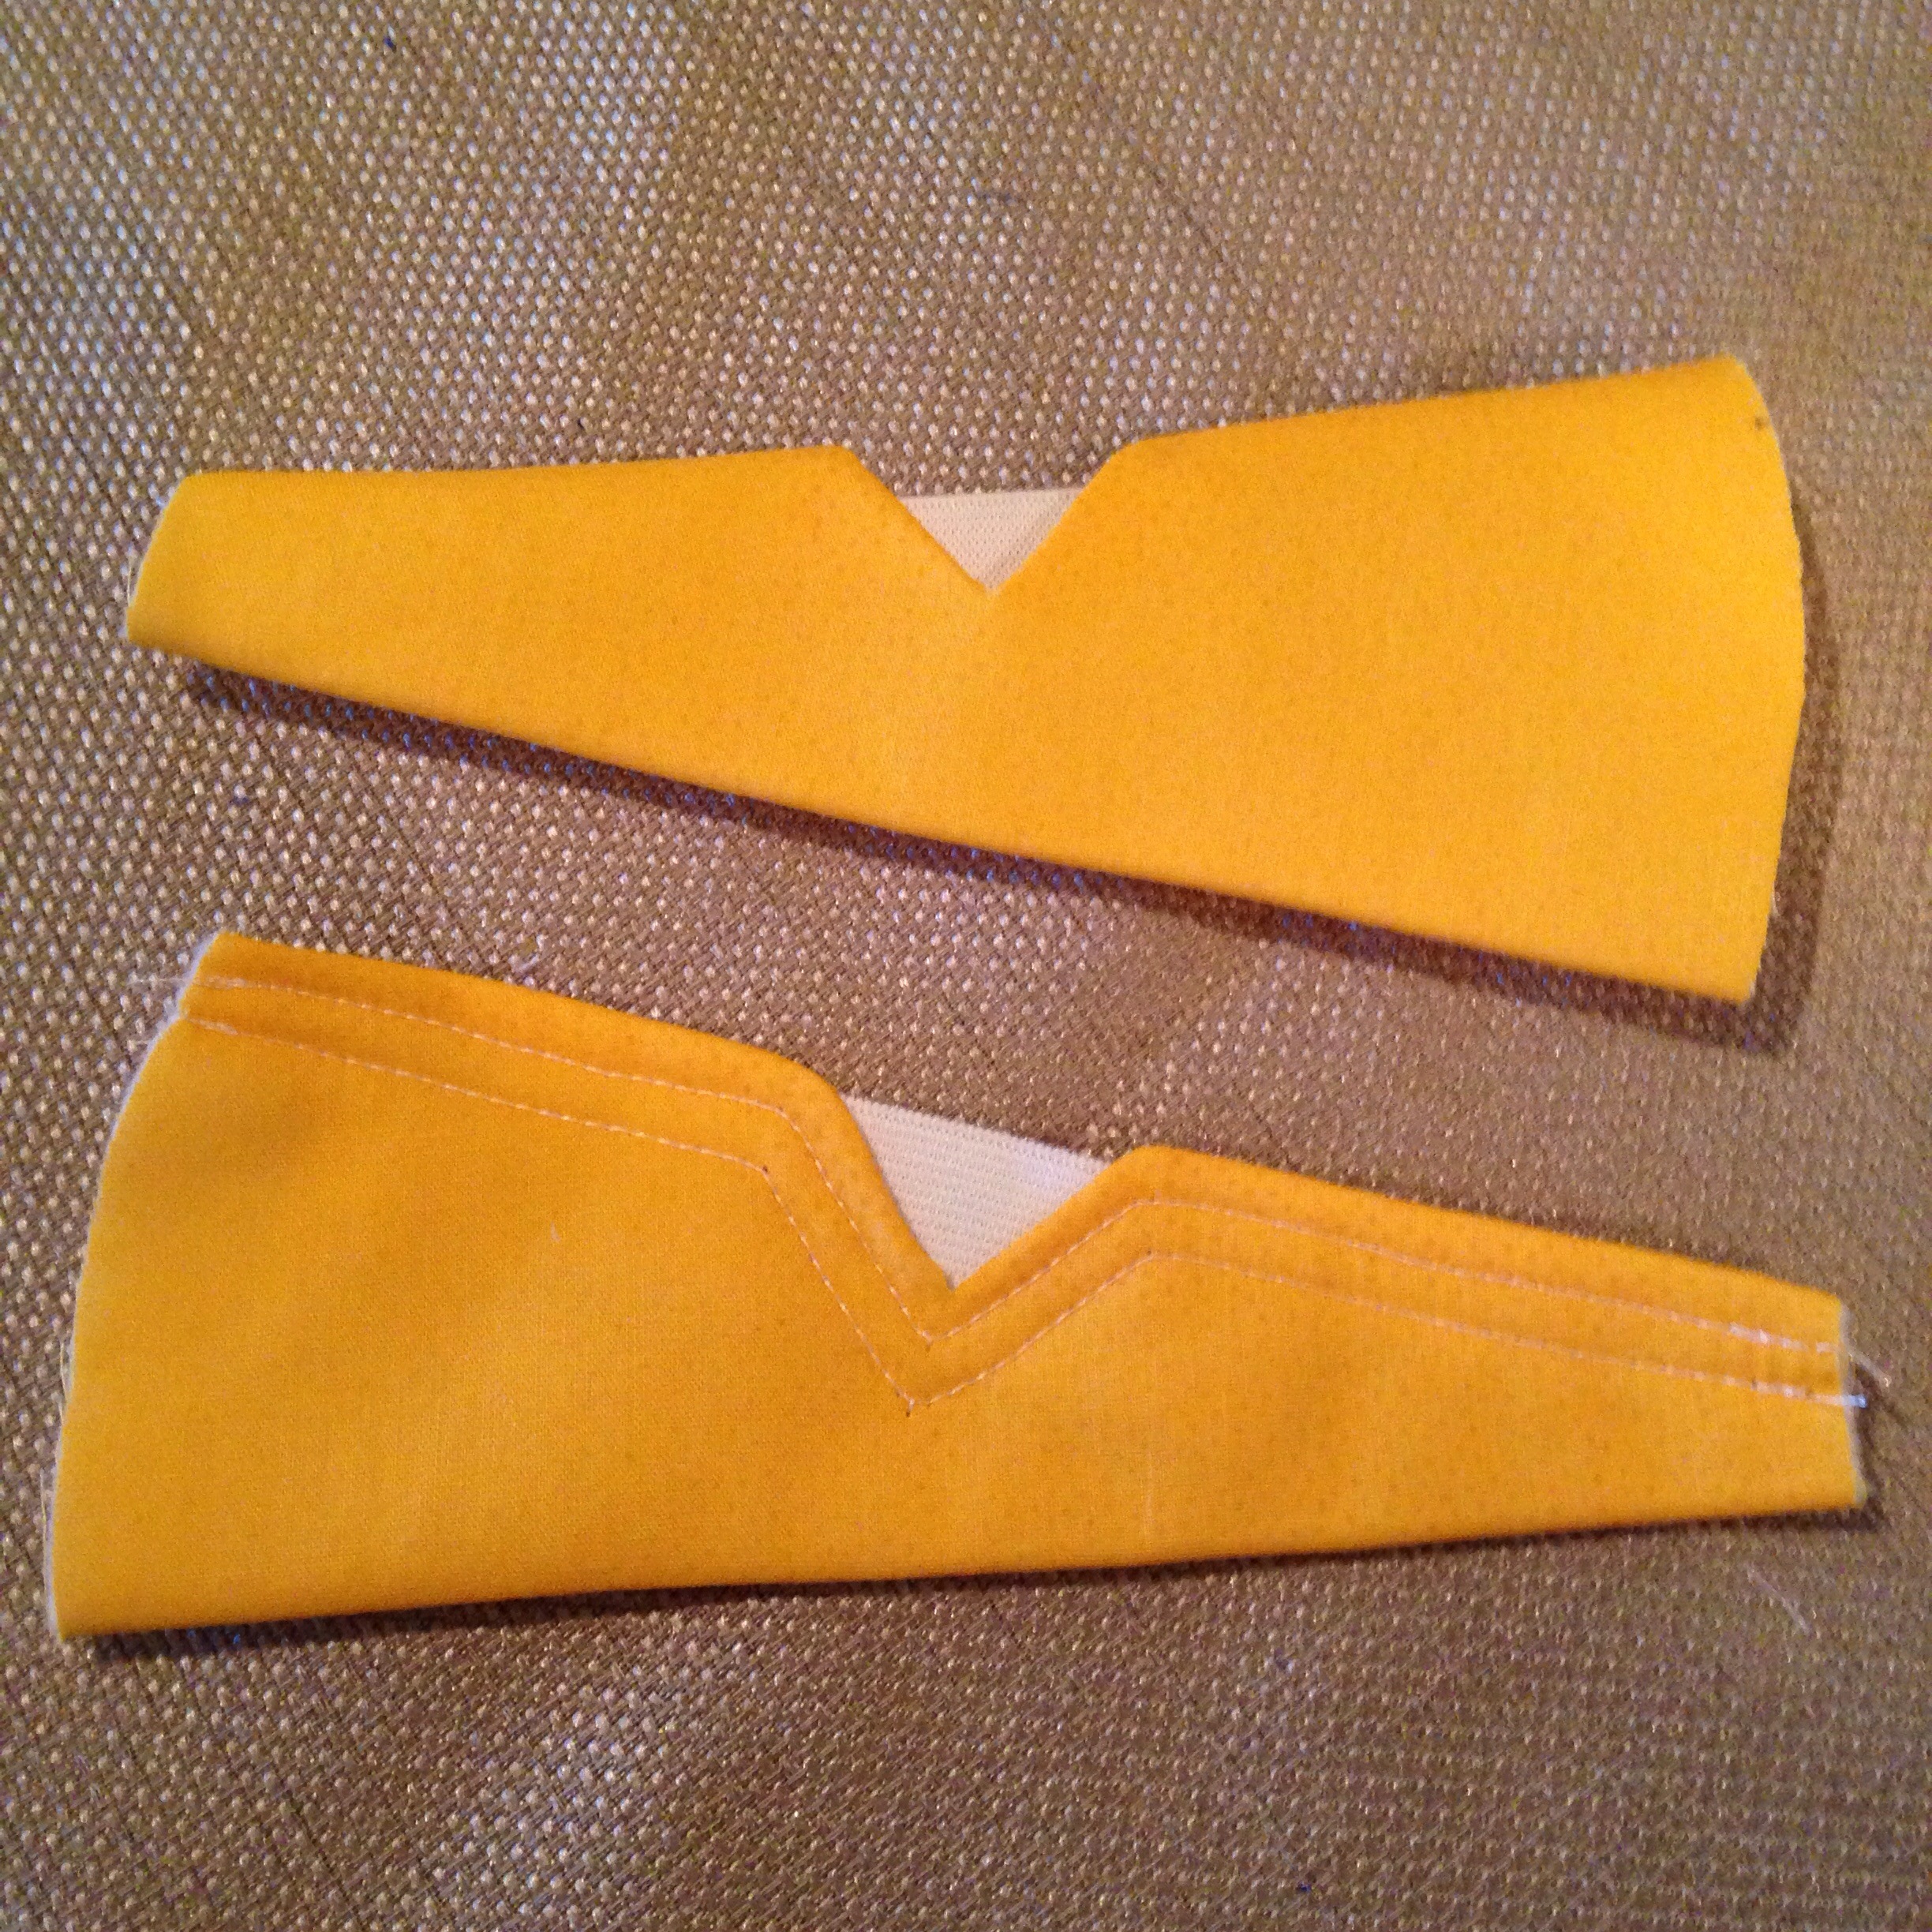
Insert a 2″ length of the 3/4-inch elastic between the layers of the triangles. Sew along the top edge as shown. (I like the double-stitch!)
Step 8:
Lay the triangle piece on top of the toe piece and sew together. Fold over the “pleats” of the toe and baste-stitch to secure.
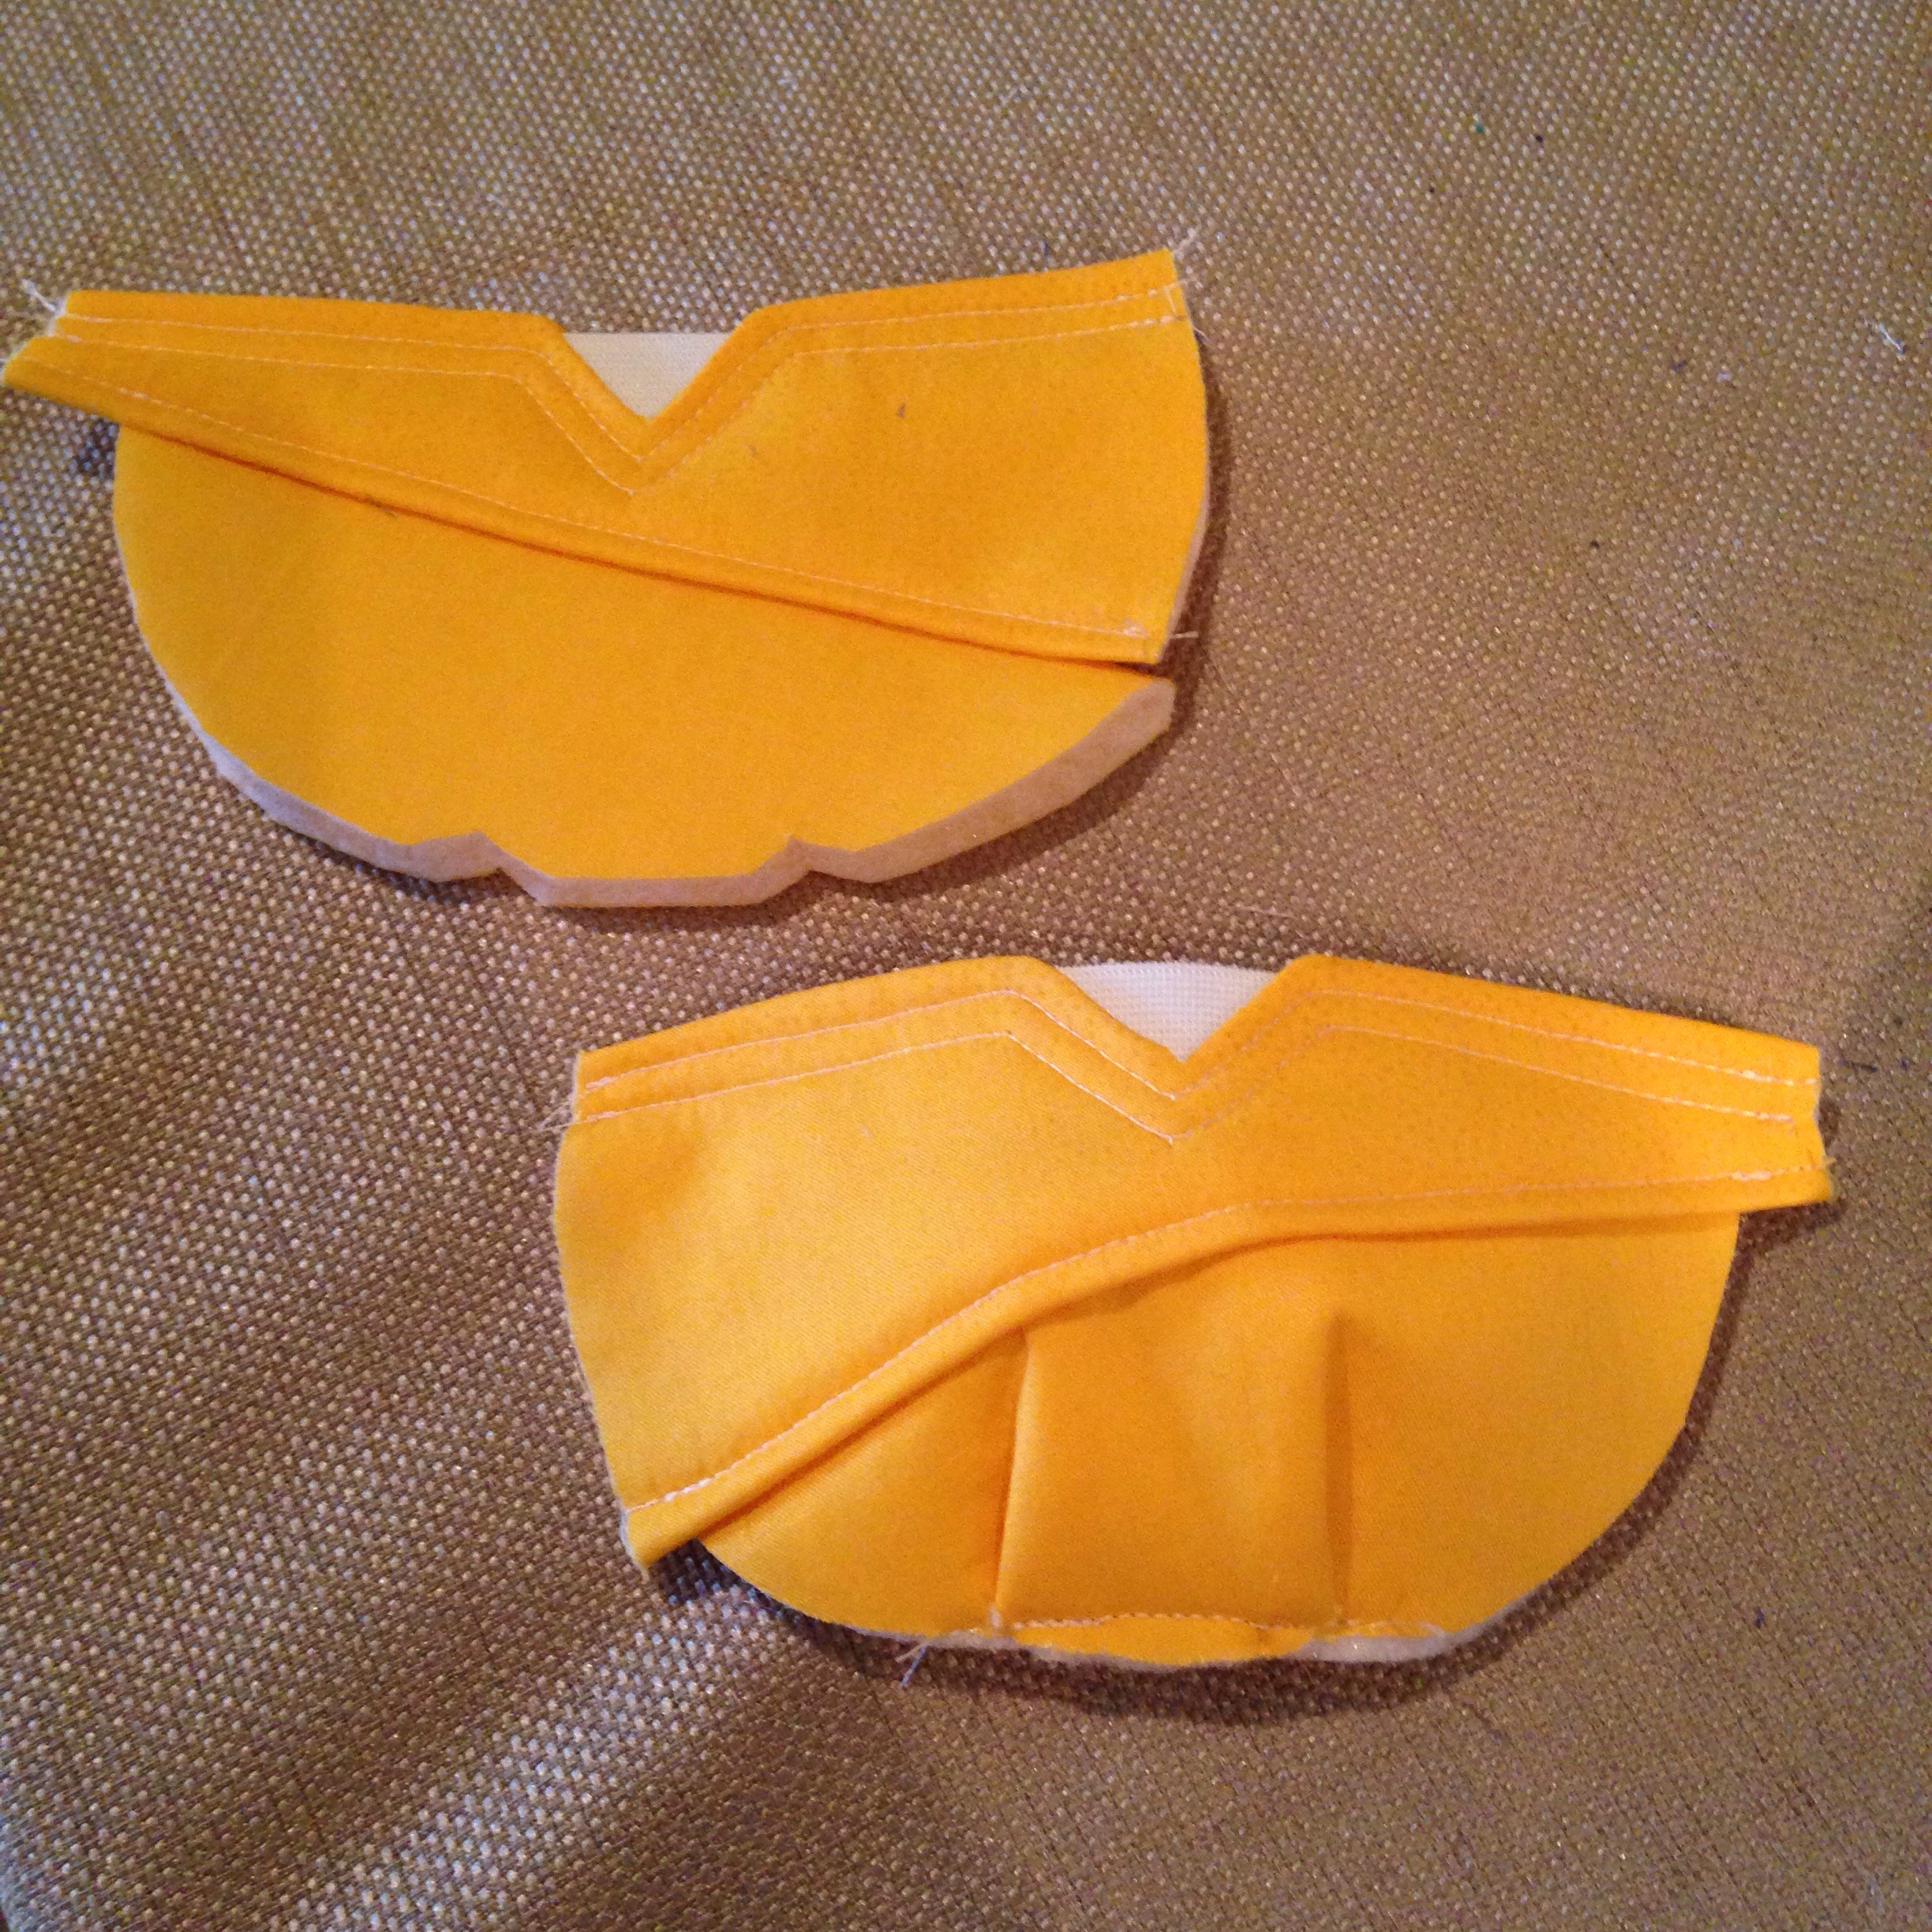

What everything should look like so far.
Step 9:
After trimming any uneven edges, attach the ends of the heel pieces to the sides of top/toe pieces as shown, sewing along the line you already created. (Lay the heel part UNDER the top part; do NOT sew right-sides together!)

Step 10:
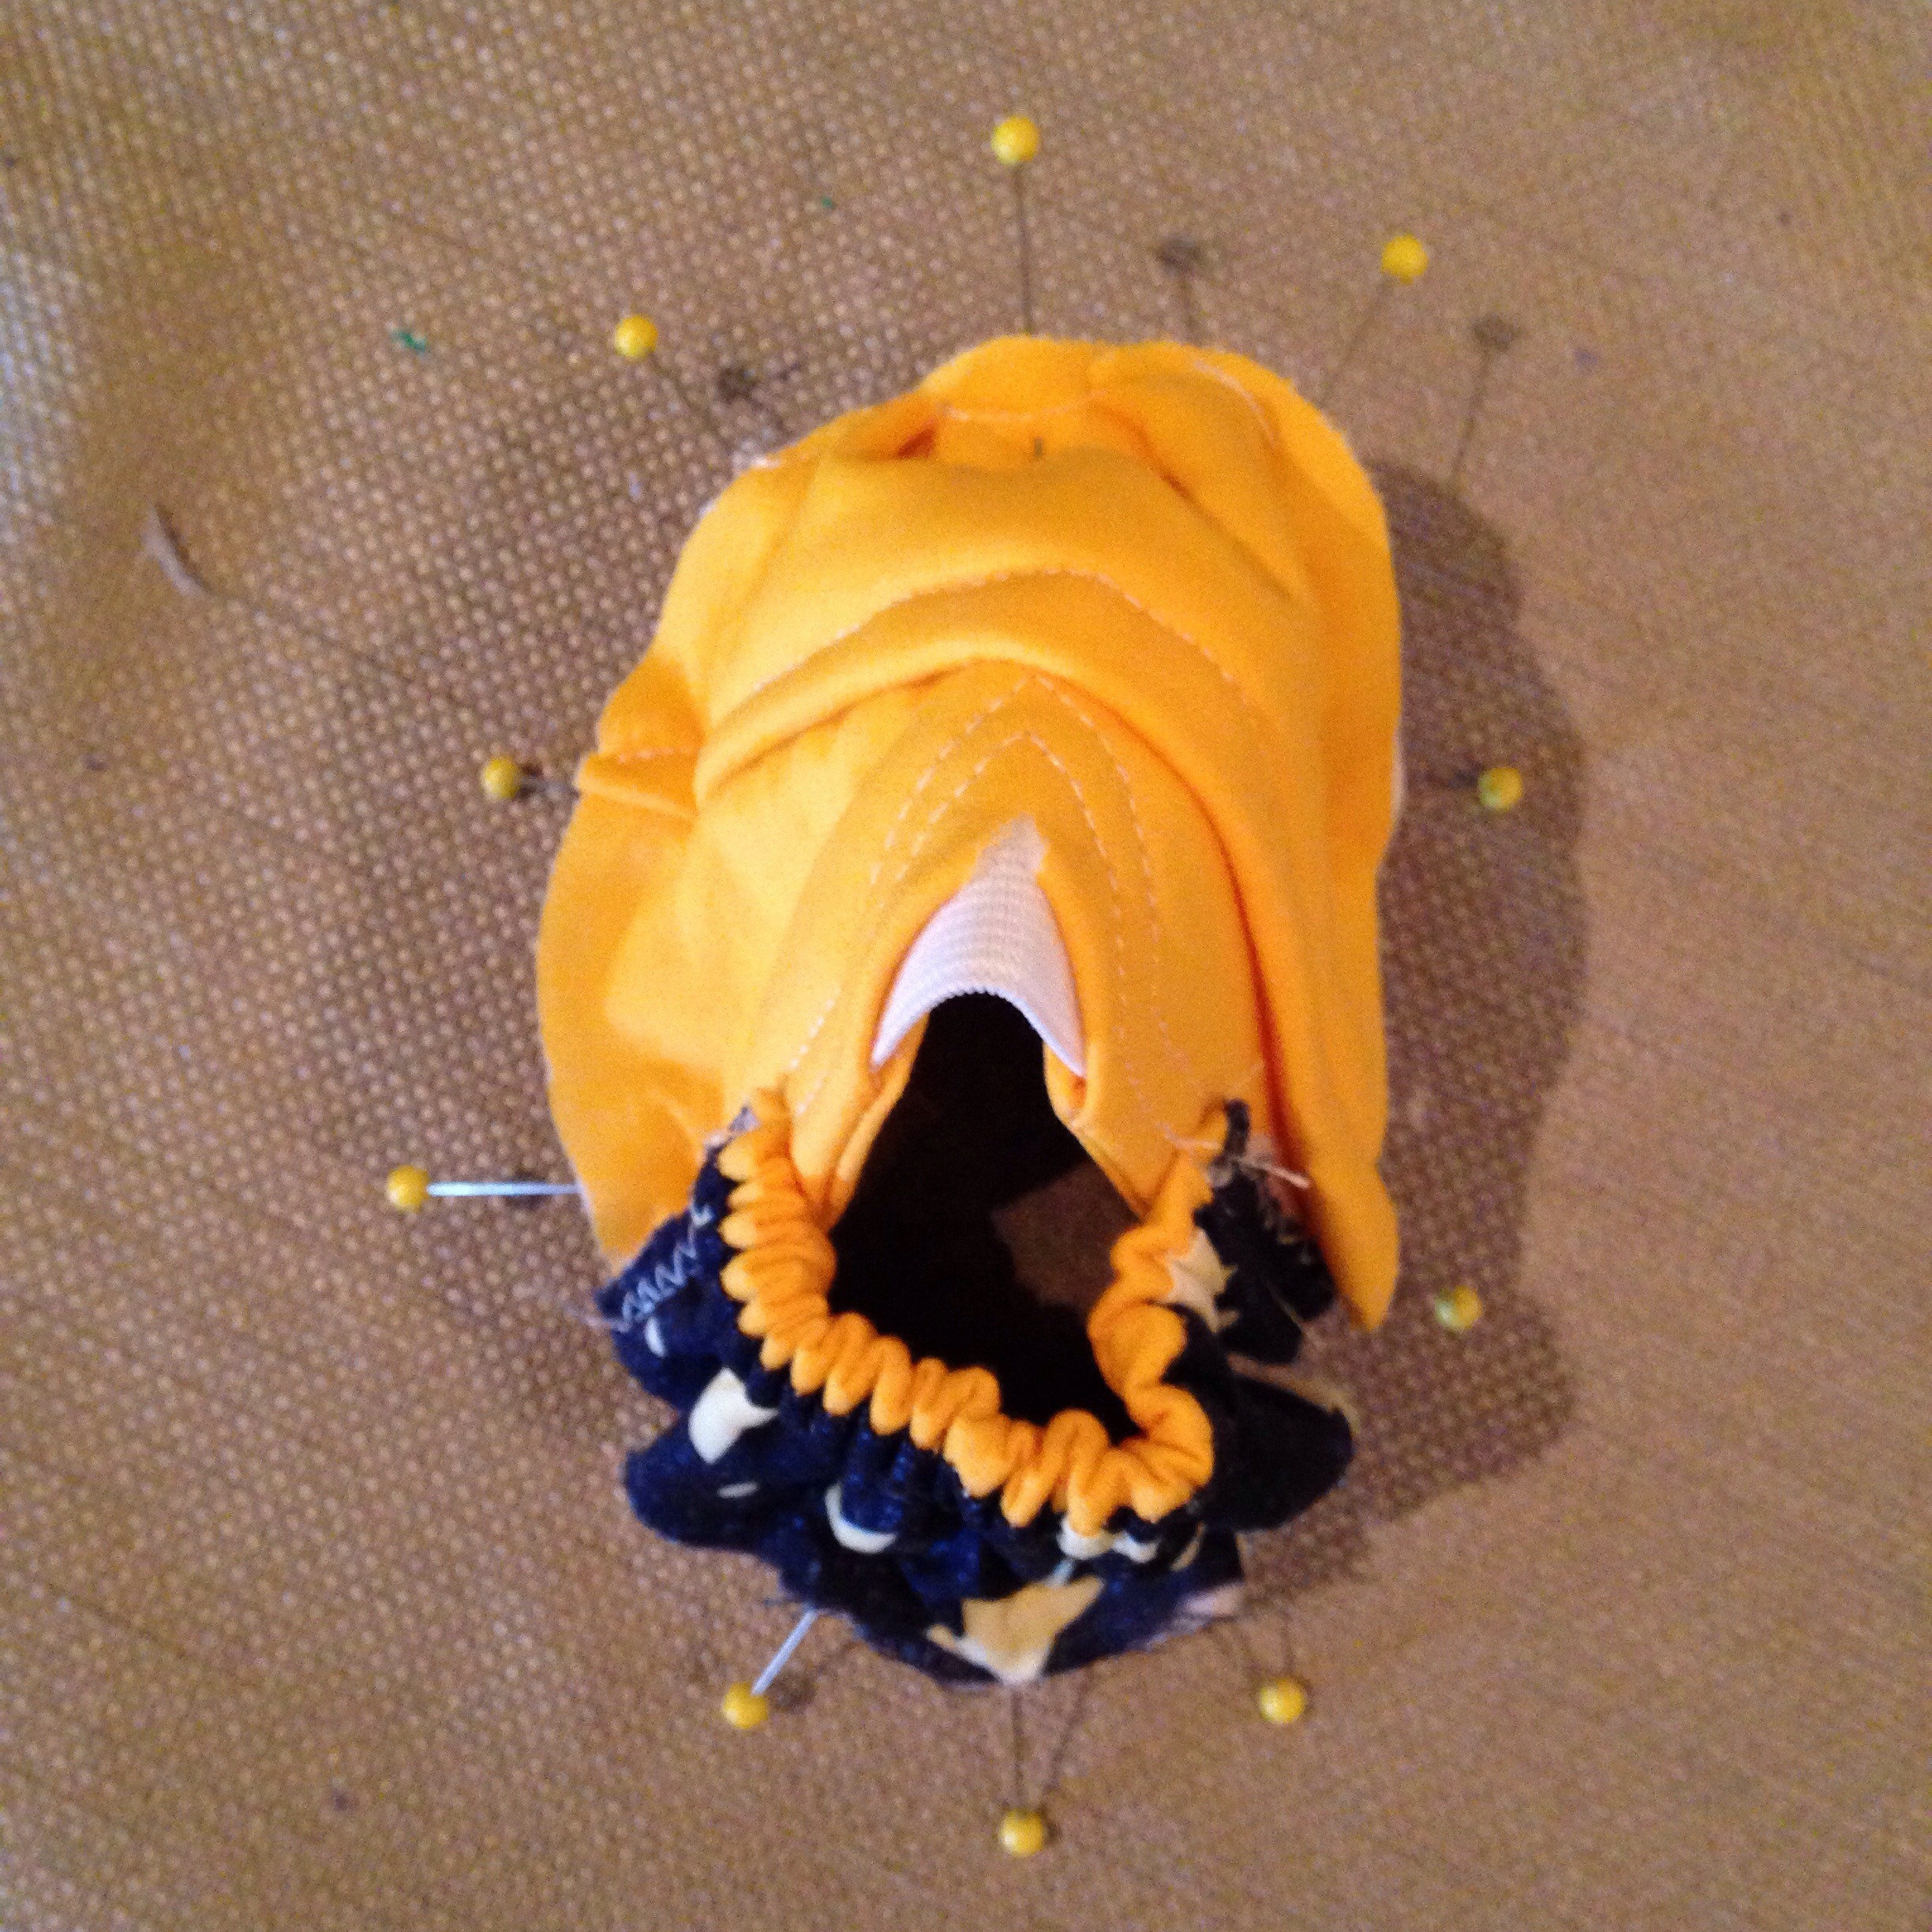
With right sides (or outsides) together, carefully pin the top portion to the sole piece, gathering the heel part as needed. (Don’t skip the pinning! I thought I could just wing it at first…and it was not cute….)
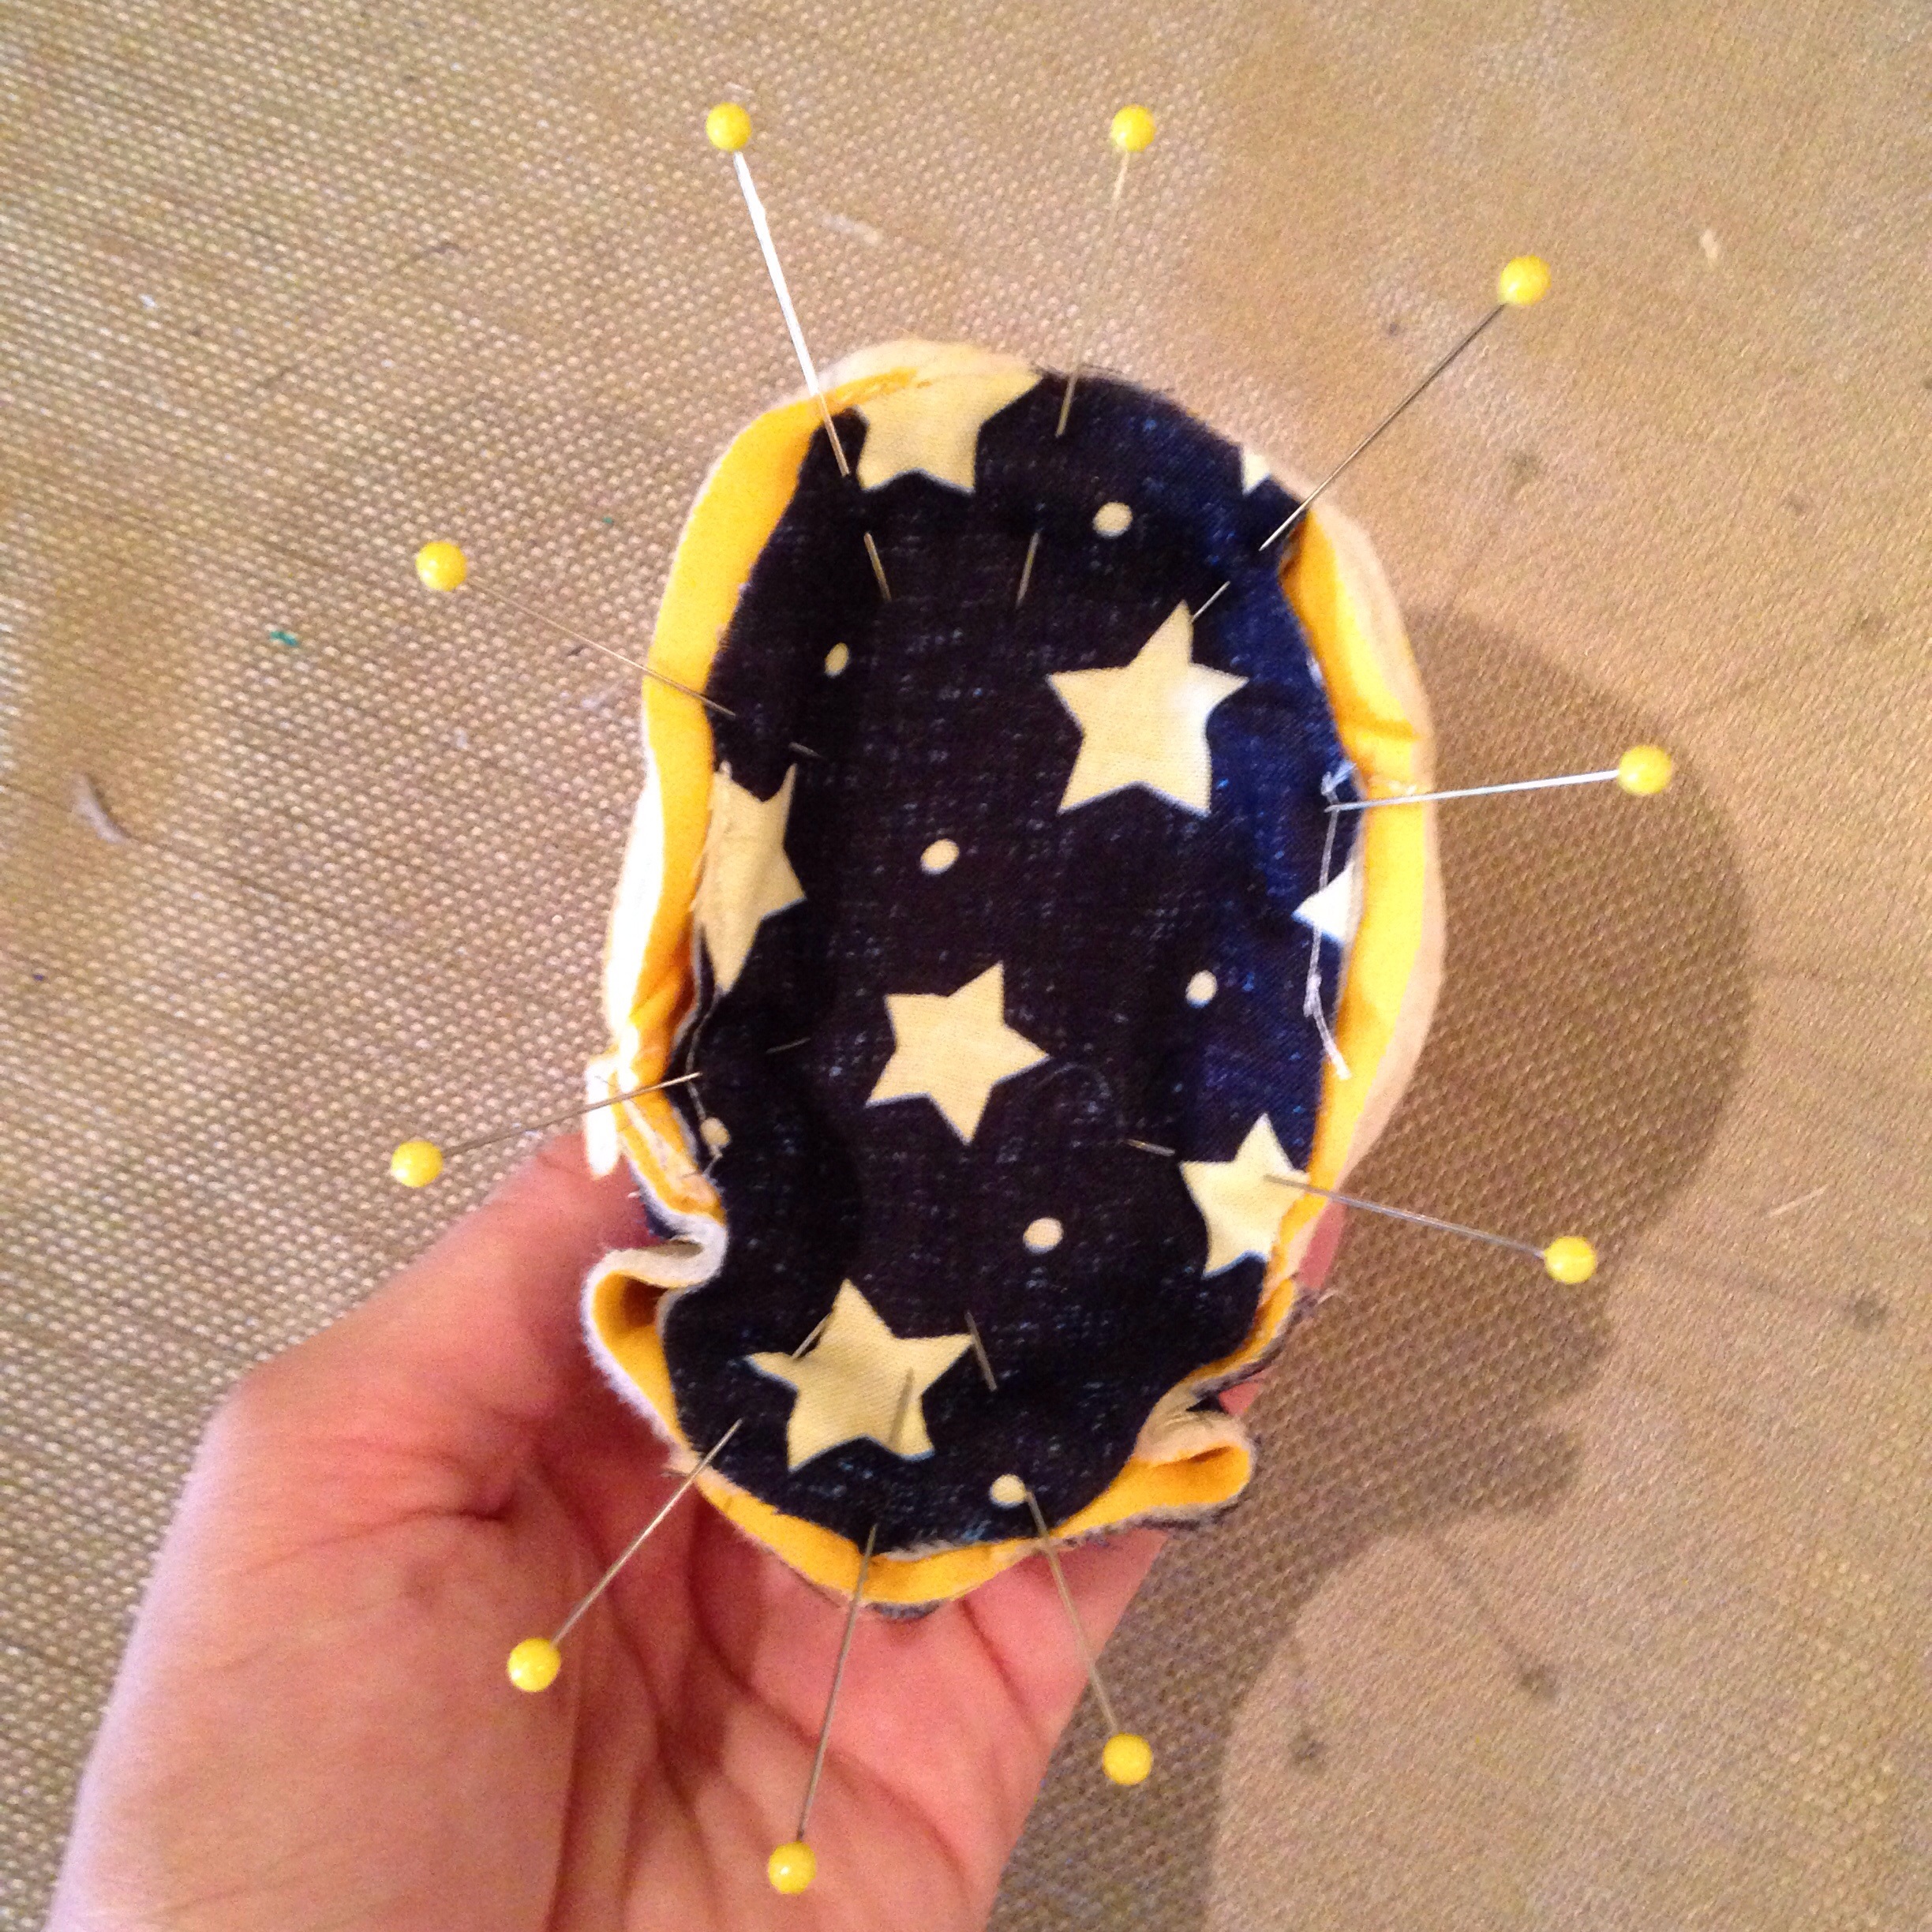
Step 11:
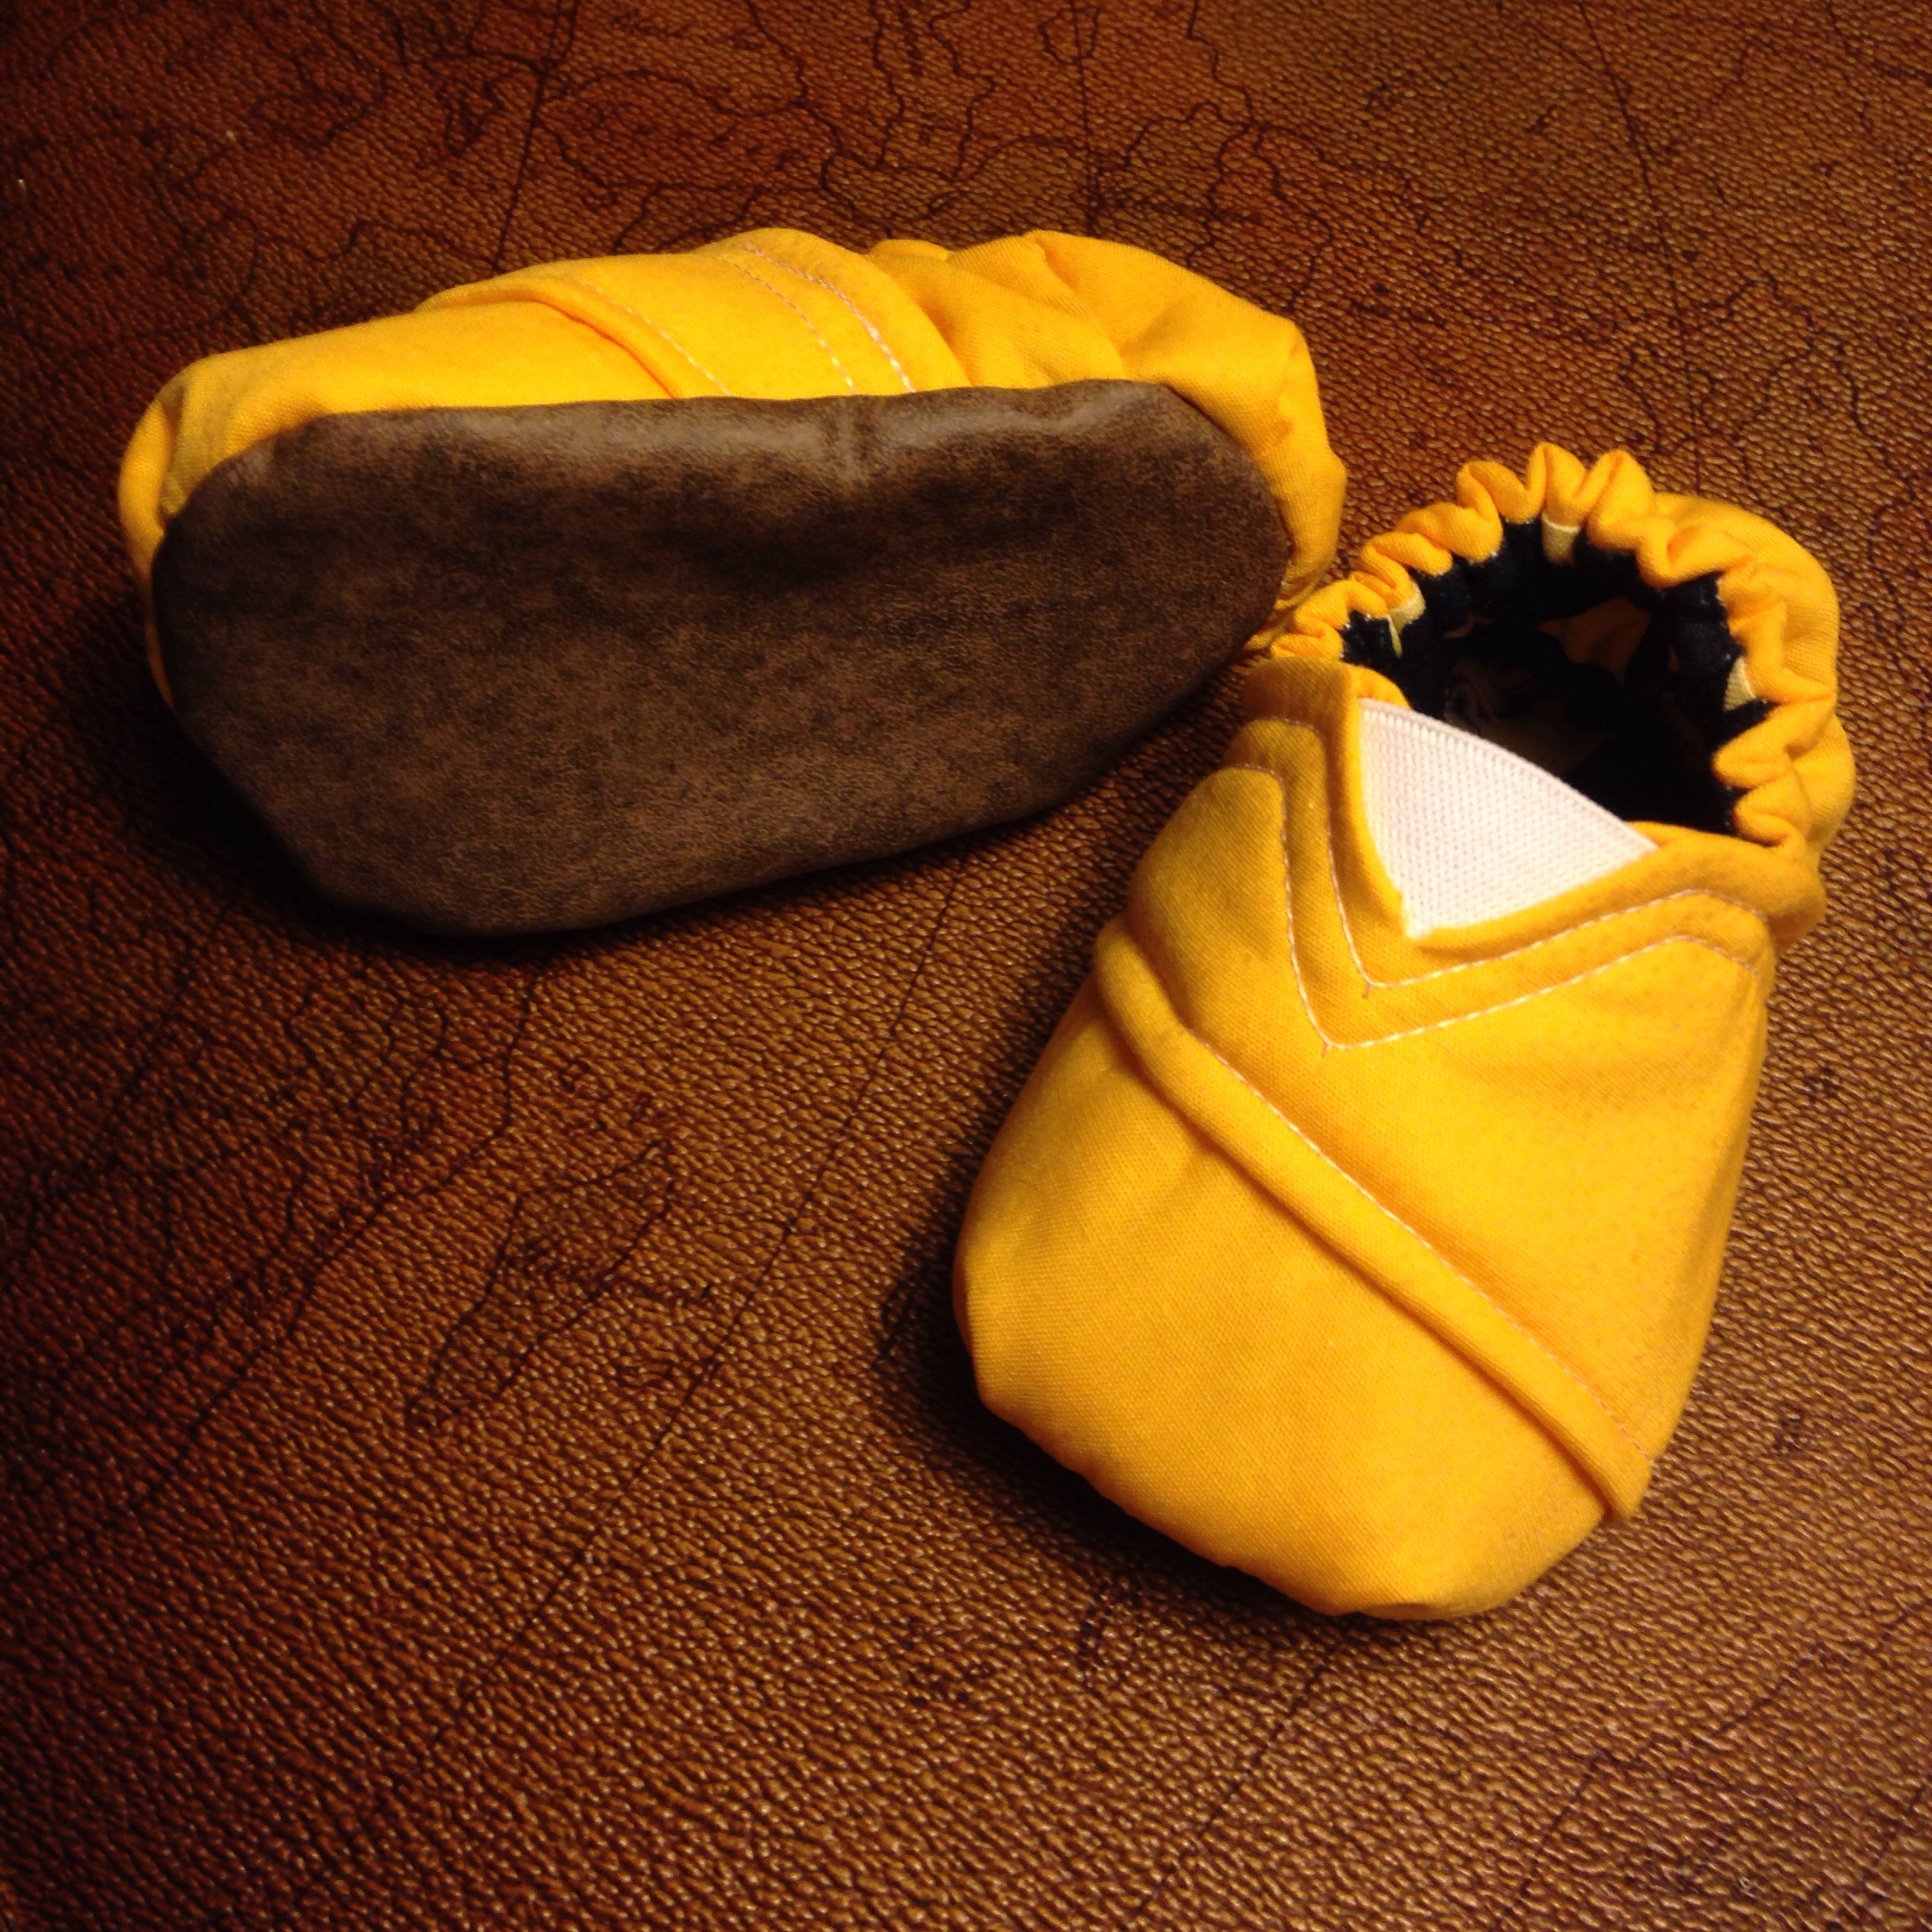
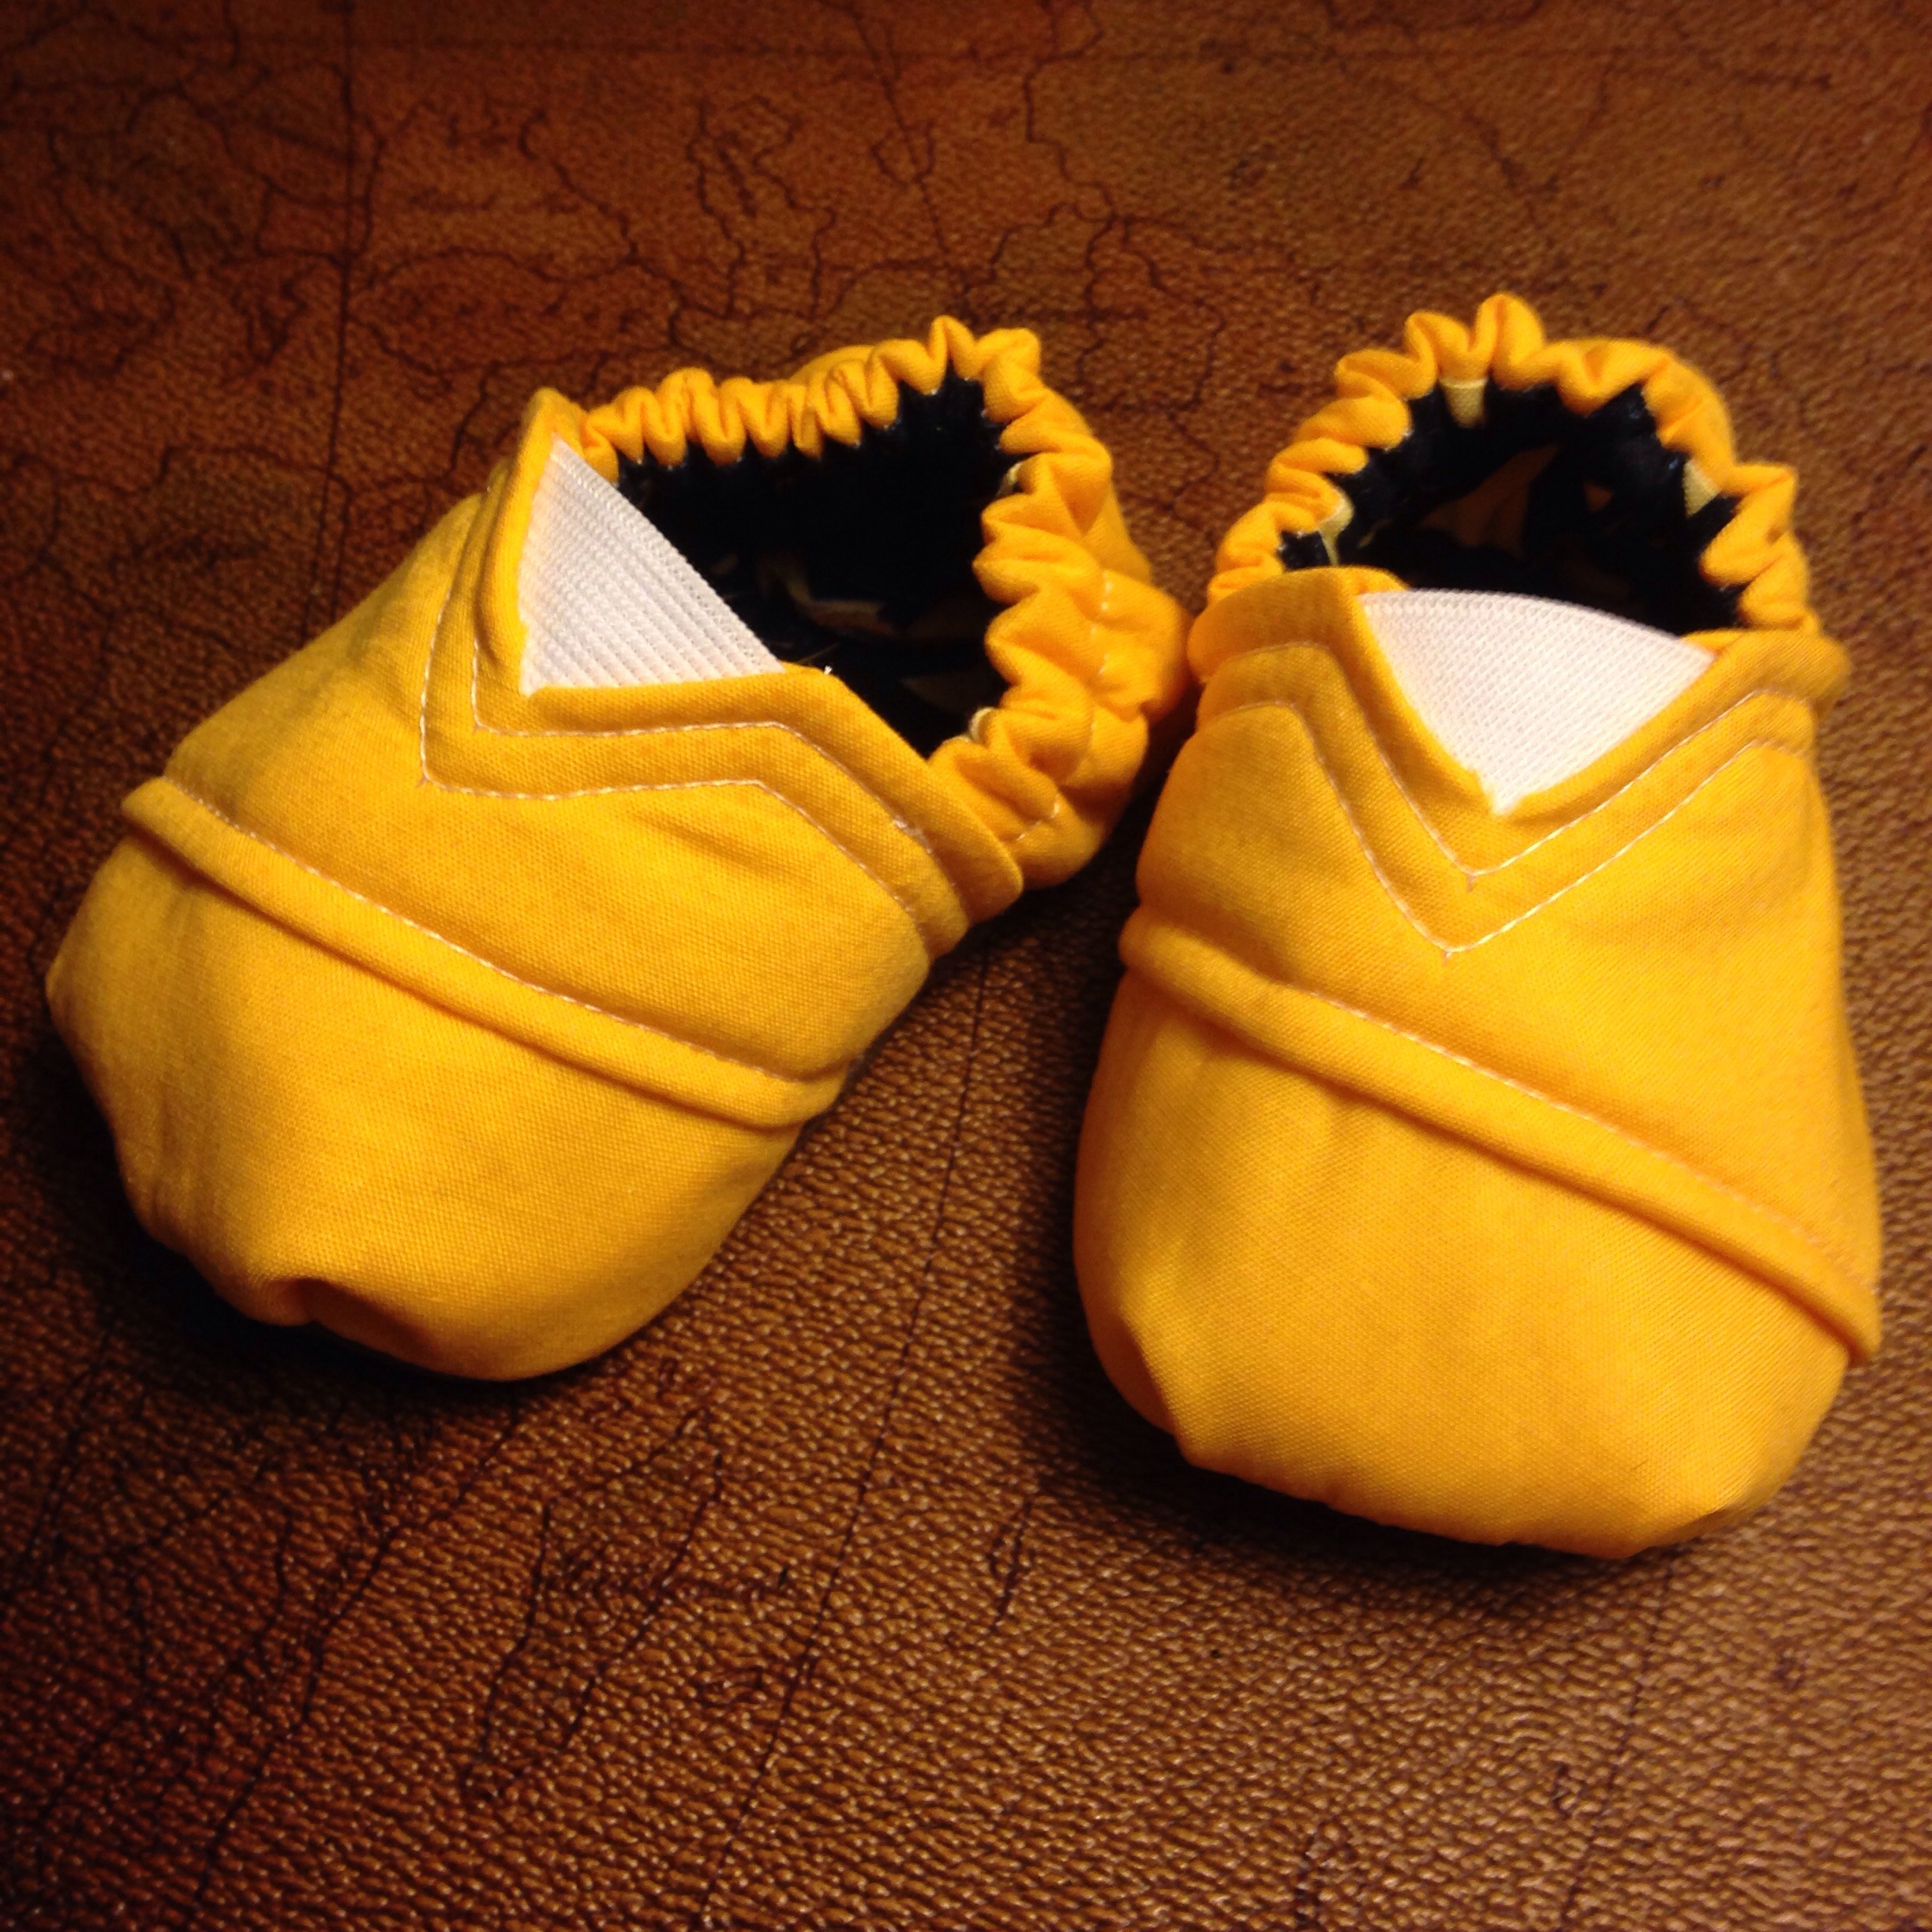
Trim the edges and flip right-side out. Now PAT YOURSELF ON THE BACK and KISS YOUR BABY!!
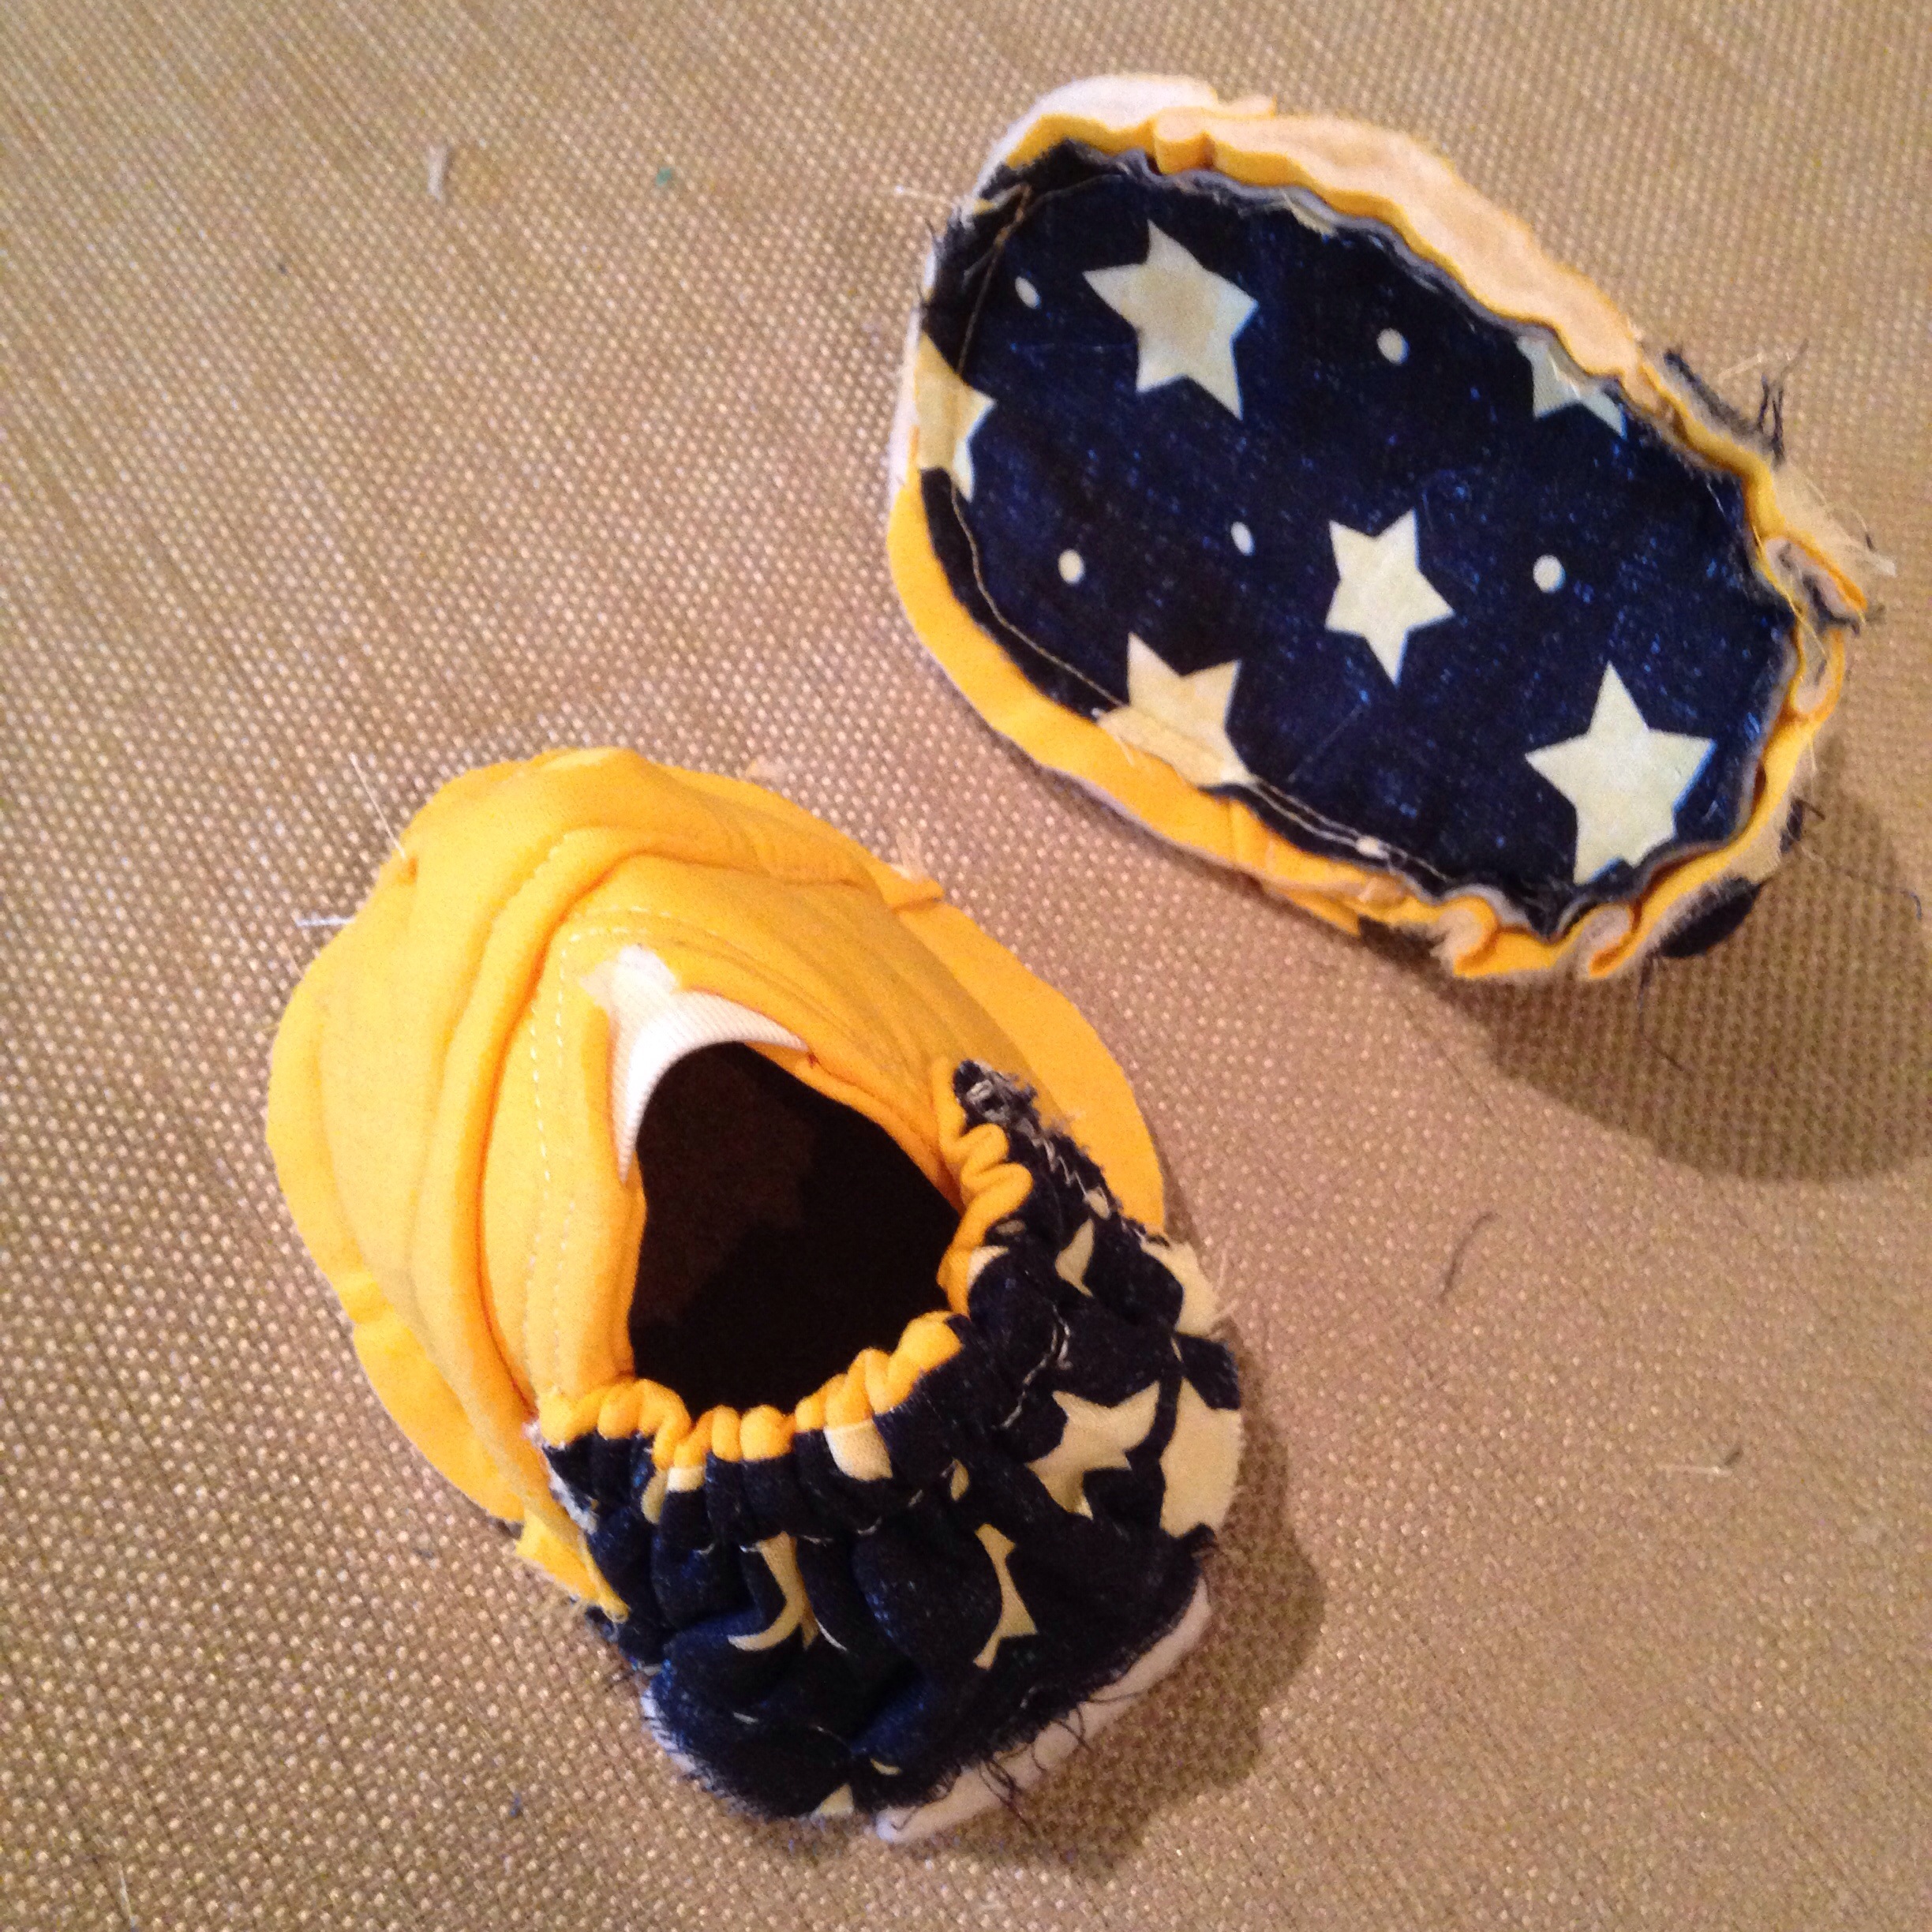
We did it! How cute are these suckers?!?